Prerequisites
In order for the connector to work on the server, you must ensure before installation that:- Have access to the server in admin where Sage 100 is installed in order to proceed with the installation.
- The .NET framework 4.8 are installed on the server
-
We have a Windows user who has read and write access to the SQL database of the accounting file and to the Sage 100 file.
-
There are two possible options:
- Retrieve the name and password of a user who would have these two accesses.
- Create a user specific to the Sage 100 connector - this is the recommended solution
-
There are two possible options:
You can find the available versions of this library over here.
-
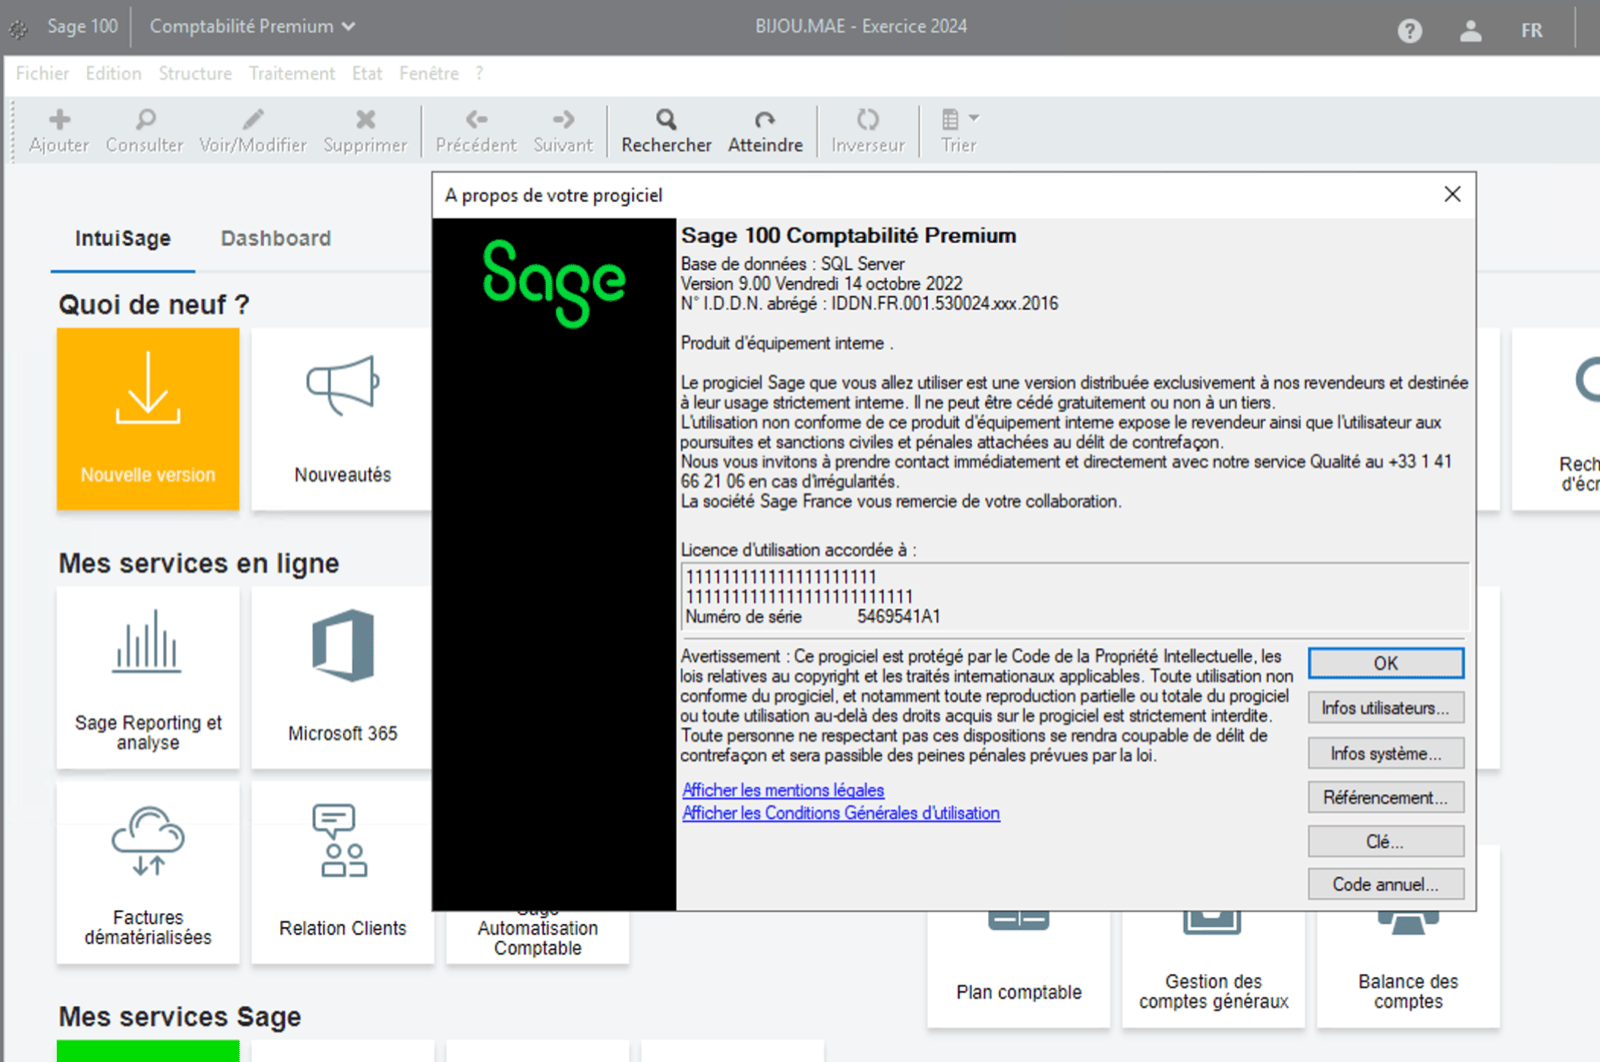
Check your Sage version:
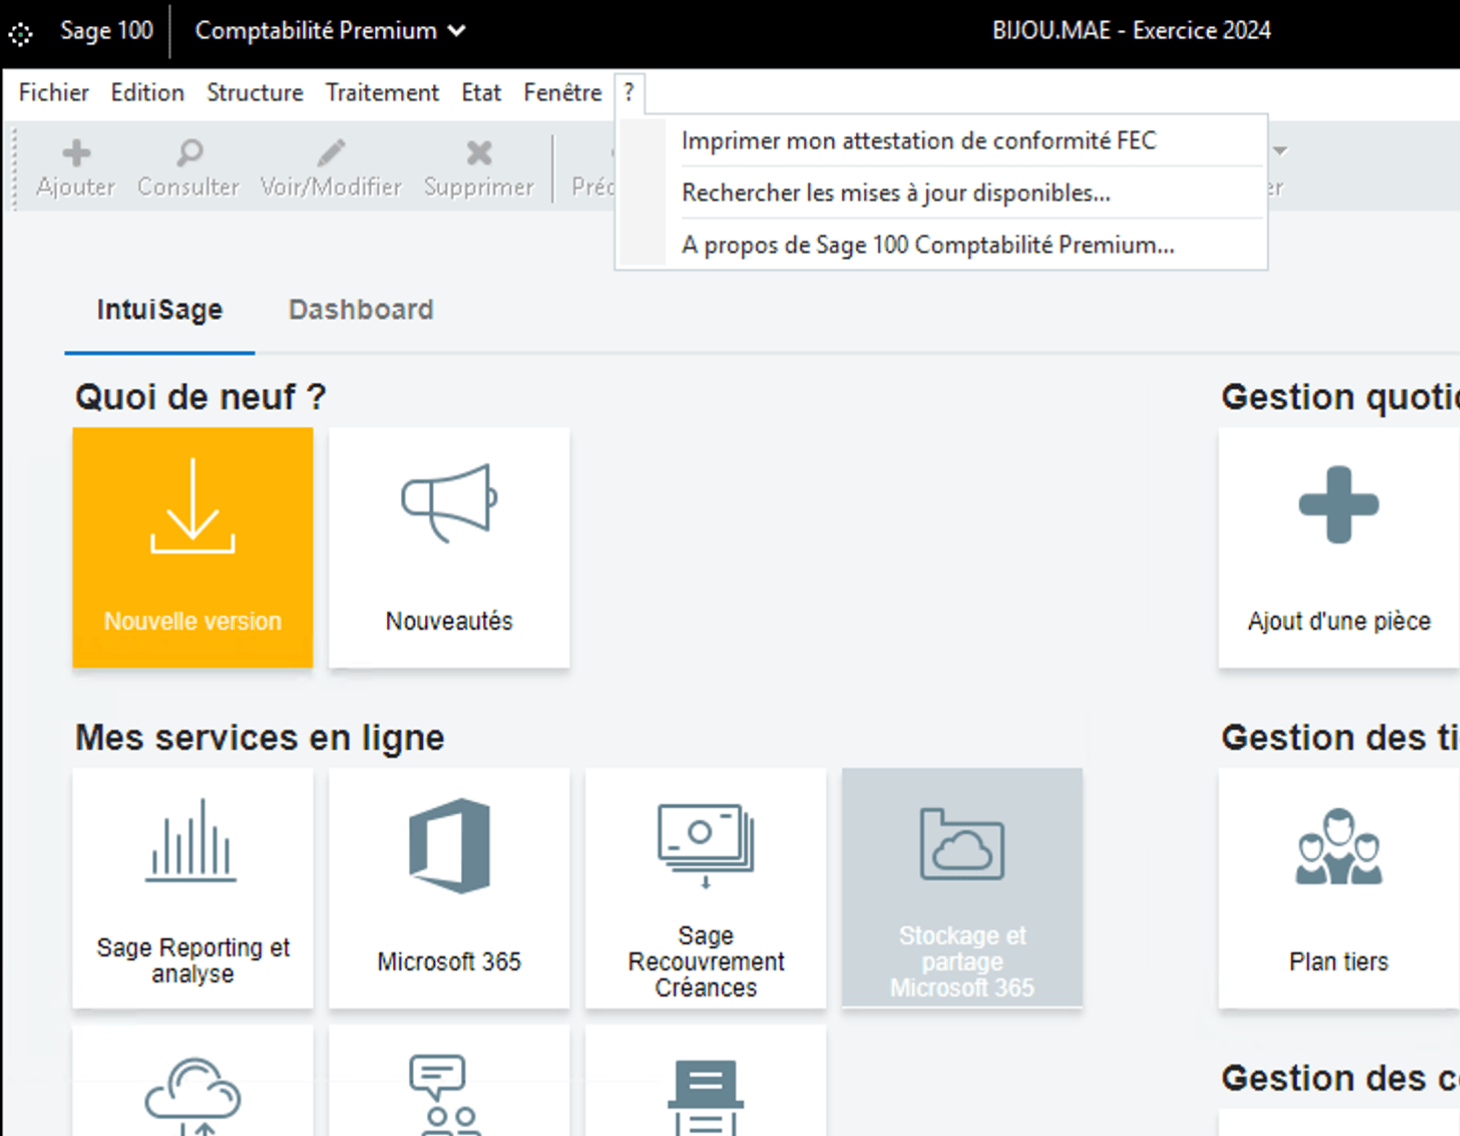
- From your account in the menu bar →”?” → “About Sage 100 Accounting …”
- On the page that opens, you will find at the top of the page the number of your Sage versions.
PREPARATION
In order to establish the connection with Sage 100 “On Premise”, you will need to retrieve a certain amount of information on your Sage 100 instance and from the integrator partner who installed your Sage 100 instance.- Find the code of your file / company
- Retrieve the number of the zone / analytical plan
- Retrieve the location of the GCM file (.gcm)
- Retrieve your Sage username and password
1. Find your file / company code
This information is visible from your Sage 100 instance at the very top of your page in a menu bar. In the center of this “menu” banner you will see the code of your file (company) indicated.
2. Retrieve the number of the analytical zone/plan (if applicable)
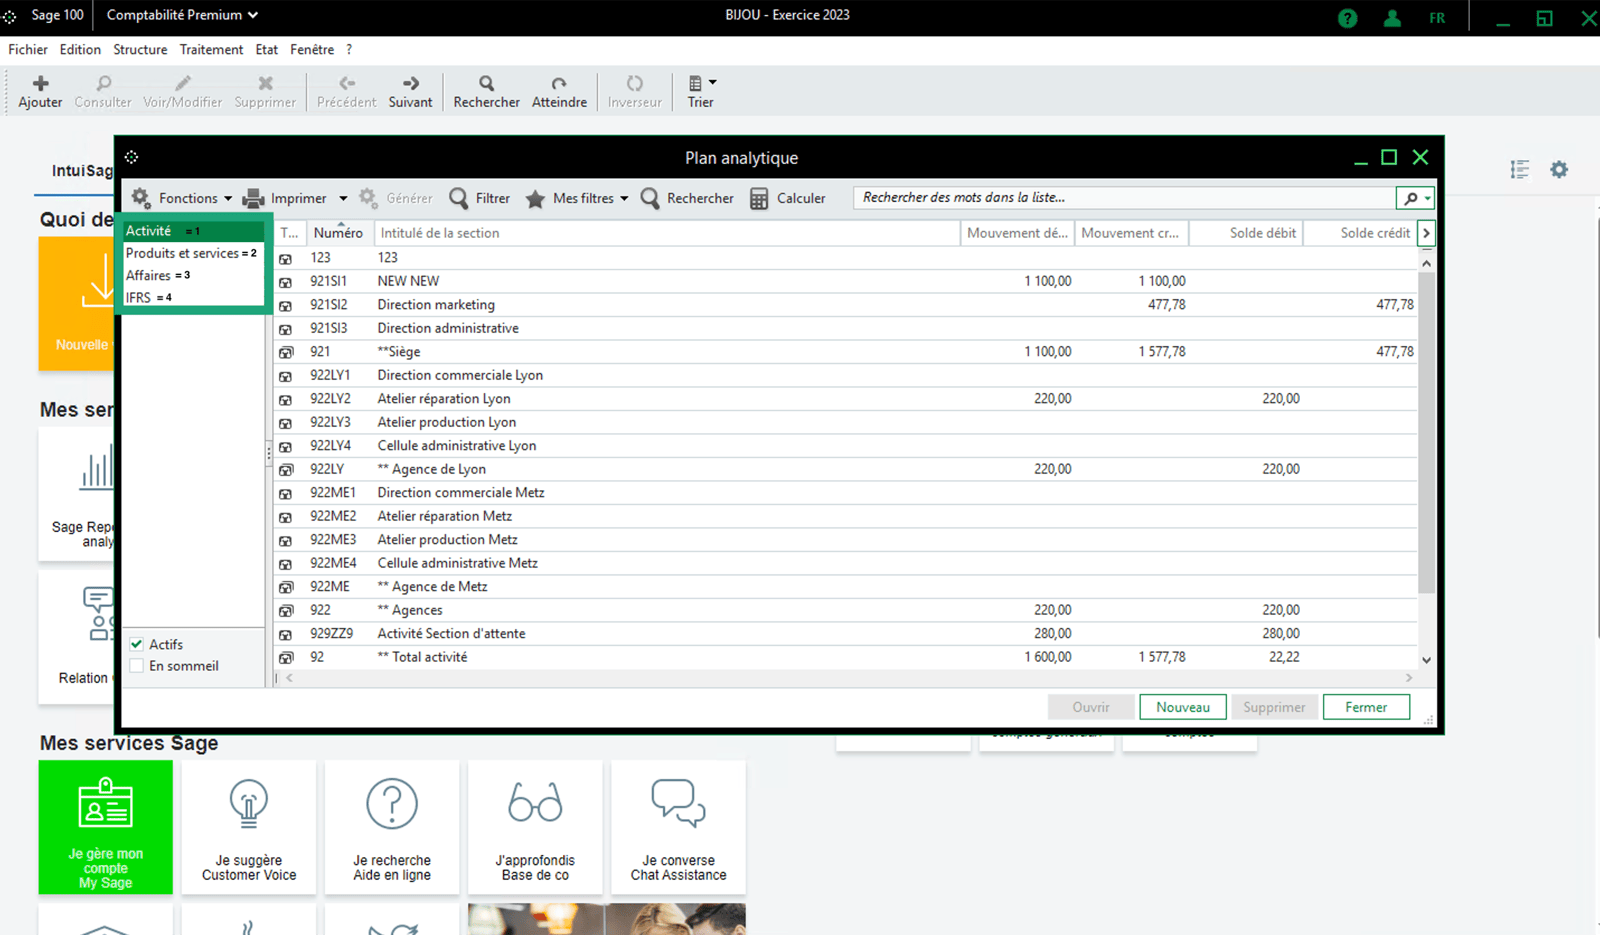
To identify the analytical zone/plan number, you need to follow these steps from your Sage100 instance.-
Menu → Structure → Analytical plan
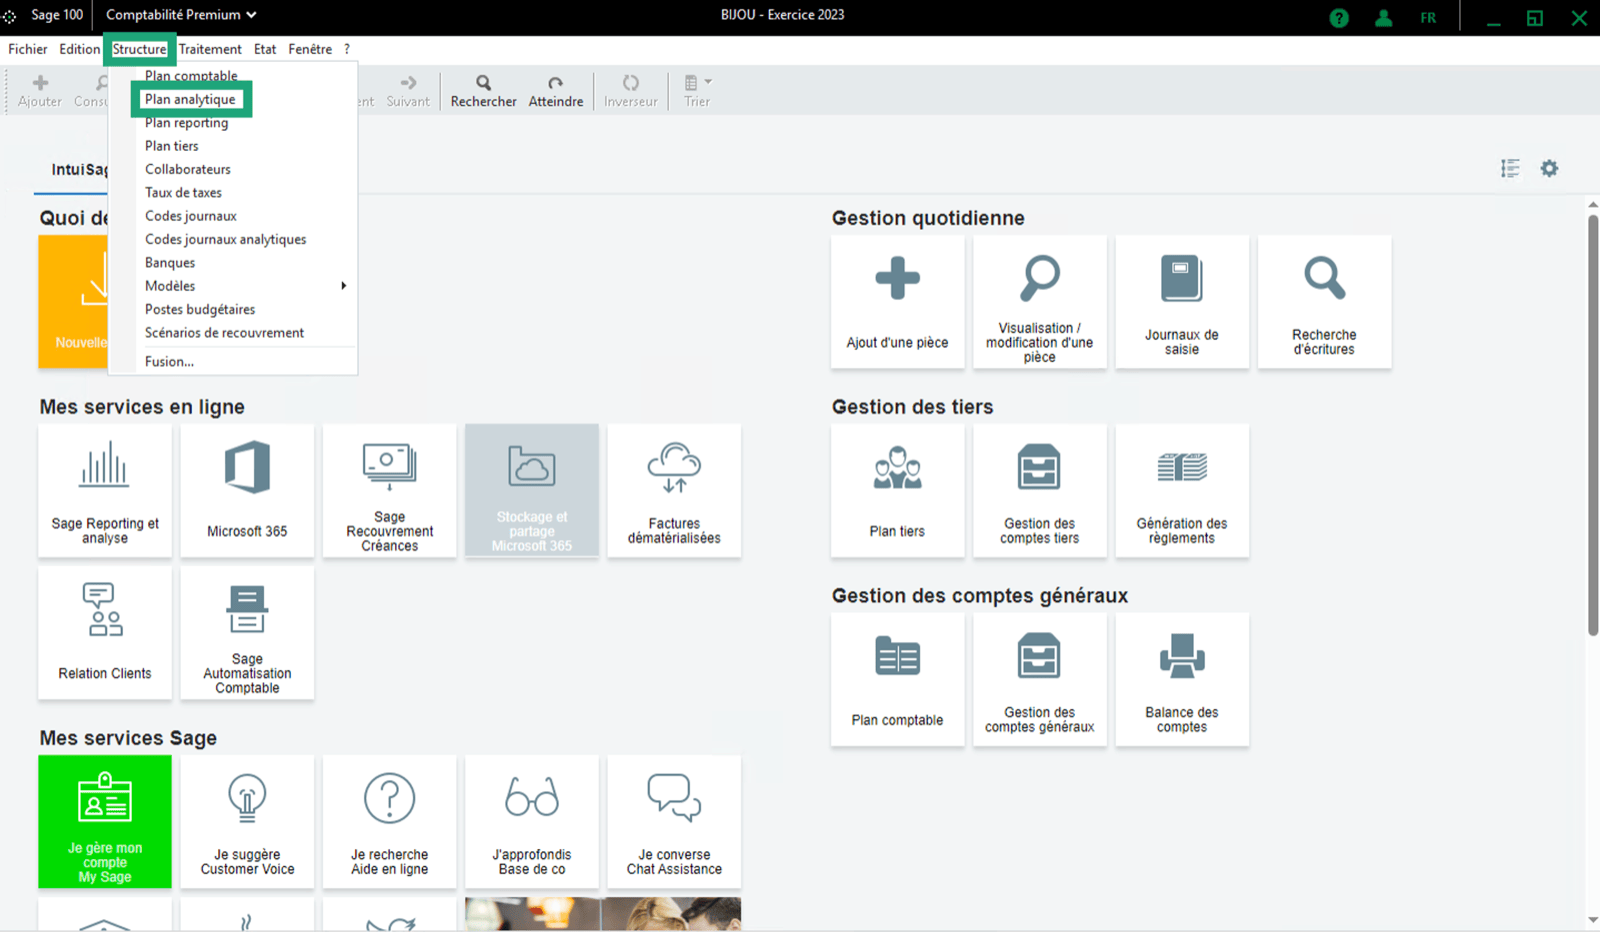
- Activity = 1 (fill in the number 1 to select the first analytical plan option)
- Products and services = 2 (fill in the number 2 to select the second analytical plan option)
- Business = 3 (fill in the number 3 to select the third analytical plan option)
- and so on…
3. Retrieve the location of the accounting file (.gcm)
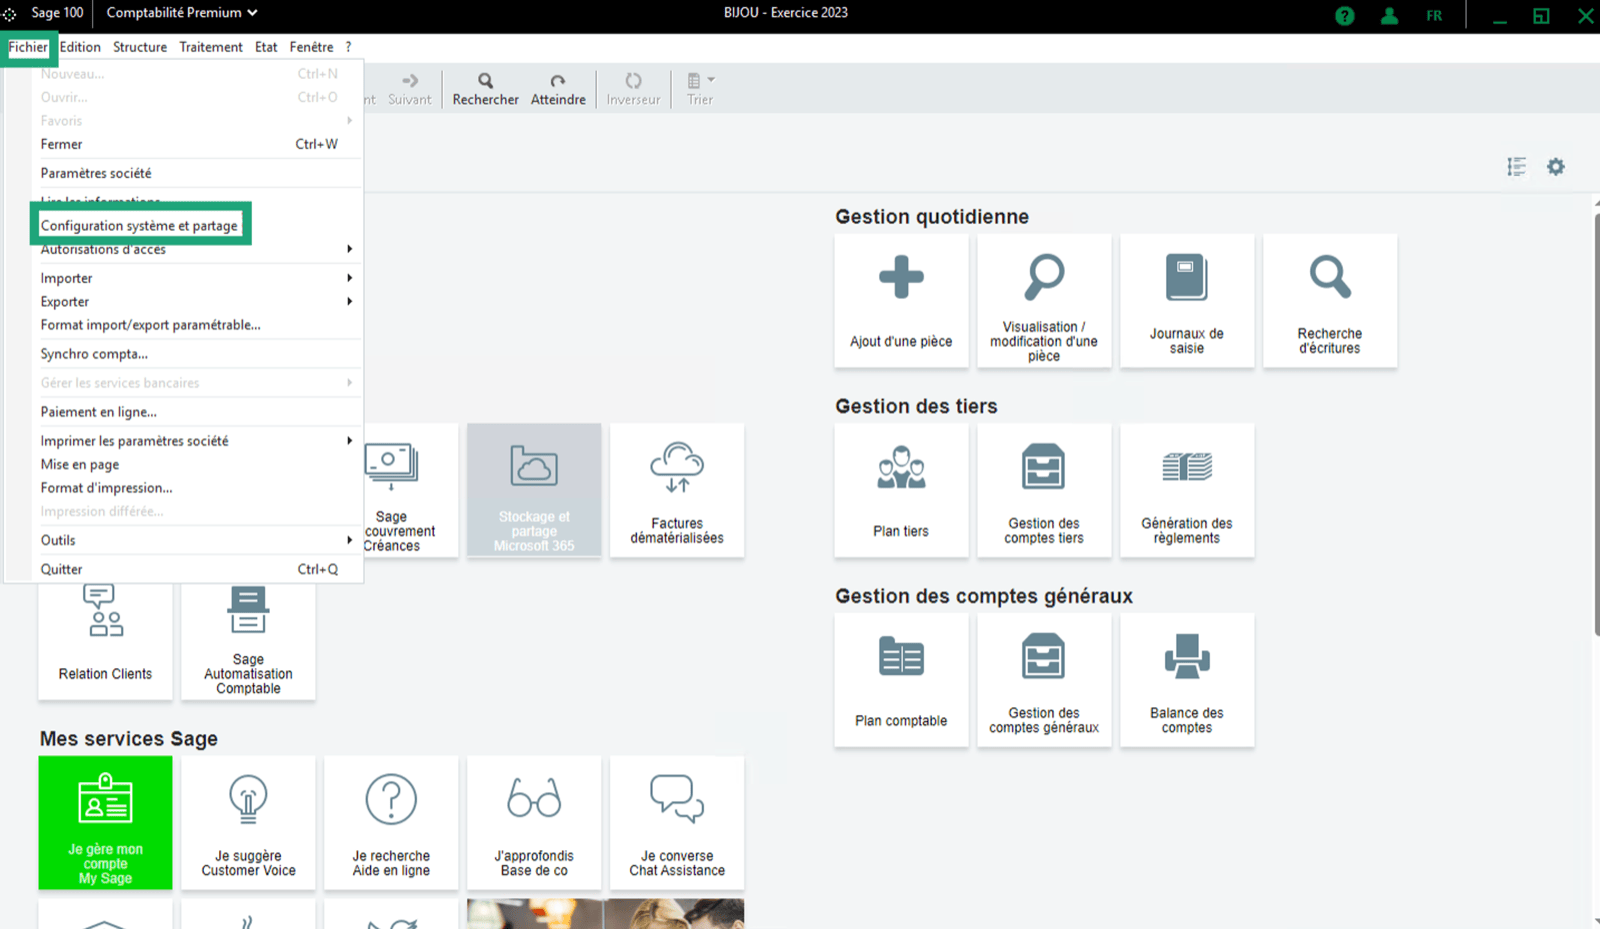
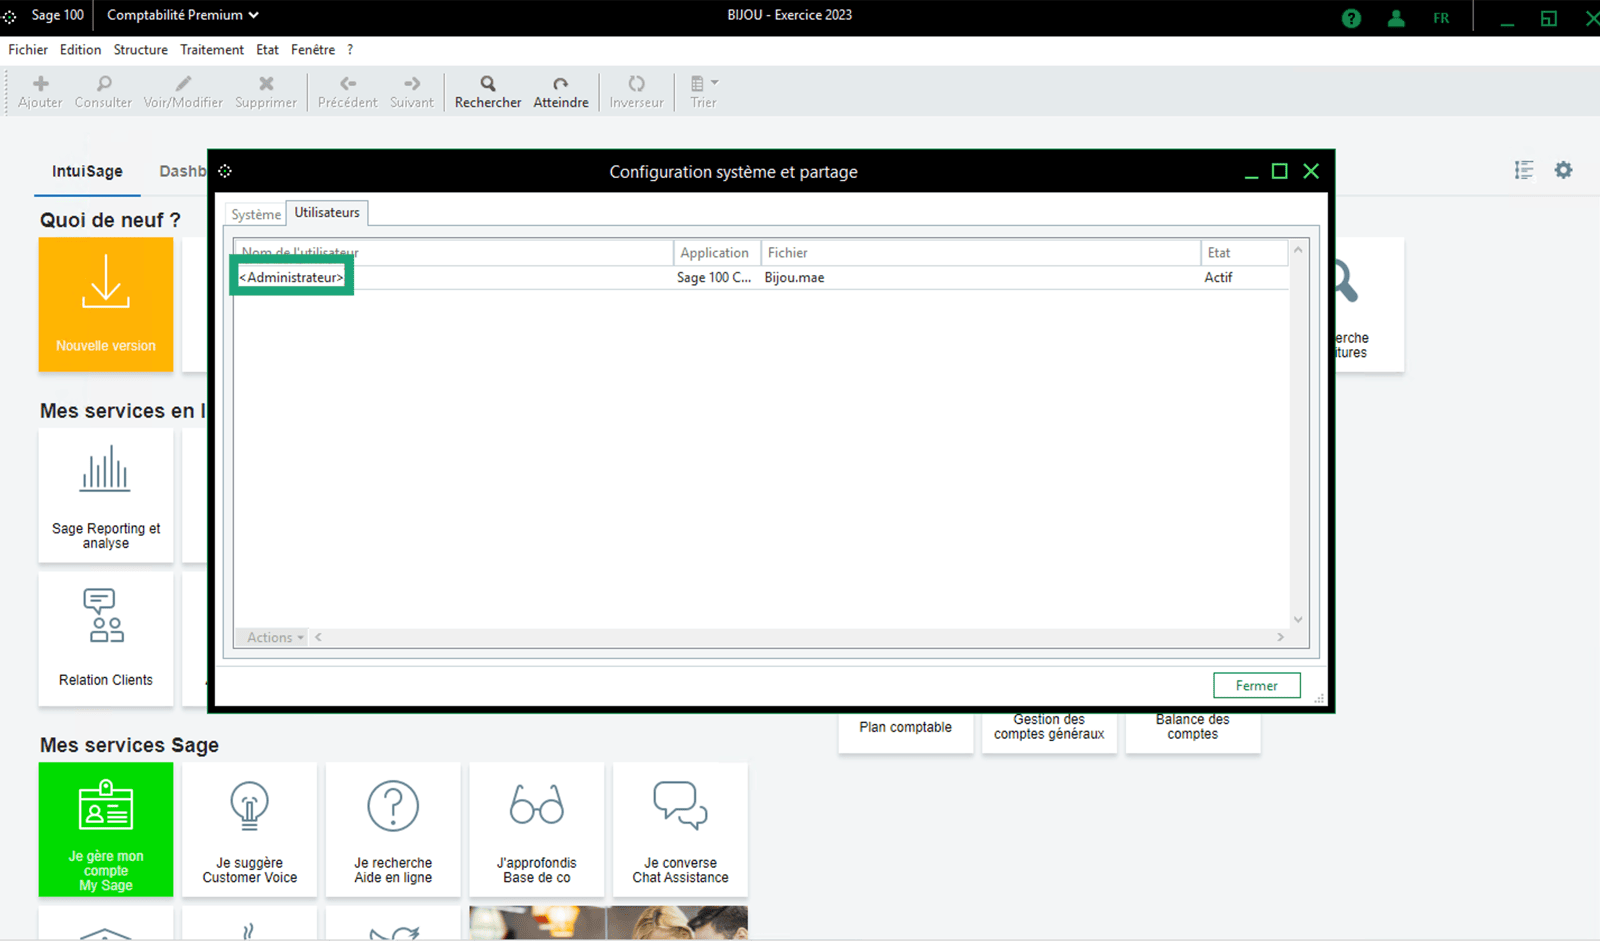
From your Sage 100 instance, go to “Files” → “System Configuration and Sharing” Then, as shown in the screenshot below, select “accounting file” and copy the name of the Sage 100 data folder location and keep it to fill it later in the connection form. ⚠ Make sure that the access type is set to “multi-user”.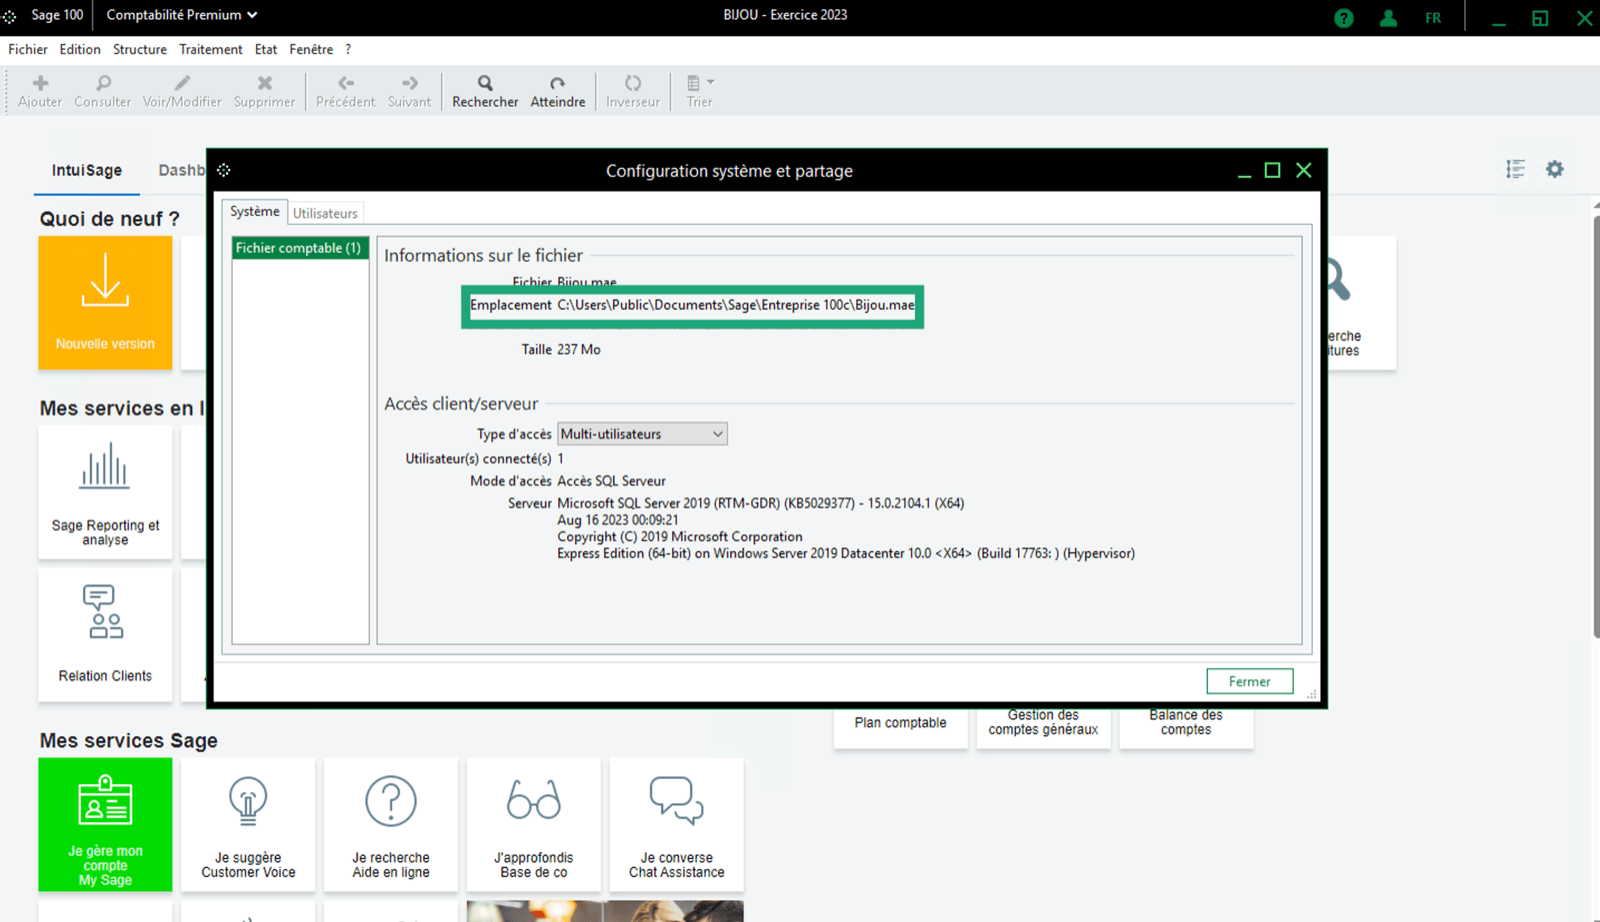
4. Retrieve your username and password
The Sage 100 user name can be retrieved as follows: on your Sage 100 account go to “File” → “System configuration and sharing”. ⚠ If you use the default administrator, you will also need to provide the comparison characters:<Administrator>
The password of the Sage user is that of the user above. It is possible that the user mentioned does not have a password. In this case, leave this field blank.
Connection
Step 1: Choose a name for your connection (If applicable, this first question is not always displayed)

Local agent download and installation
Step 1: Download the Zip file
After the connection step, you will have two options to download and install the local agent on the same server/computer as your Sage 100 instance:- If you have admin access to the server/computer where Sage 100 is installed, you can directly download the program by clicking on Download. Otherwise, a link to download the same Zip file will be sent by email to the email you will provide.
-
A zip folder will open and offer you several files.
- Start the installation of the “local agent” folder with the number corresponding to your Sage version number.
- During the installation, you will need to select the “settings.json” file to complete the installation steps.
- If Sage 100 is installed on a server/computer that you do not have admin access to, you have the option to send the program by email to the person or company that has admin access to the server/computer where Sage 100 is installed
Step 2: Install the Cockpit (if it has not already been installed)
To install the cockpit, please follow the steps documented on the following article: 📄 Local Agent Cockpit — User Guide If the Cockpit has already been installed on your server, you can start it as an administrator and go directly to the Sage 100 FR GC section of the cockpit.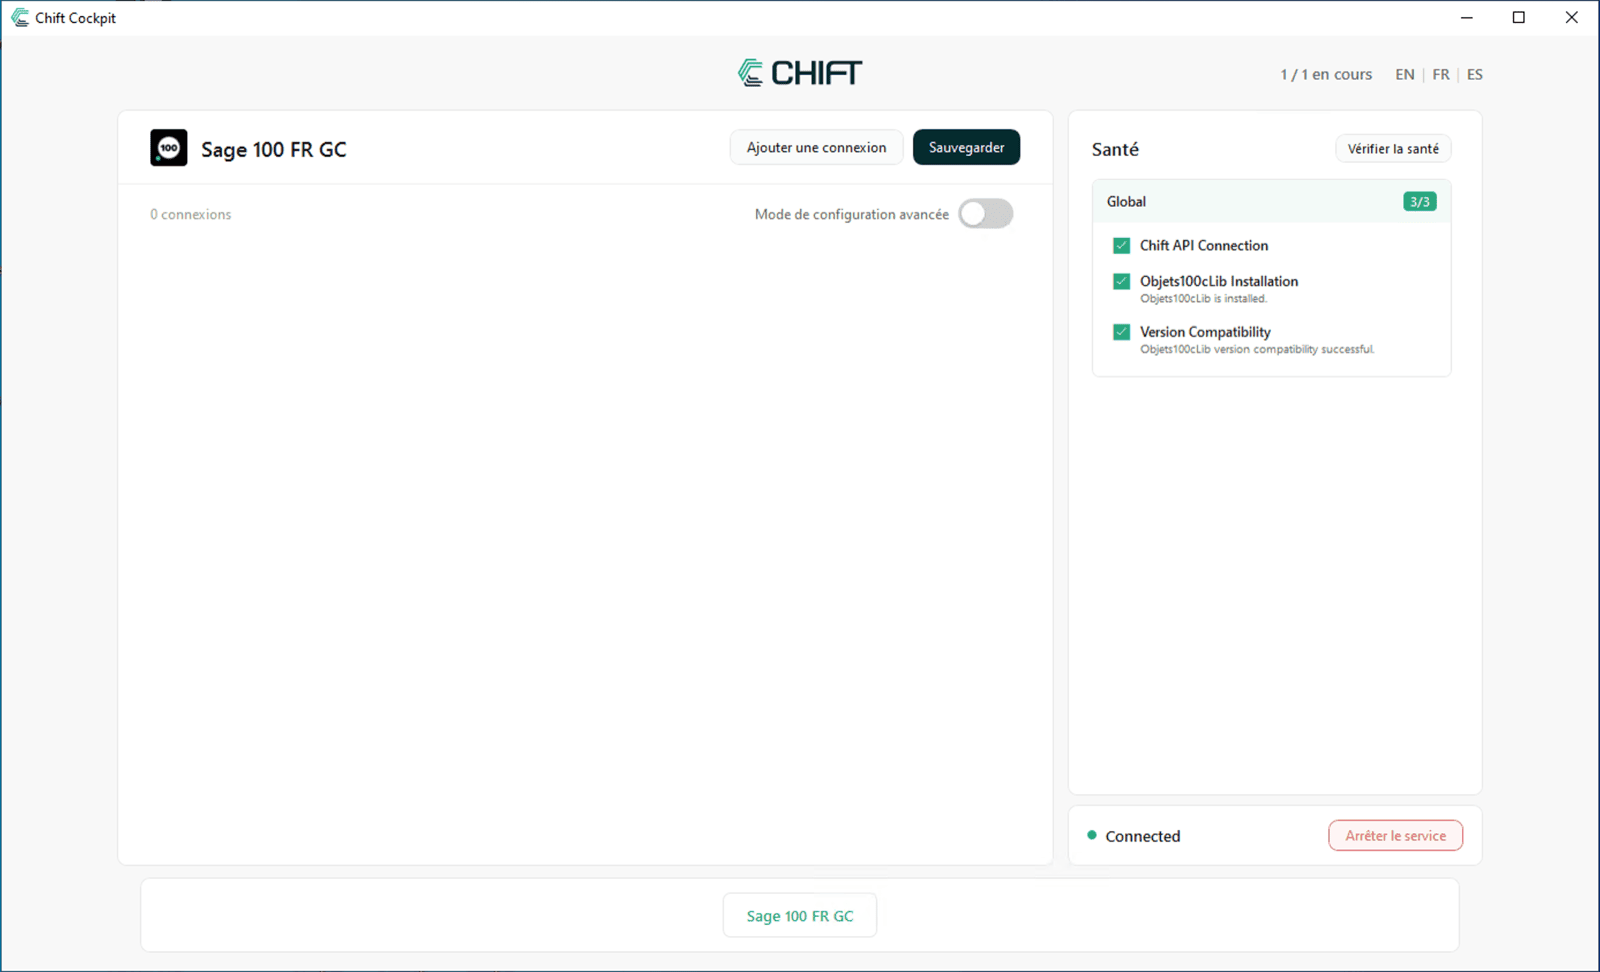
Step 3: Connect your folder through the Cockpit
Here is a short video showing how to add a new connection to your cockpit. Note that in this video the administrator has no password. If a password was required, the next field (Sage password) would need to be filled too. To create the connection with your GCM folder, please click the Add connection button on the top of the screen. This will open a new tab that will ask you to select a settings.json file. This file is the file containing all the technical information allowing the cockpit to create the proper connection with your folder. Every folder that you want to connect through the cockpit will need a distinct settings.json that will need to be downloaded separately.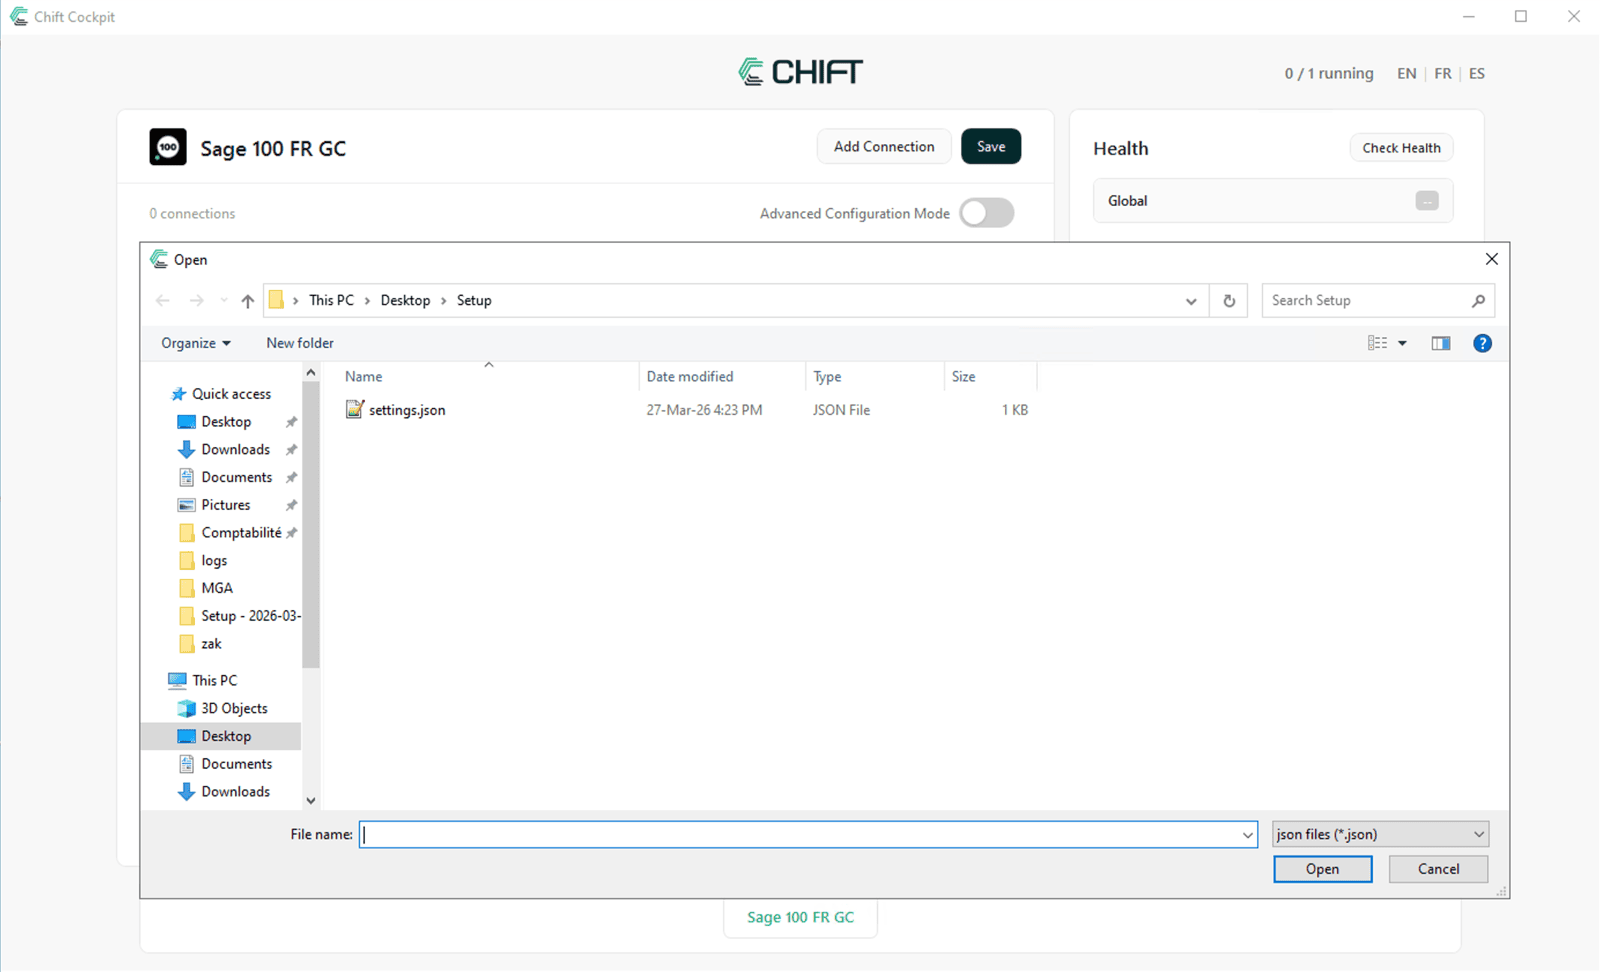
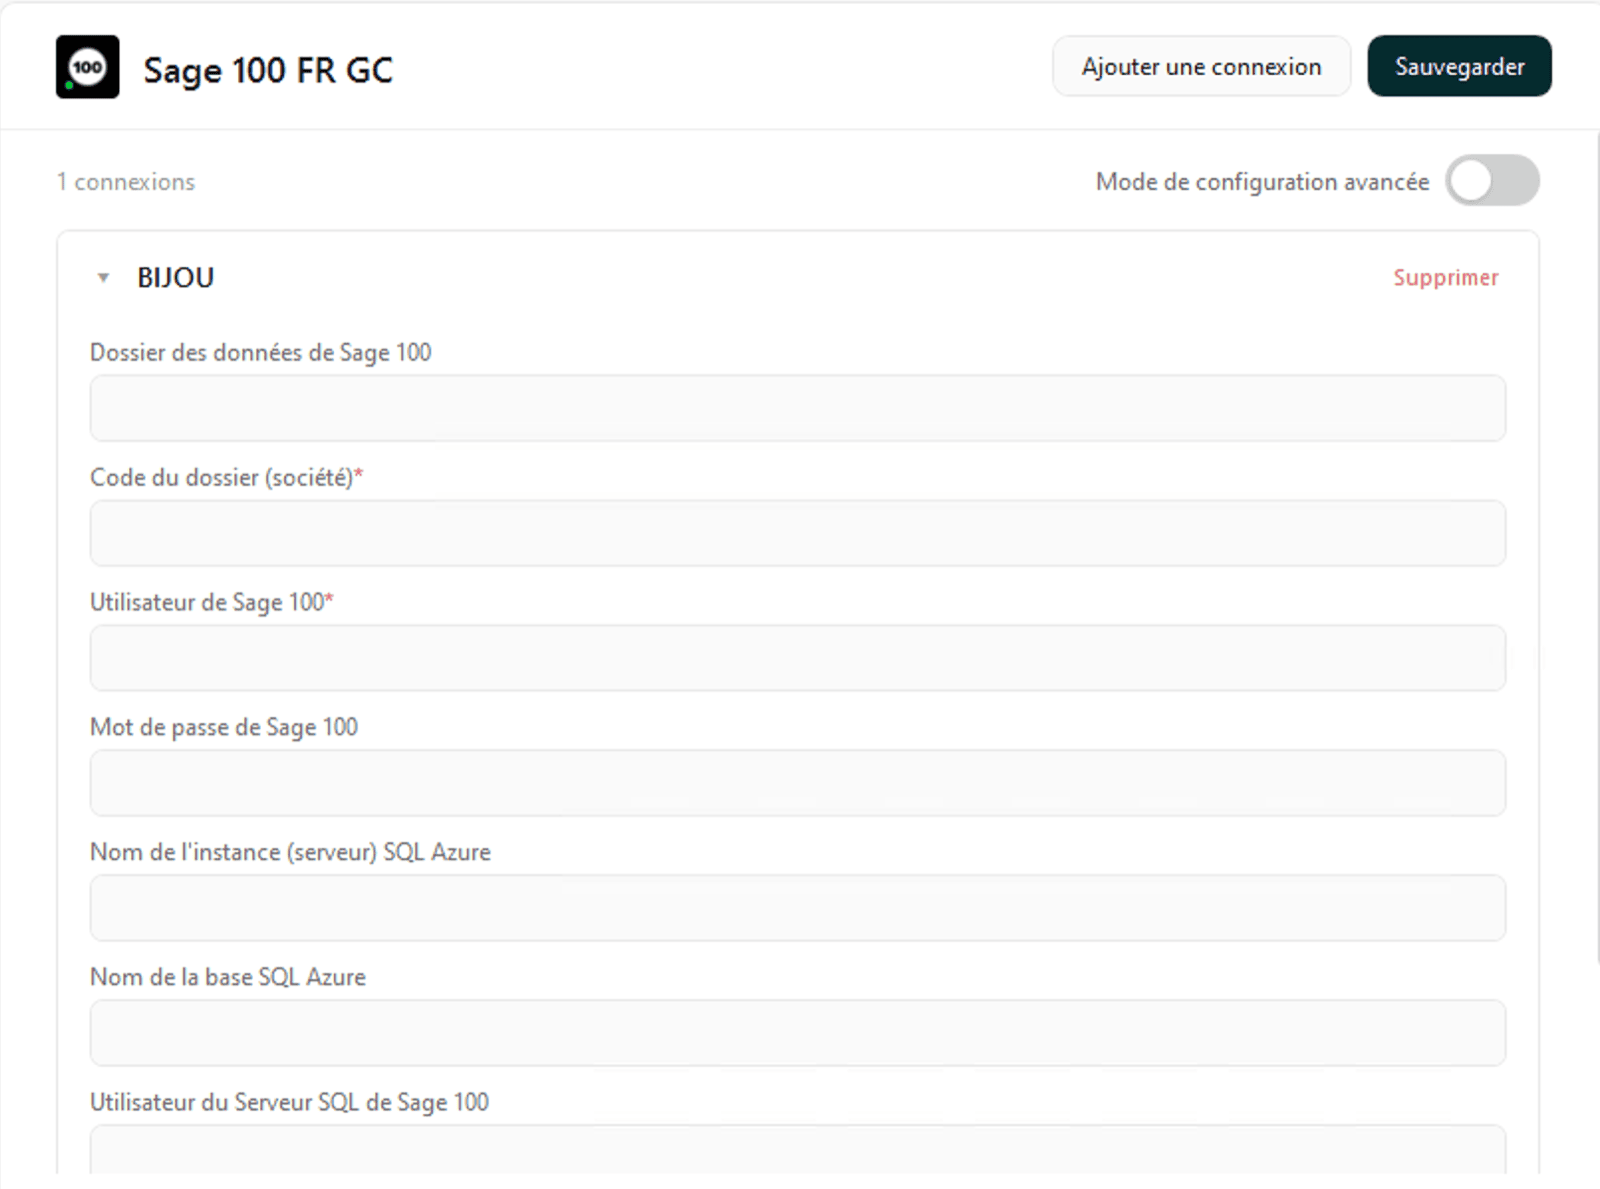
-
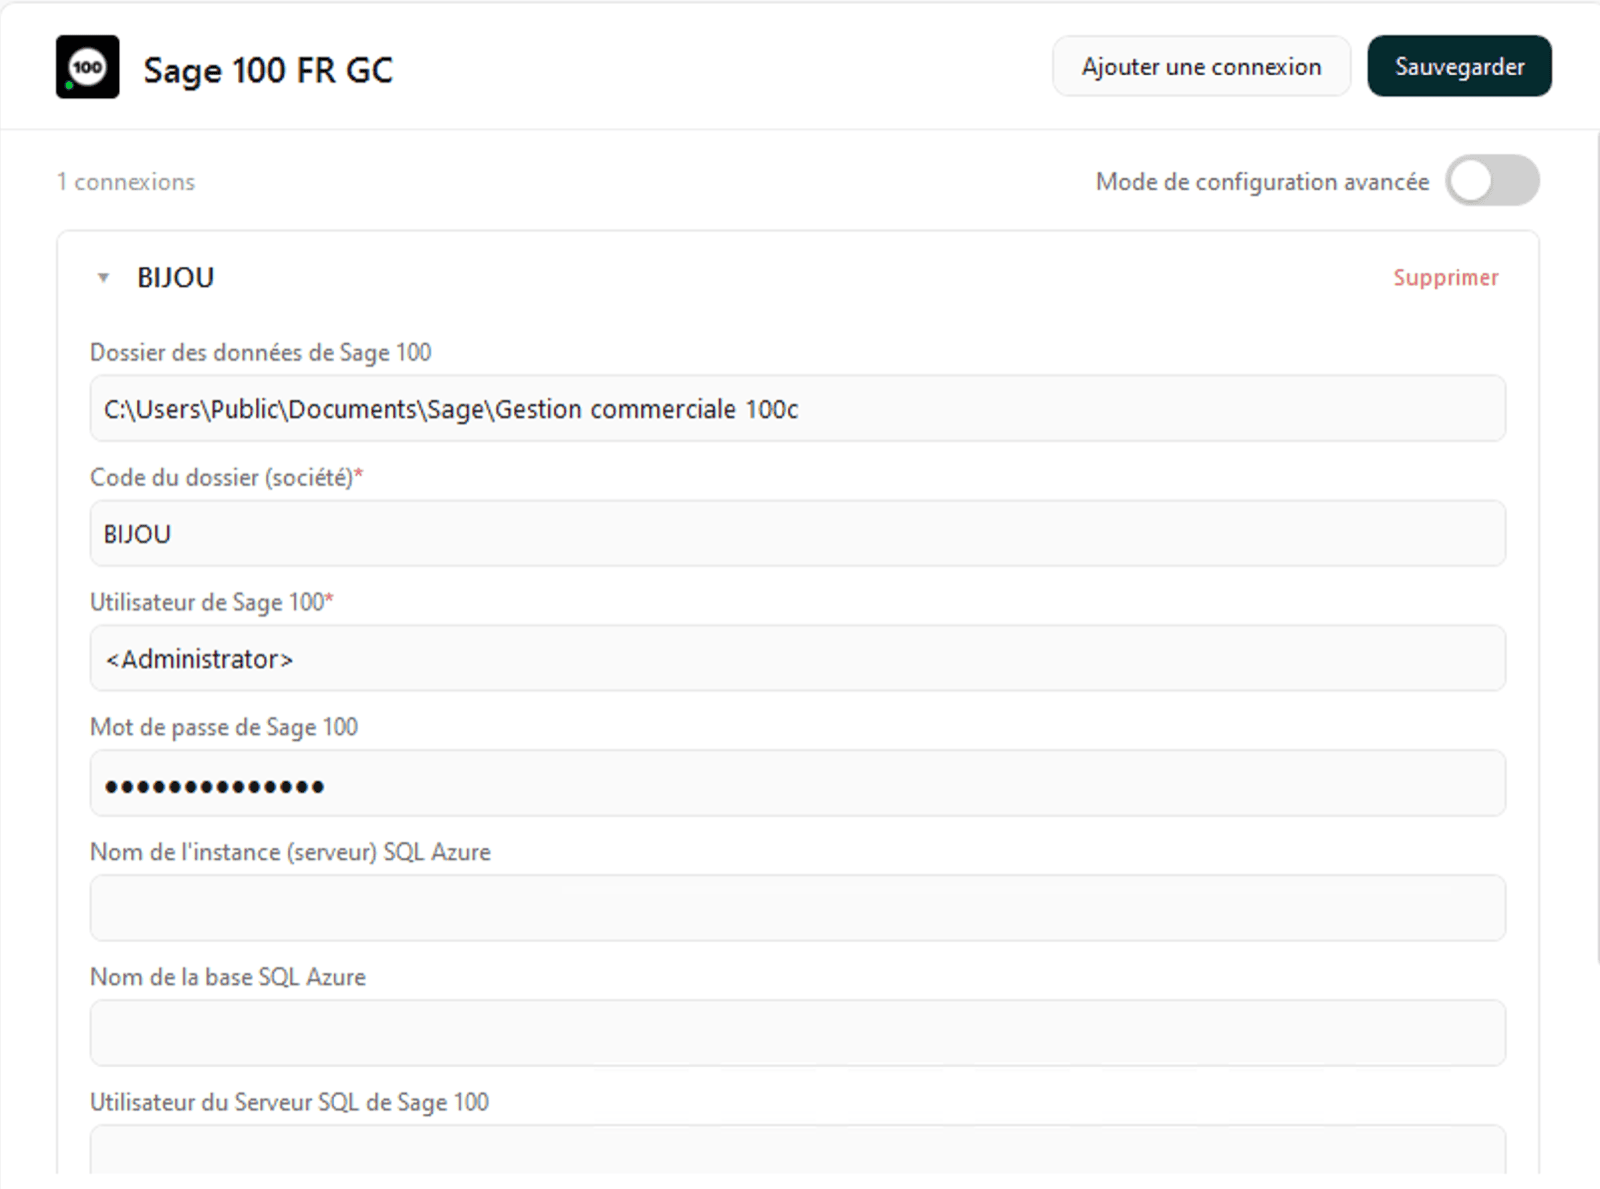
Sage 100 data folder: The path you retrieved from Preparation - step 3
- example:
C:\Users\Public\Documents\Sage\Gestion commerciale 100c(without the gcm file)
- example:
-
Company Code: The code of your company in Sage (which is also the name of your GCM file, from Preparation - step 3)
- example: BIJOU
-
Sage 100 username: The username of the administrator you want to use for the connection. We do recommend the use of the default admin of your Sage account.
- example:
<administrator>
- example:
- Sage 100 password: The password of the username you provided on the previous point.
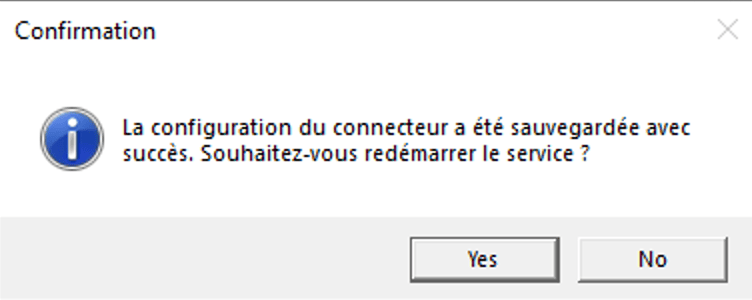

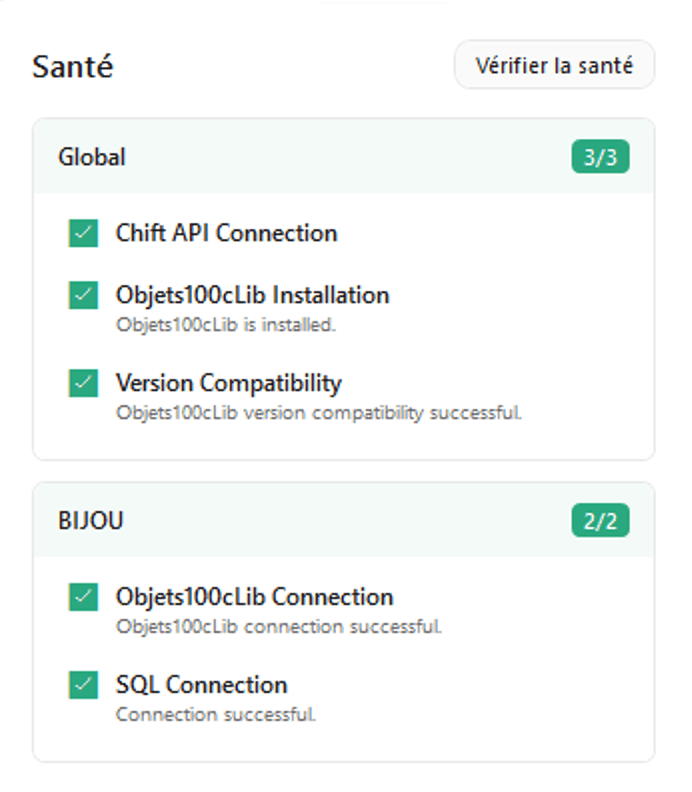
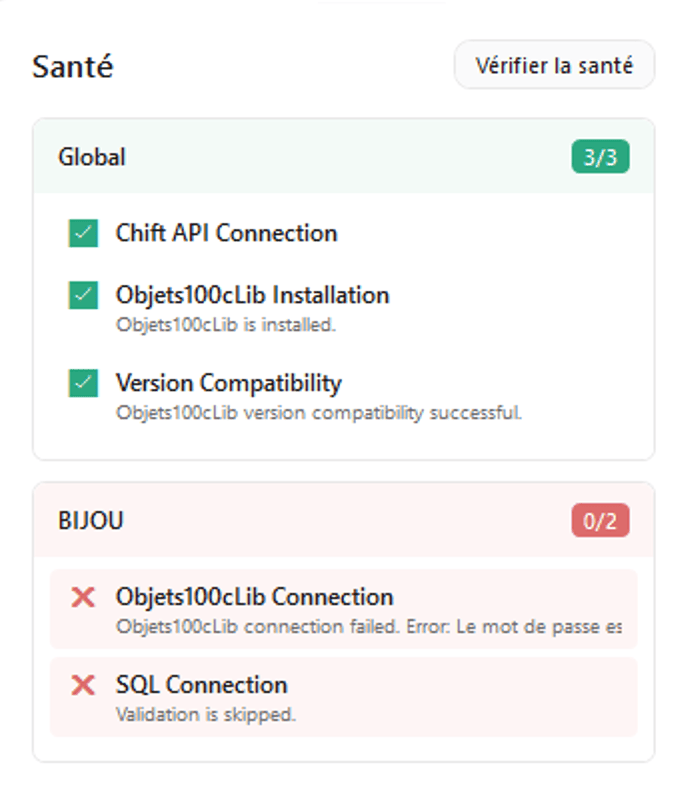
Change the user running the service
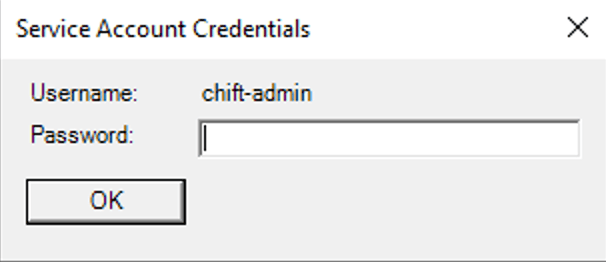
This step is mandatory if your MAE is located on a network drive or If the Local System user has no access to that file. To do so, open the service app of Windows as an administrator: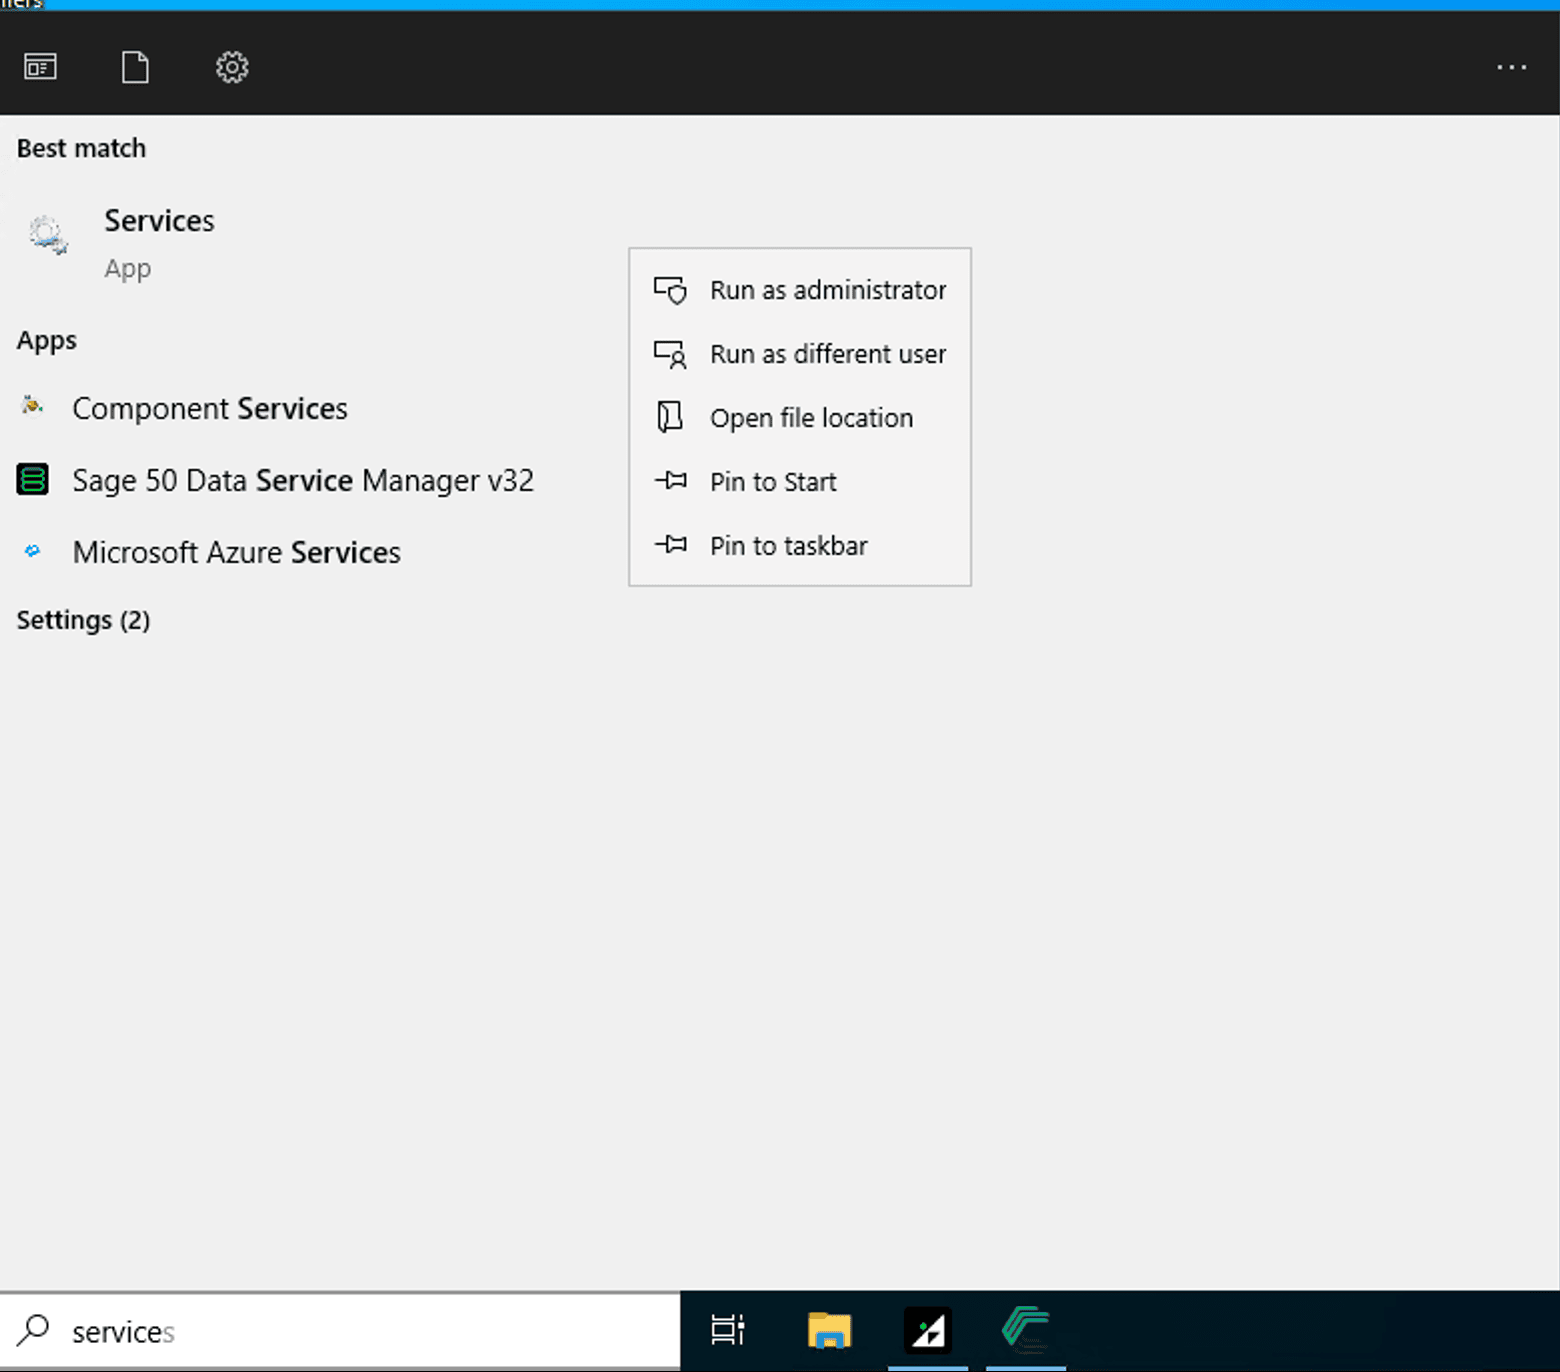
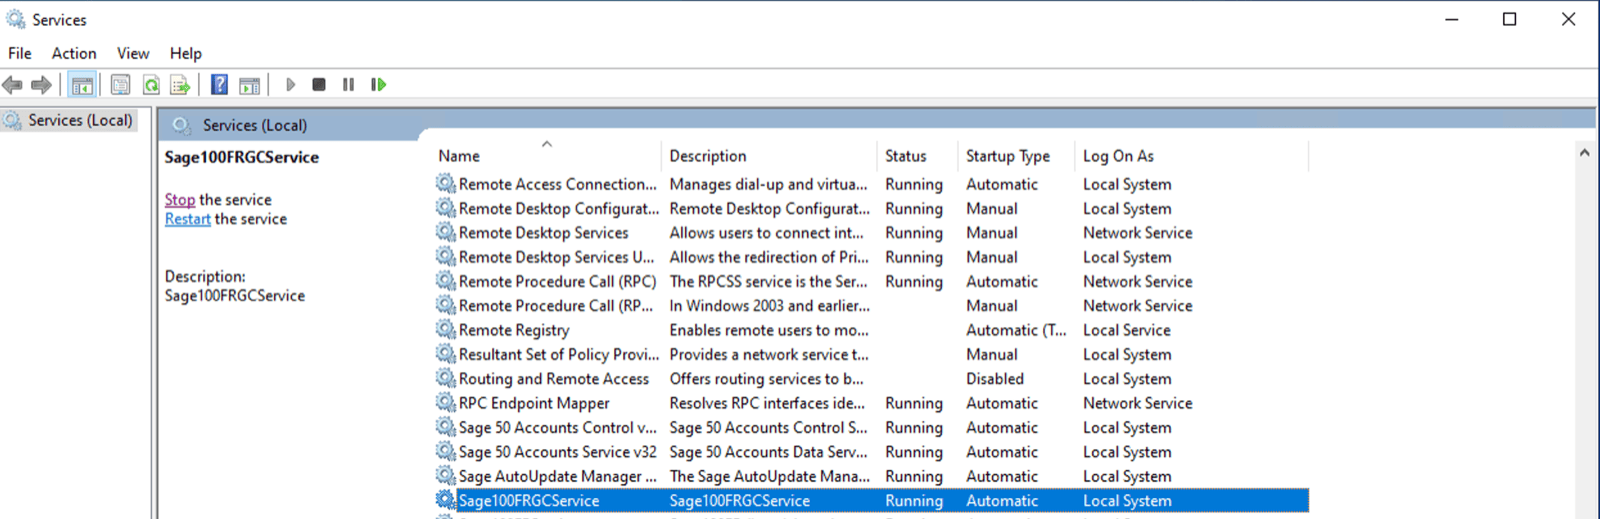
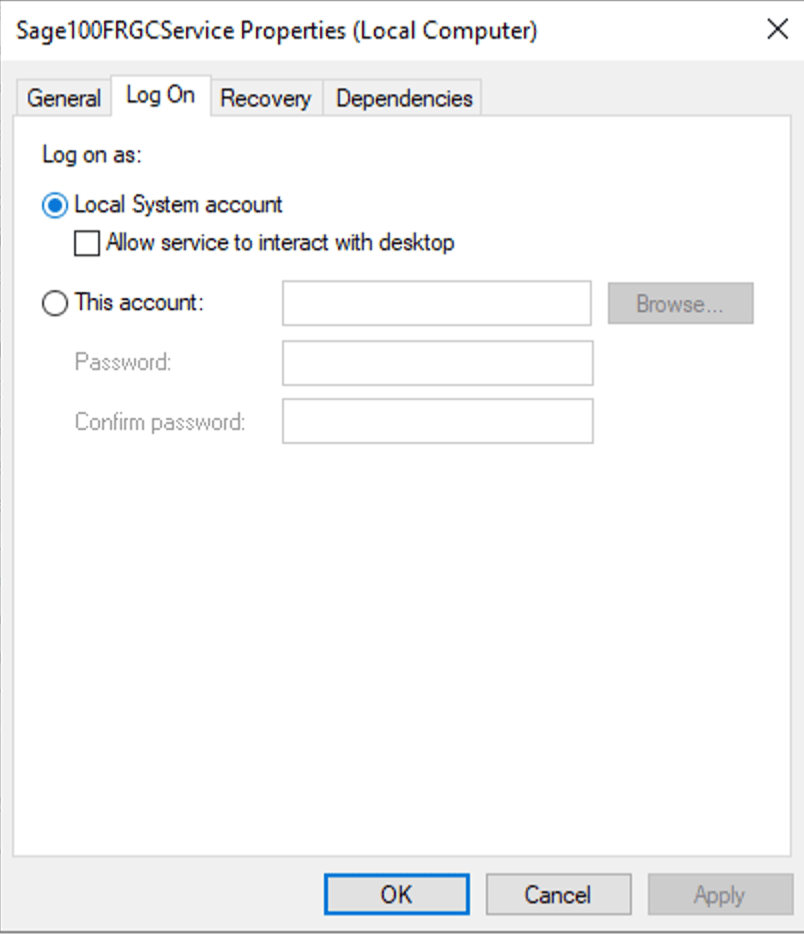
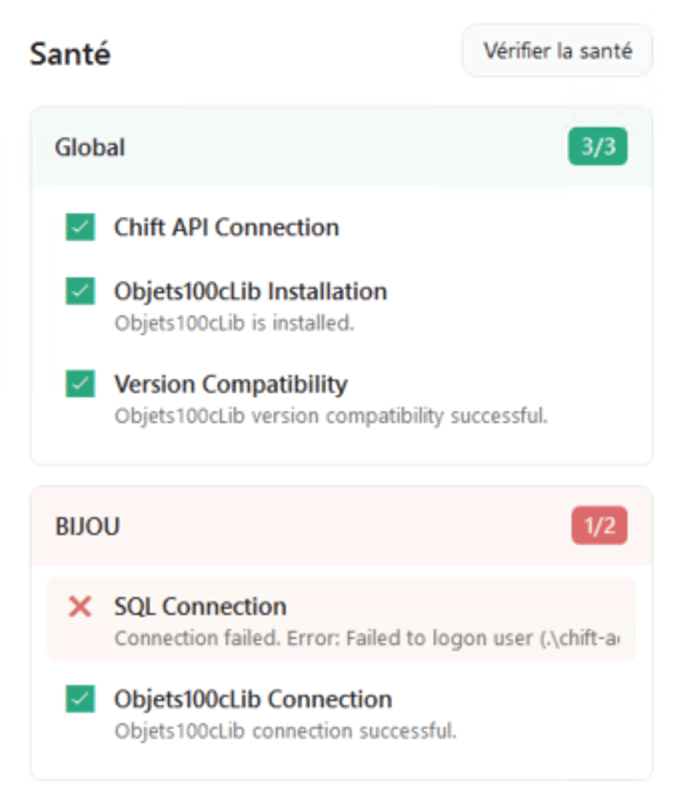
- Has read and write accesses to your SQL database related to the folder that you want to connect.
- Has read access to the folders that contains your MAE file.
- Has writing permissions on the following folder:
C://ProgramFiles (x86)/Sage100FRGCServiceas some logs will be updated in this folder. (Note that the name of the first folder might be slightly different depending on your server).