This on premise tool uses the Chift Cockpit to ensure a smooth and fast connection.

Prerequisites

  • Have access to the server in admin where Sage 200 ES is installed
  • Your admin user used to run the service should have Spanish localisation settings. Our cockpit will verify this and notify if not correct.
  • Have credentials for Sage200 ES database. If you do not have them, please reach out to your integrator before installing the connector

Add a connection/consumer in Chift platform

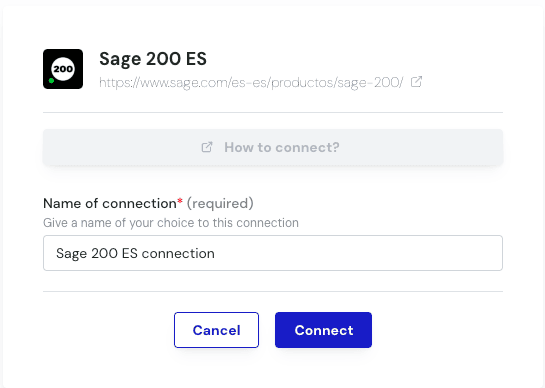
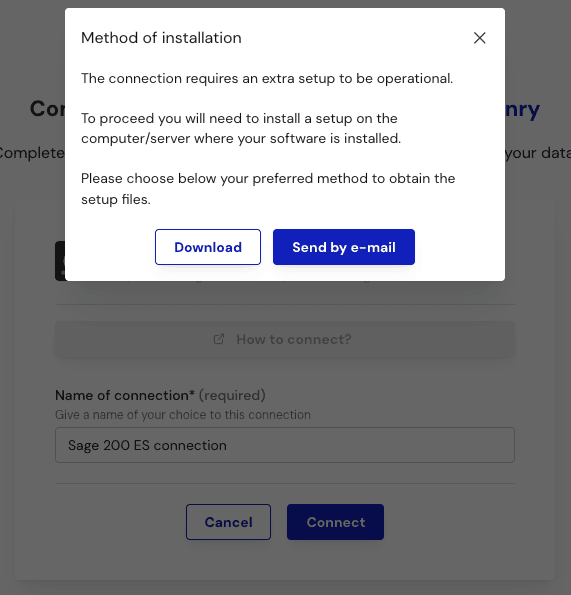
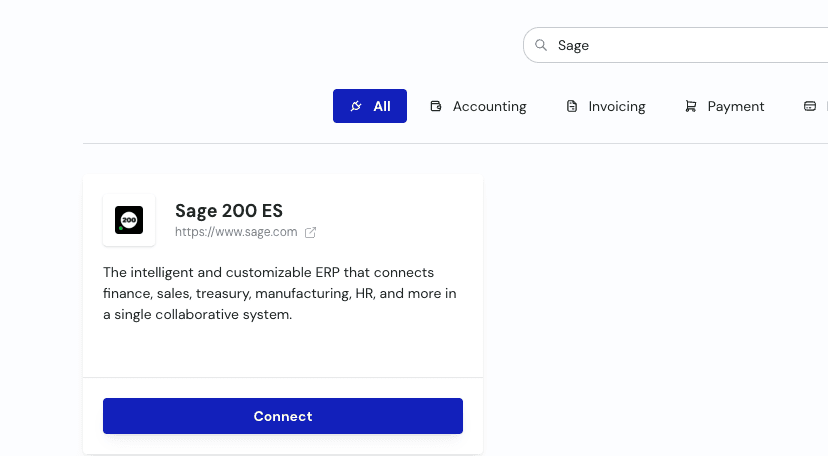
Add a consumer image (25).png Within the consumer config, add a connection Find the Sage 200 ES connector and click “Connect”. image (26).png Give the connection a name, and click “Connect”. image (28).png Choose whether you want to download or receive the installer via mail. This will be a “setup.zip” folder. image (27).png
Install the Cockpit

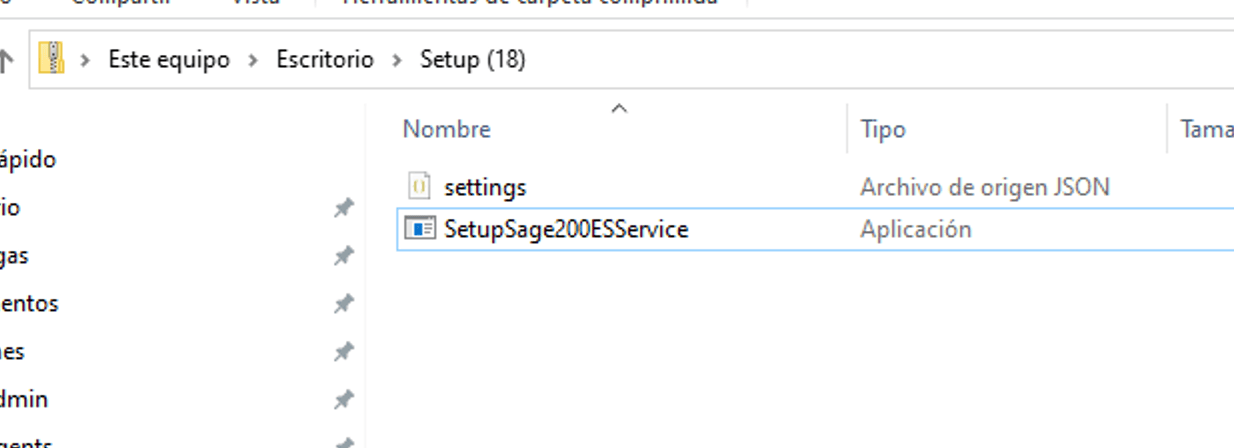
Paste the zip file on the server. Extract the zip file, open it and run the “SetupSage200ESService”. image (29).png This will start the installation wizard, which will guide you through the installation process.
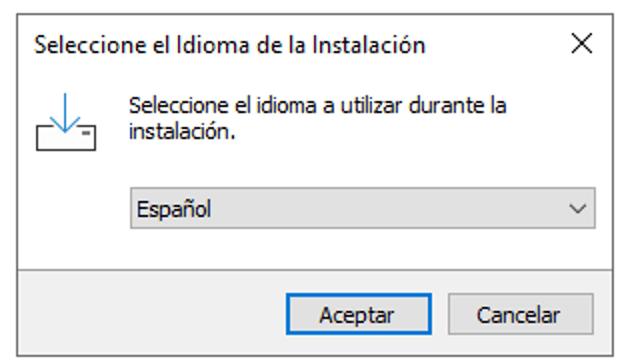
  1. Choose your language
image (30).png
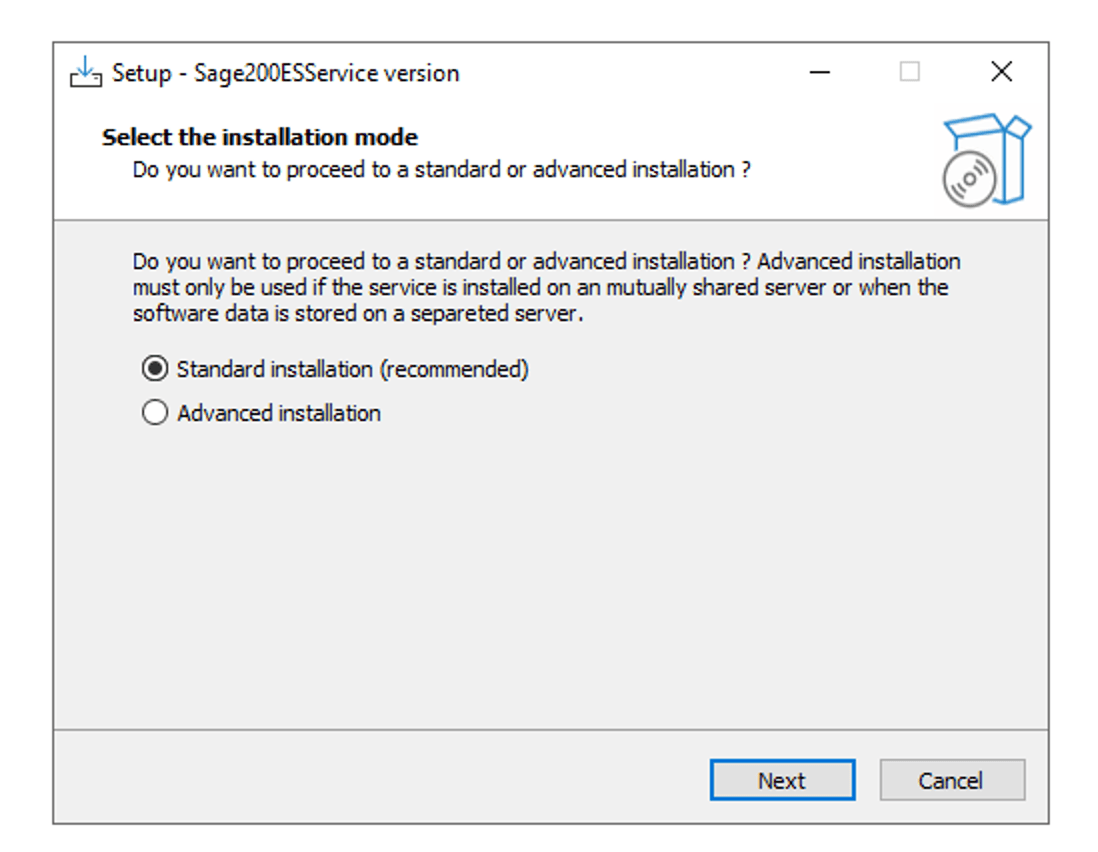
  1. Choose installation type.
image (31).png
  1. Select the full installation
image (32).png
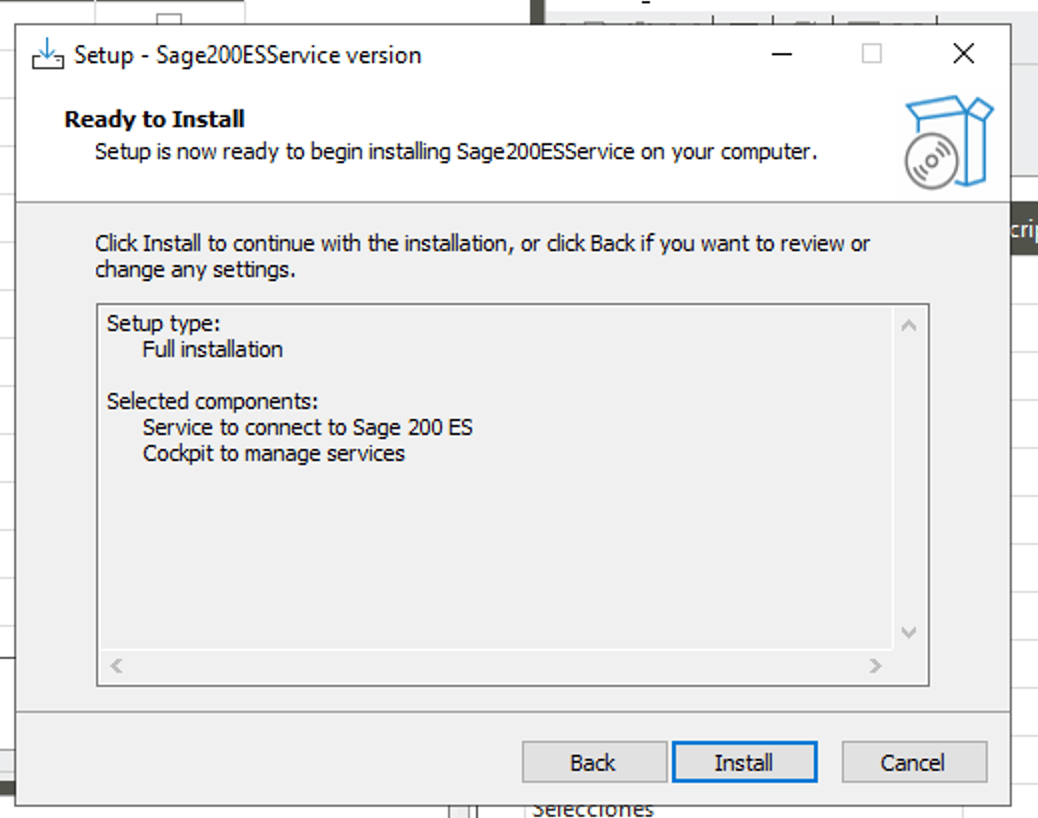
  1. Install
image (33).png The Chift cockpit will open. If not, open the Chift cockpit yourself. For more information on how to use the cockpit, you can go to the dedicated documentation page: 📄 Cockpit — User Guide

Add a connection to the cockpit

If the cockpit is not opened yet, start opening the cockpit.
  1. Add a connection using the button on the top right of the cockpit
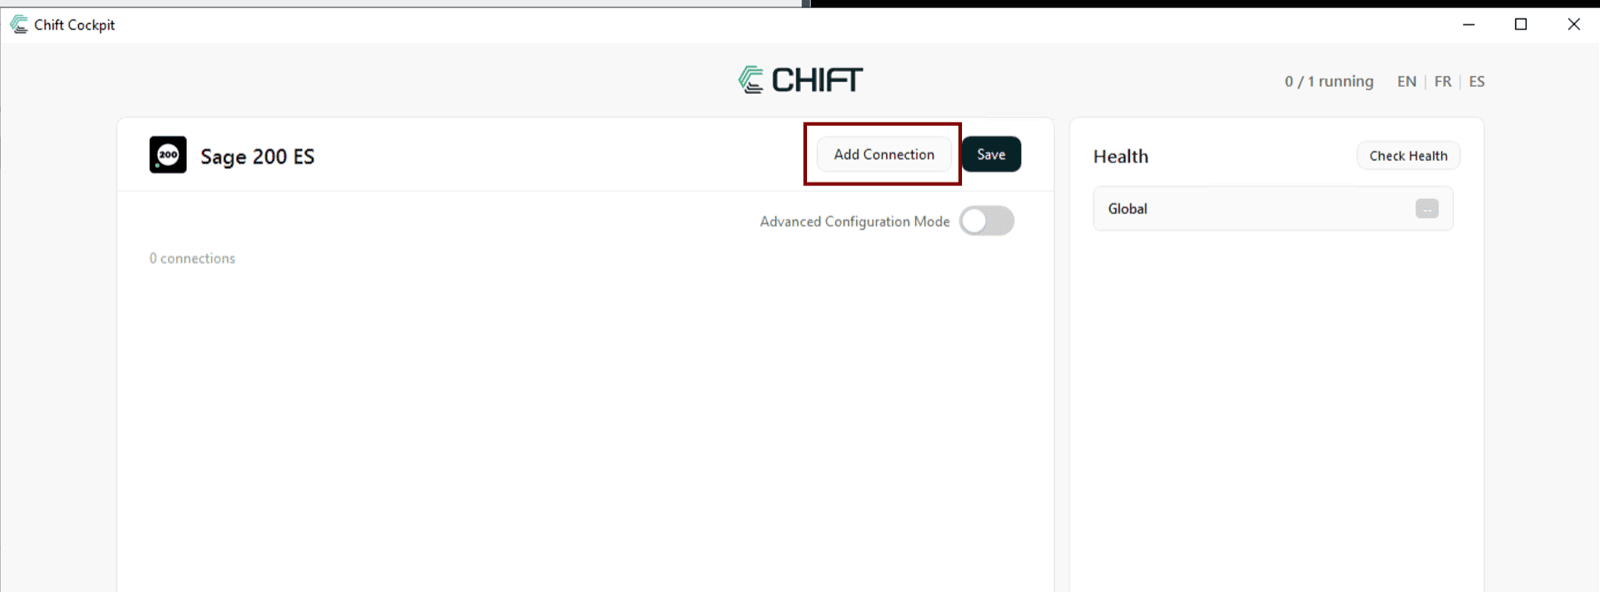
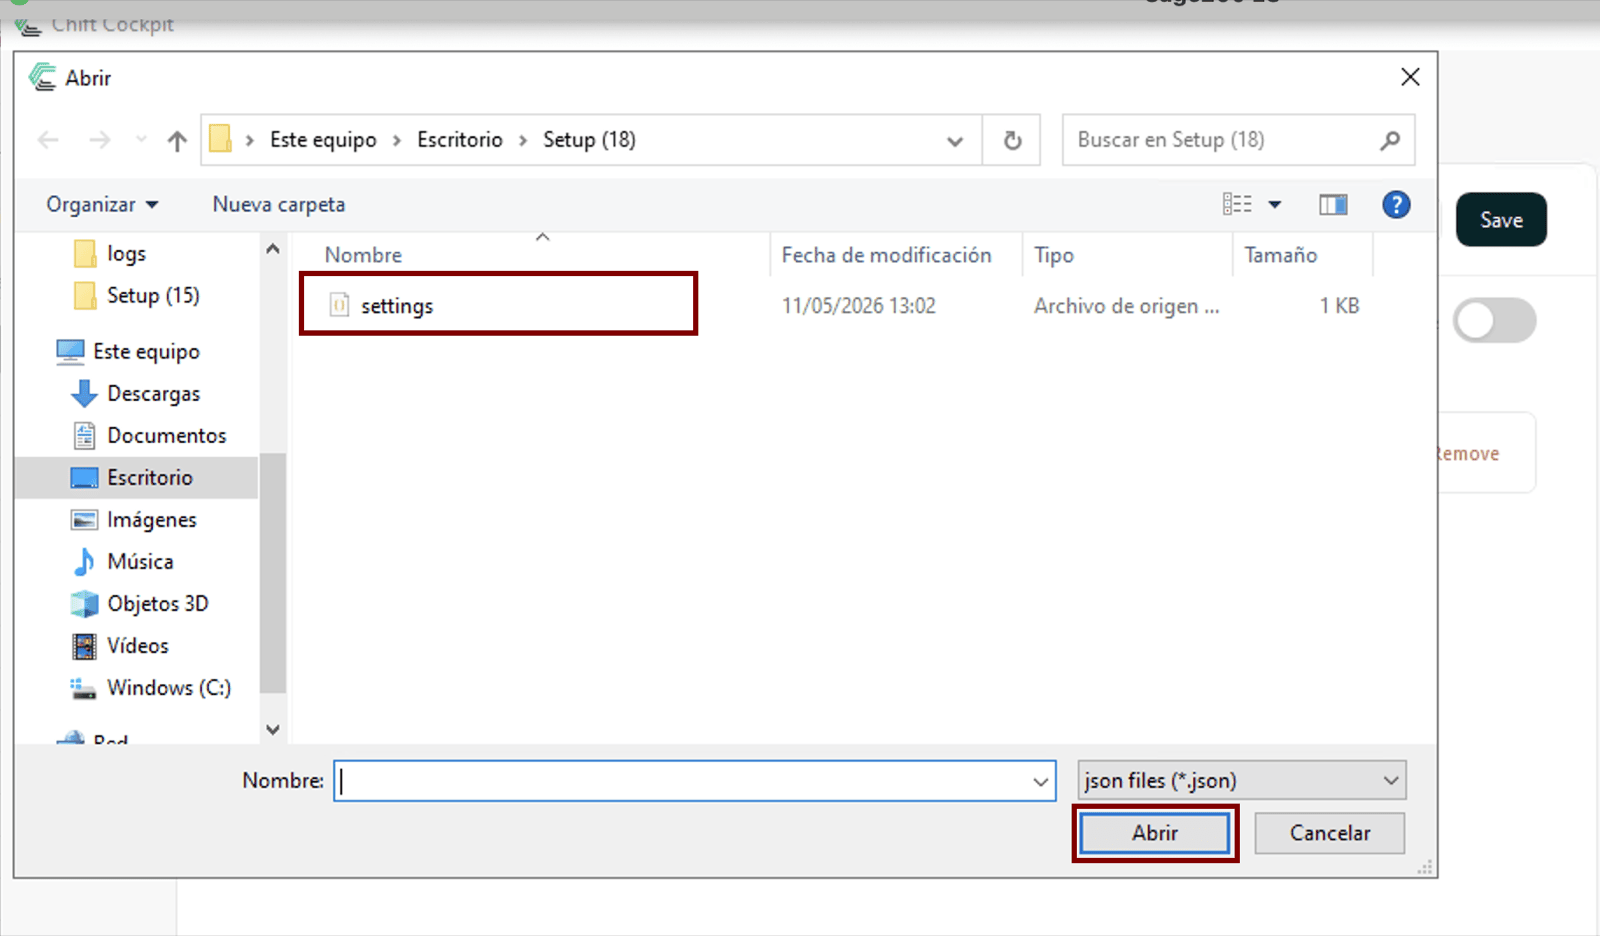
image (34).png Select the settings file inside the setup file you unzipped. image (35).png
  1. Click the arrow to toggle the settings
image (36).png
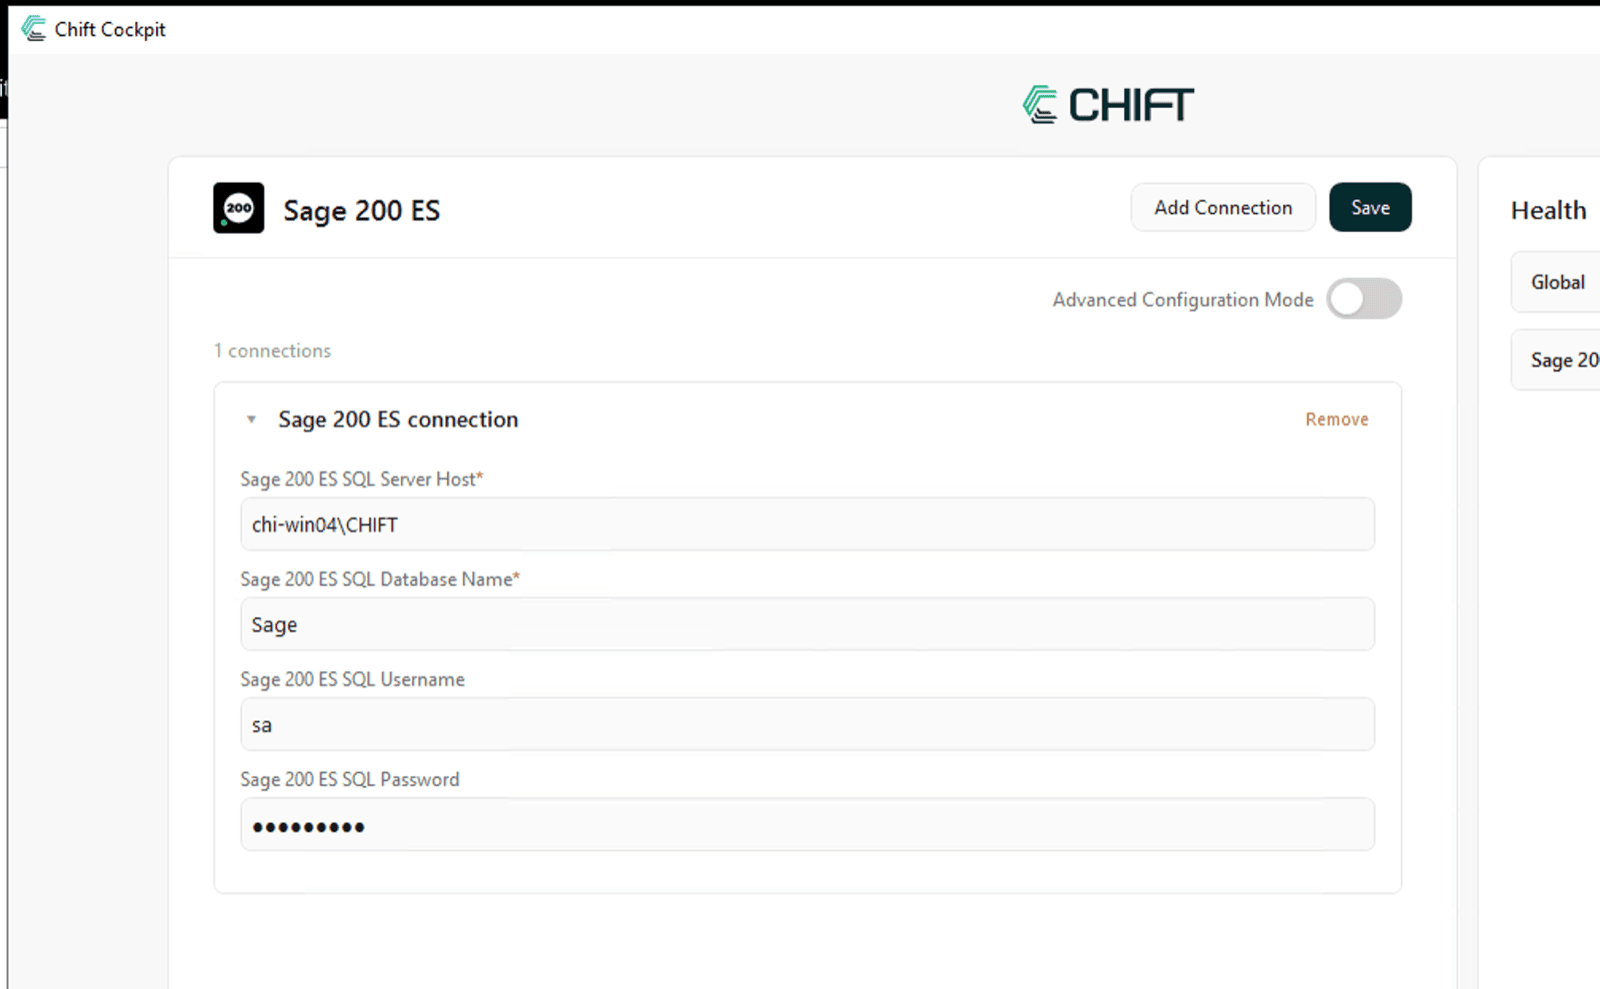
  1. Fill in the required fields :
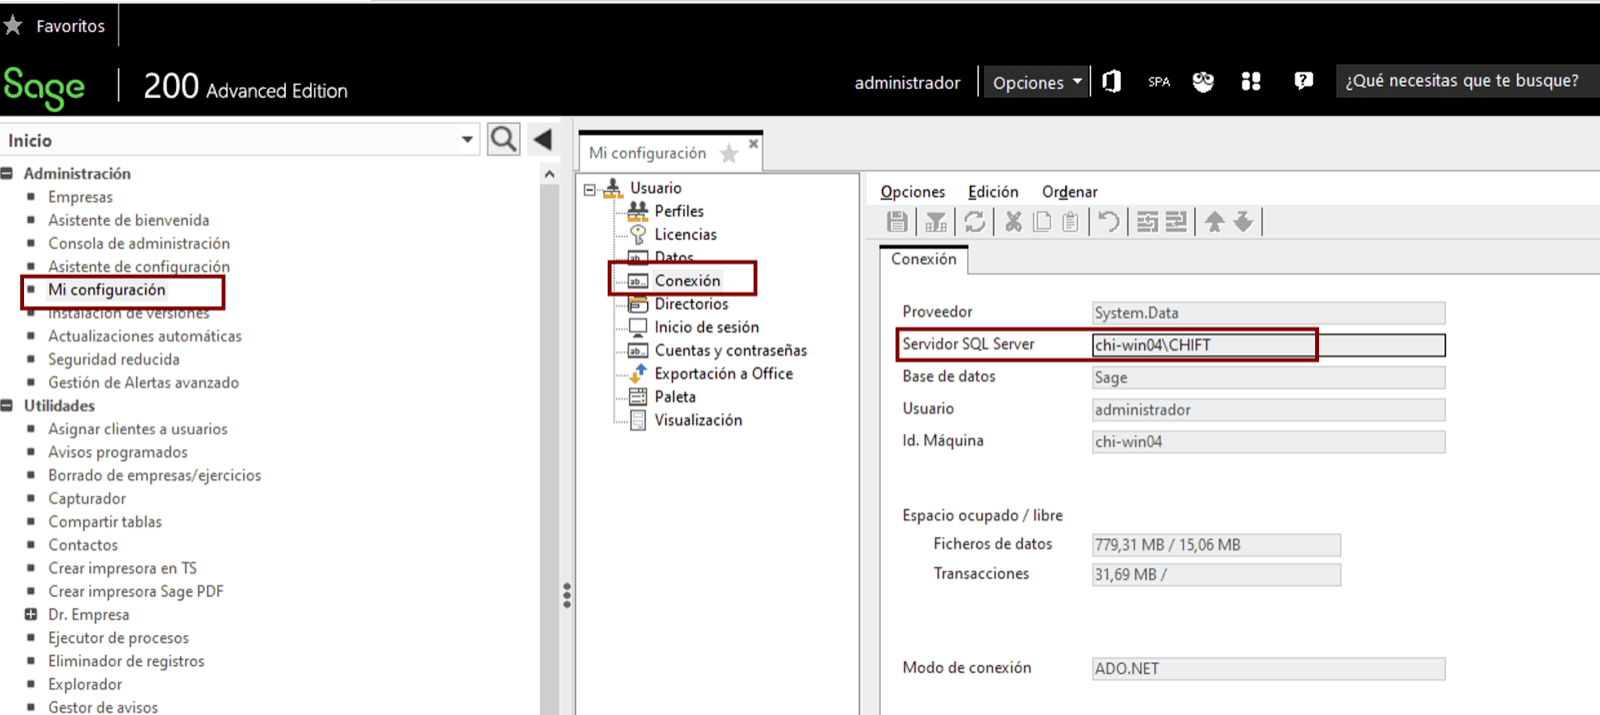
image (37).png The Server Host can be found within Sage. image (38).png You can use the “Check Health” at the top right to have the Cockpit validate the credentials. If OK, click “Save”. If the cockpit detects the localisation is not correct, it will propose to do this. If you want to do this manually, you can do this by following https://support.microsoft.com/en-us/access/change-the-windows-regional-settings-to-modify-the-appearance-of-some-data-types-in-access-databases