PREREQUISITES
- You must have an active Sage Intacct Web Services developer license (this can be purchased by contacting your Intacct account manager)
- You must have a valid Web Services sender ID (this will be sent by email after purchasing the Sage Intacct Web Services developer license)
- You must have a valid Web Services sender password (you will receive an email after purchasing the Sage Intacct Web Services developer license that will allow you to generate this password)
PREPARATION
Create your API application
- Go to Sage Developer Portal
- Click on “View Console” and create your organisation
- Go to “Applications” and click on “New application”
-
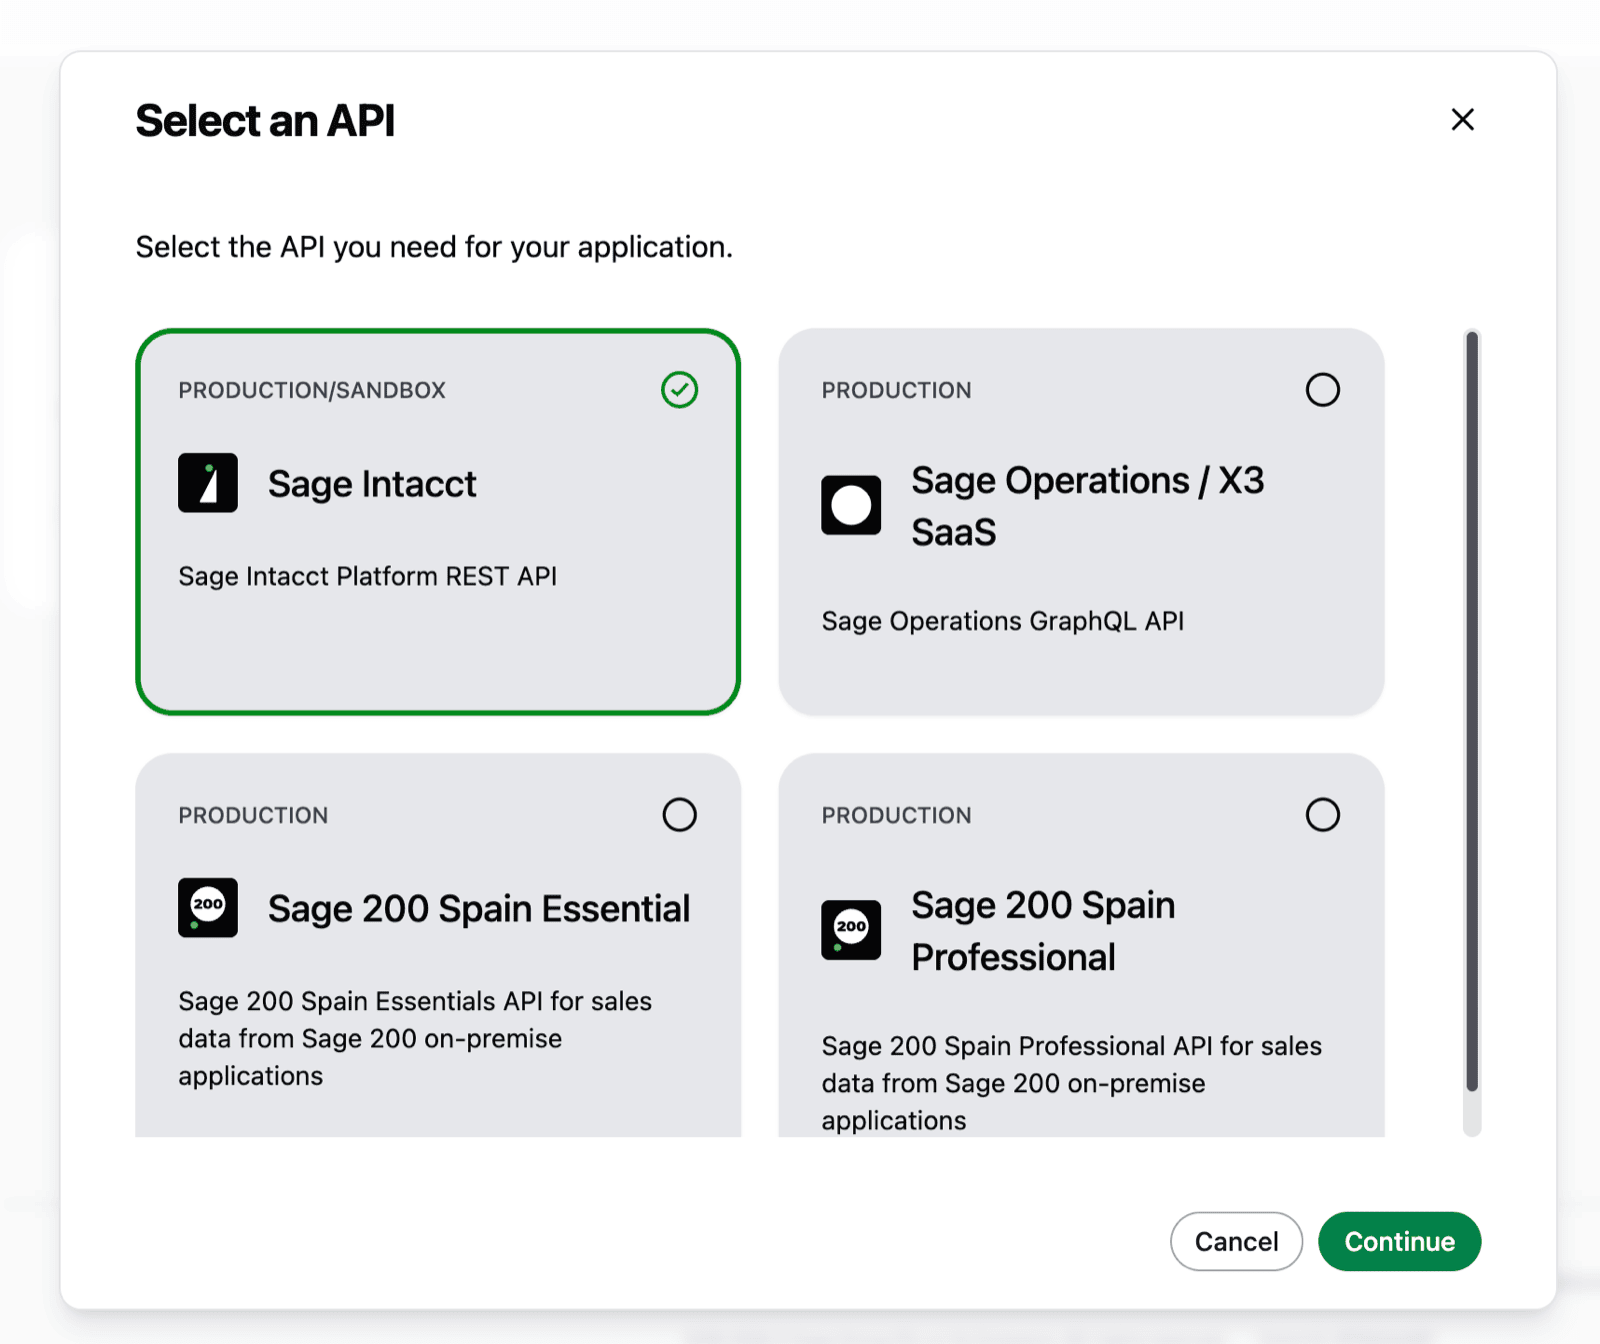
Select “Sage Intacct”
-
Fill in an “Application name” and click on continue (the application name is informative and can be whatever you want)

-
Fill in Chift’s Redirect URI with the following value: https://chift.app/oauth2/redirect
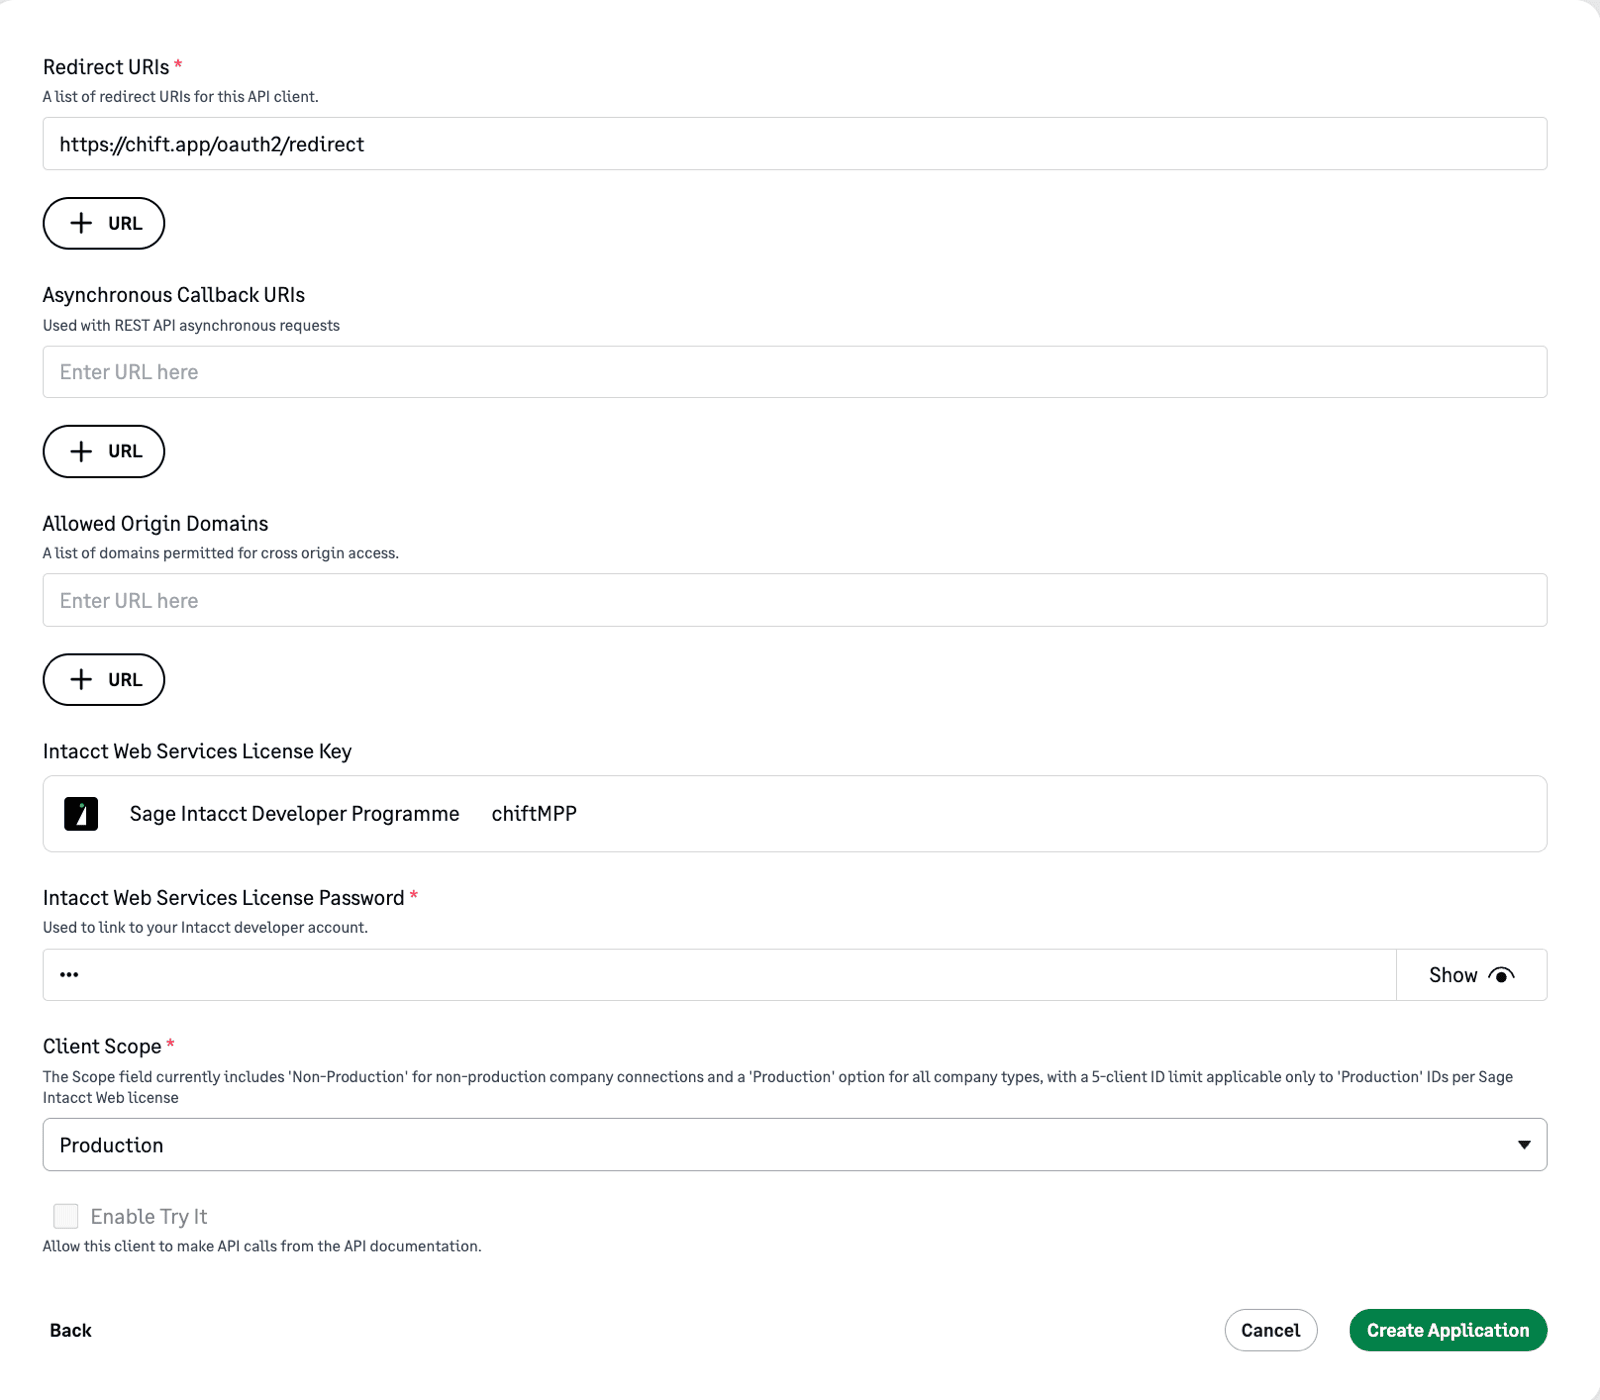
- Specify the Web Services sender ID from the prerequisites as Intacct Web Services License Key
- Specify the Web Services sender password from the prerequisites as Intacct Web Services License Password
- Select “Production” as client scope
- Click on “Create Application”
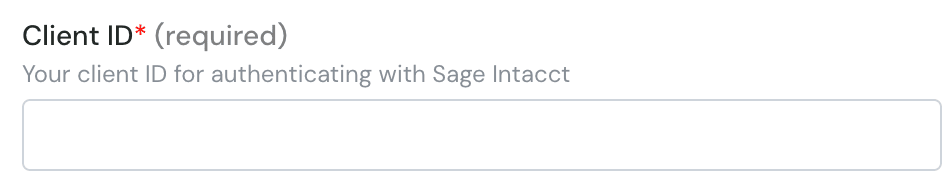
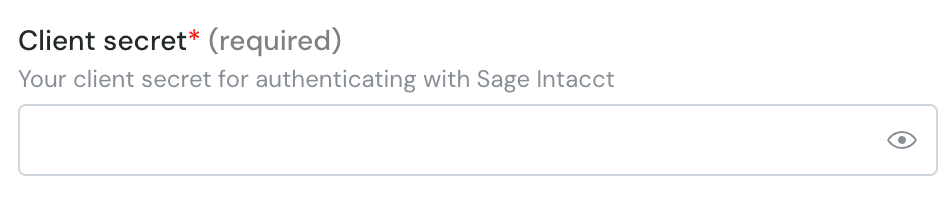
- This will generate a client ID and a client Secret that you will need during the “Connection” step below

Authorize the Webservice on each company you want to connect
After- Connect to your Sage Intacct account
-
Navigate to Company > Configuration > Company
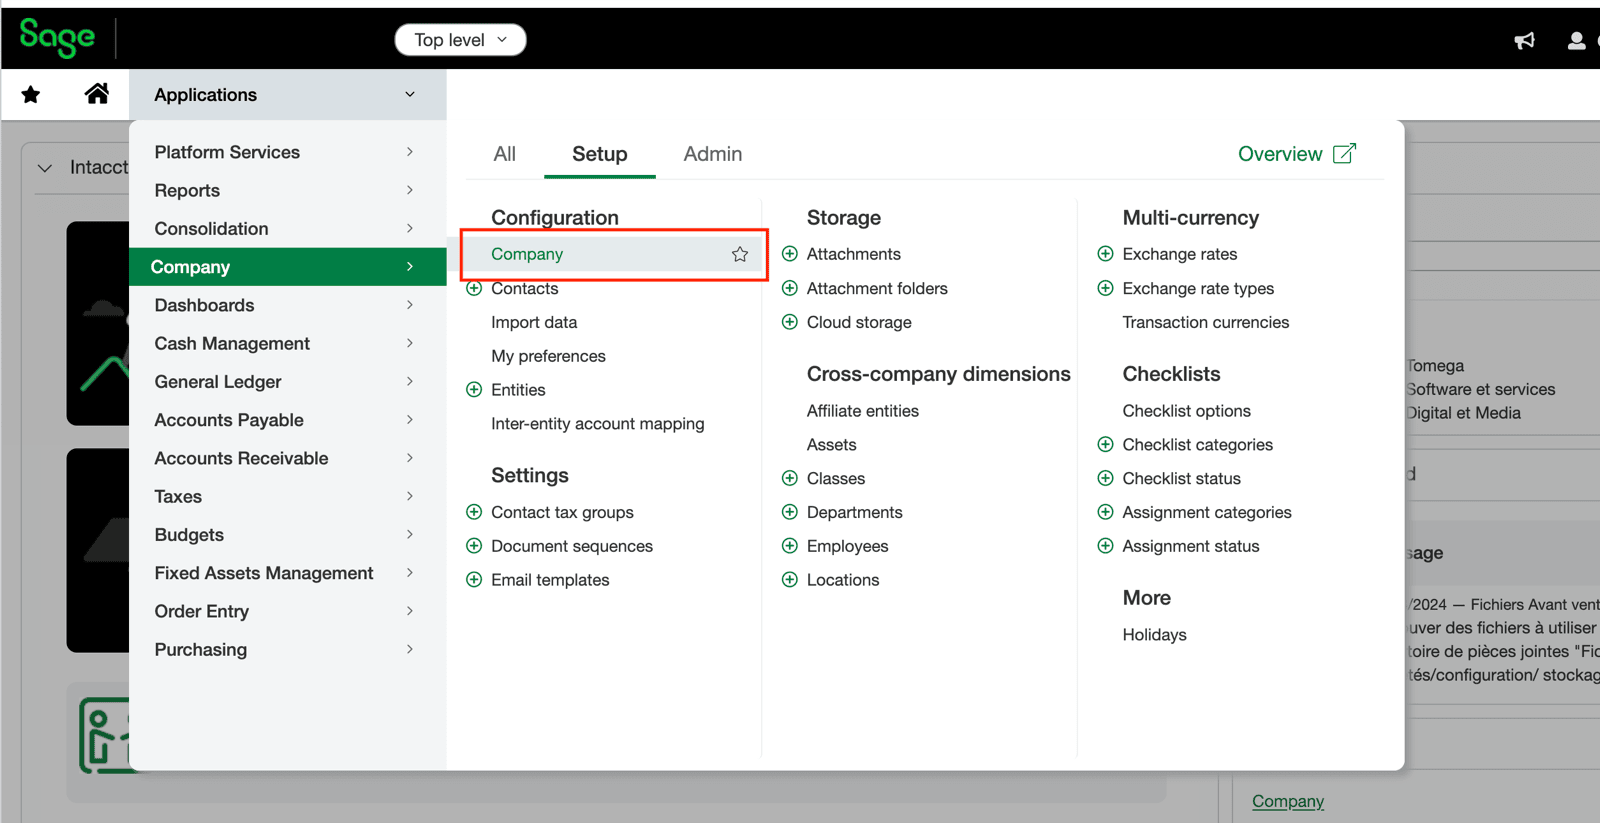
- Go to Security tab and click on “Edit”
-
Scroll down to the Web Services Authorizations section and click on “Add”
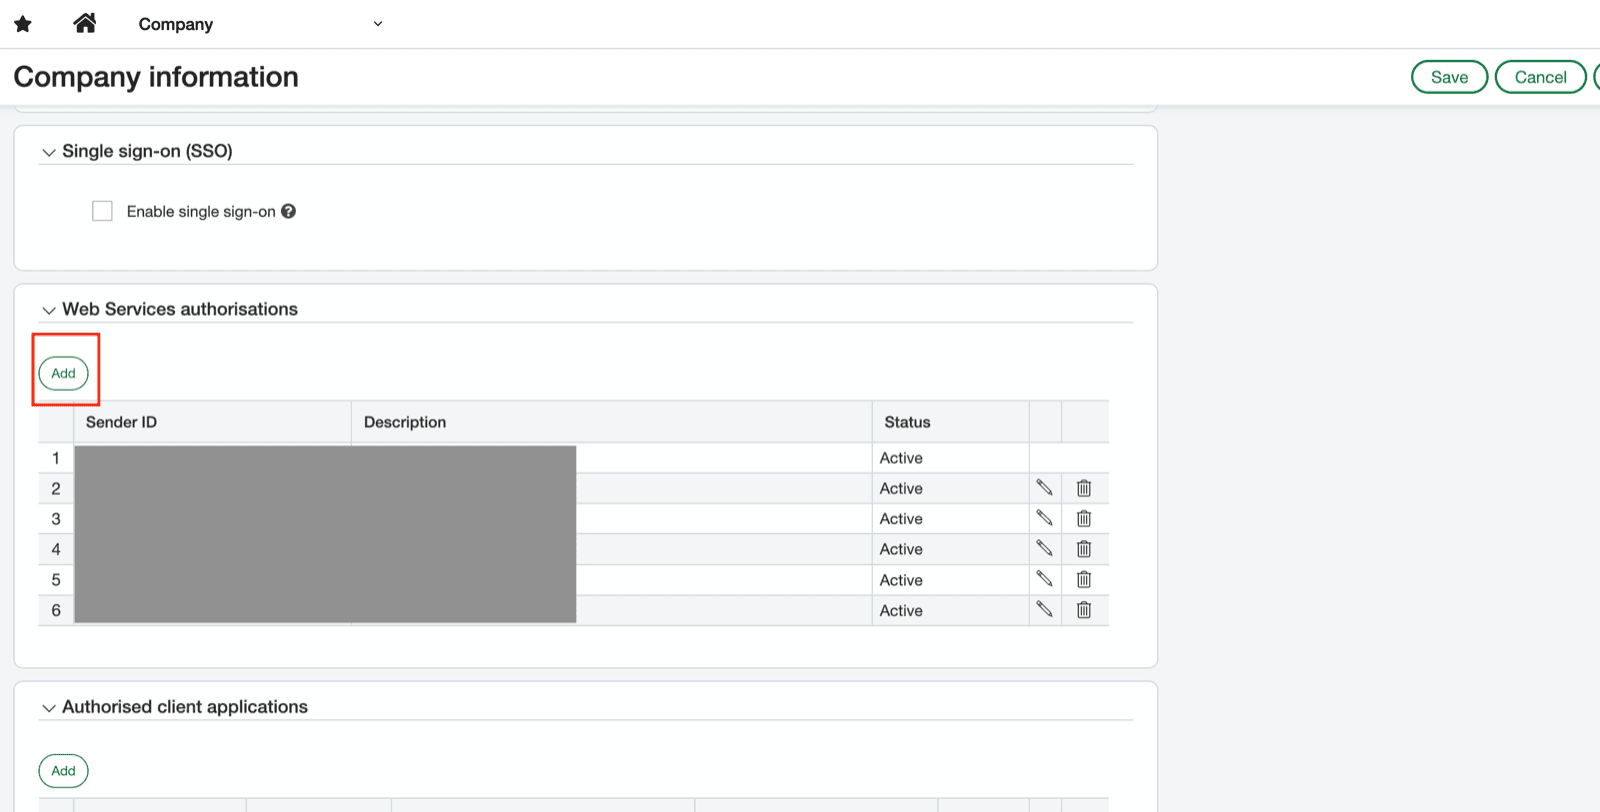
- Fill in your Web Services sender ID from the prerequisites
- Set status to “Active” and click on “Save”
CONNECTION
Step 1: Choose a name for your connection. (If the connection name field isn’t visible, simply skip this step and continue.)