

🚨 PREREQUISITES
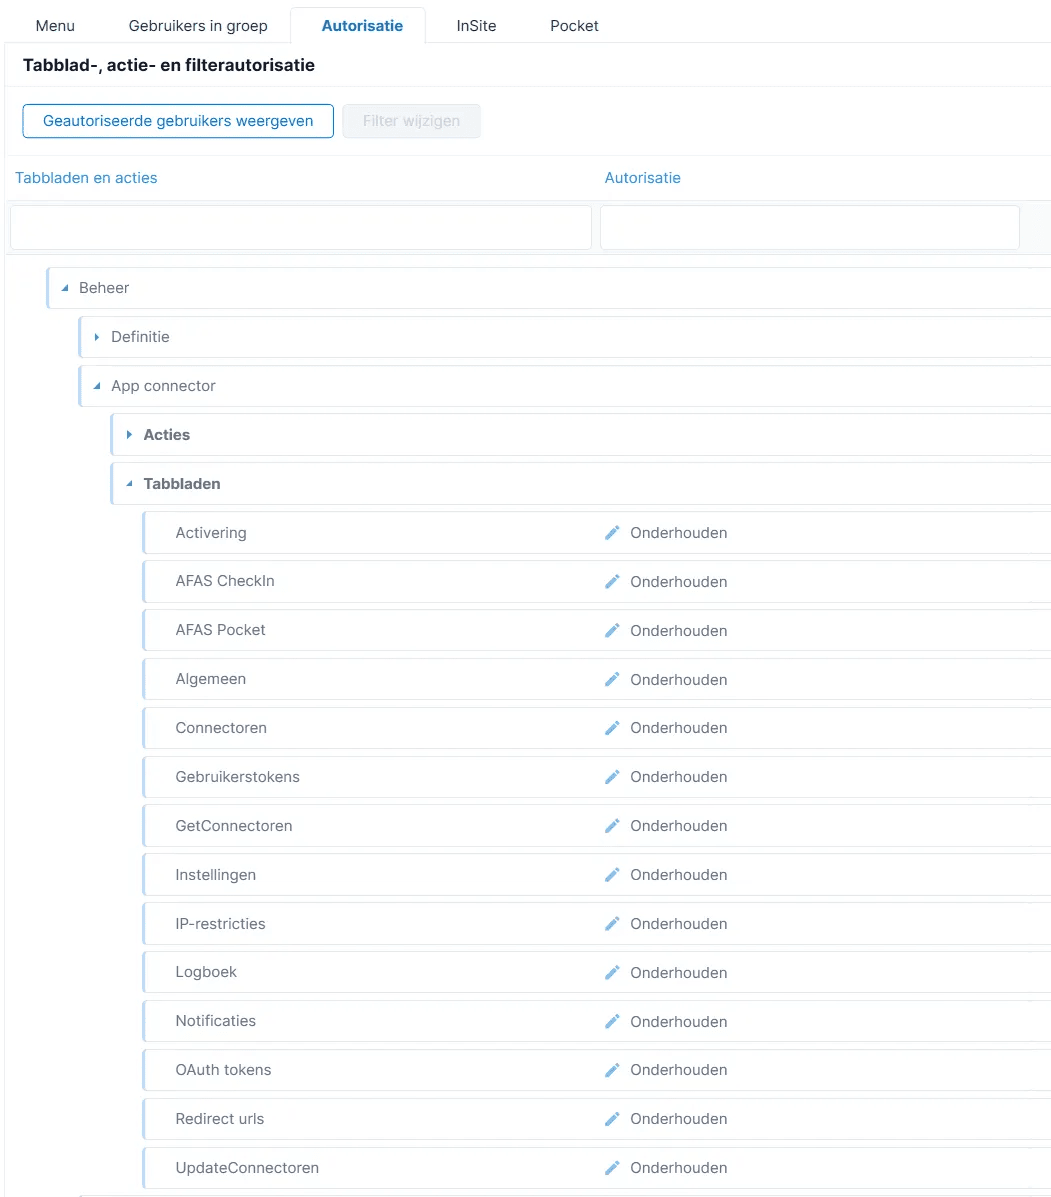
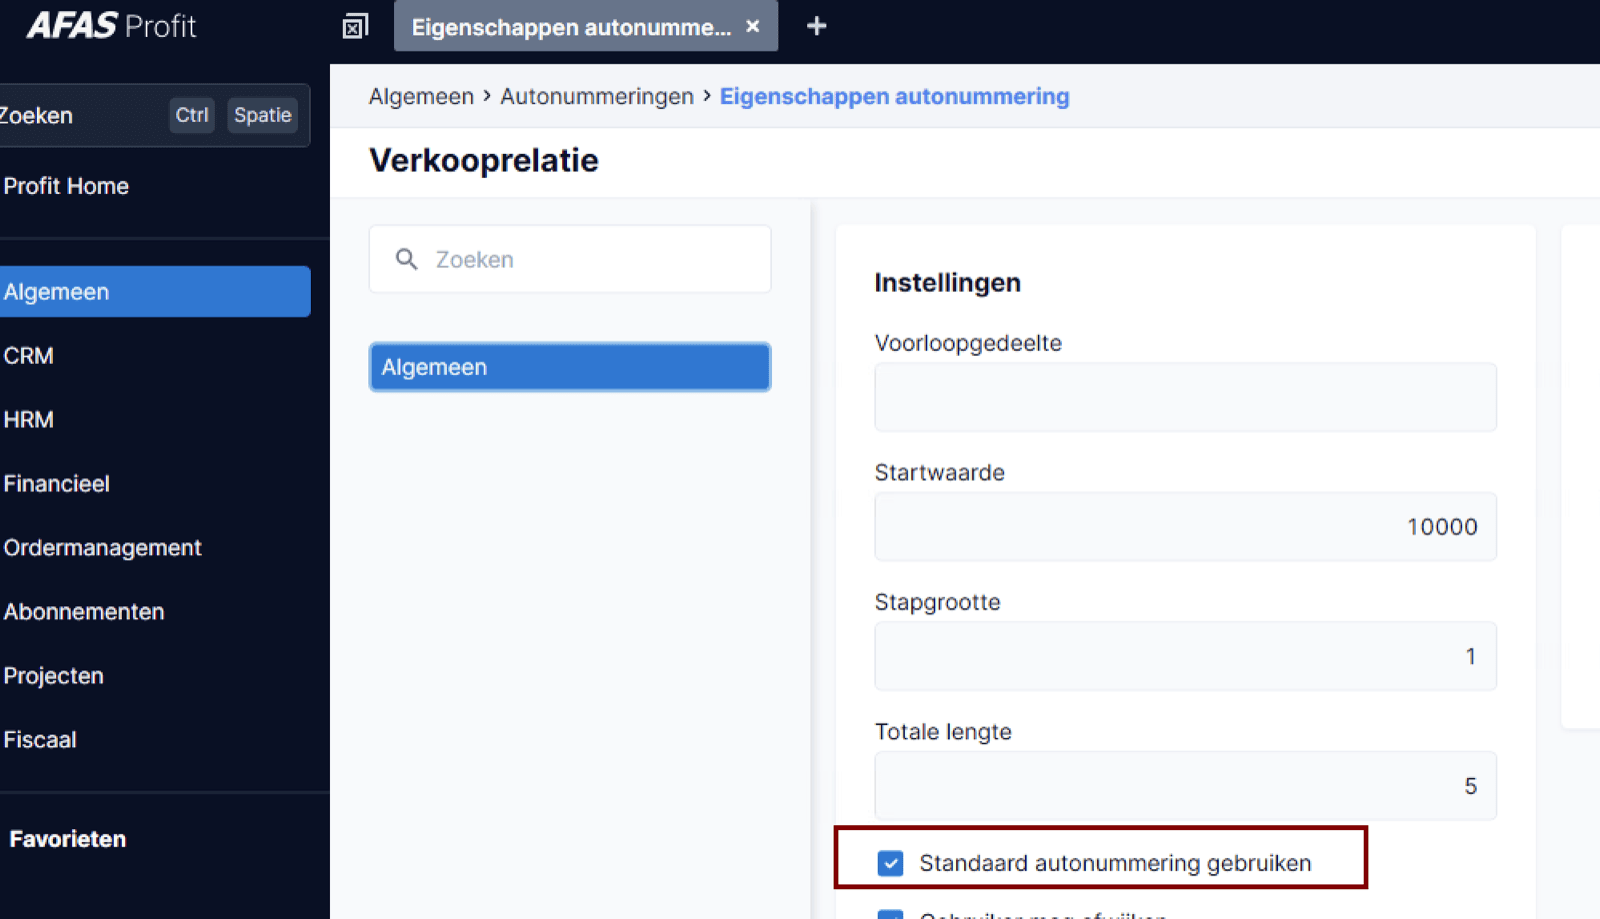
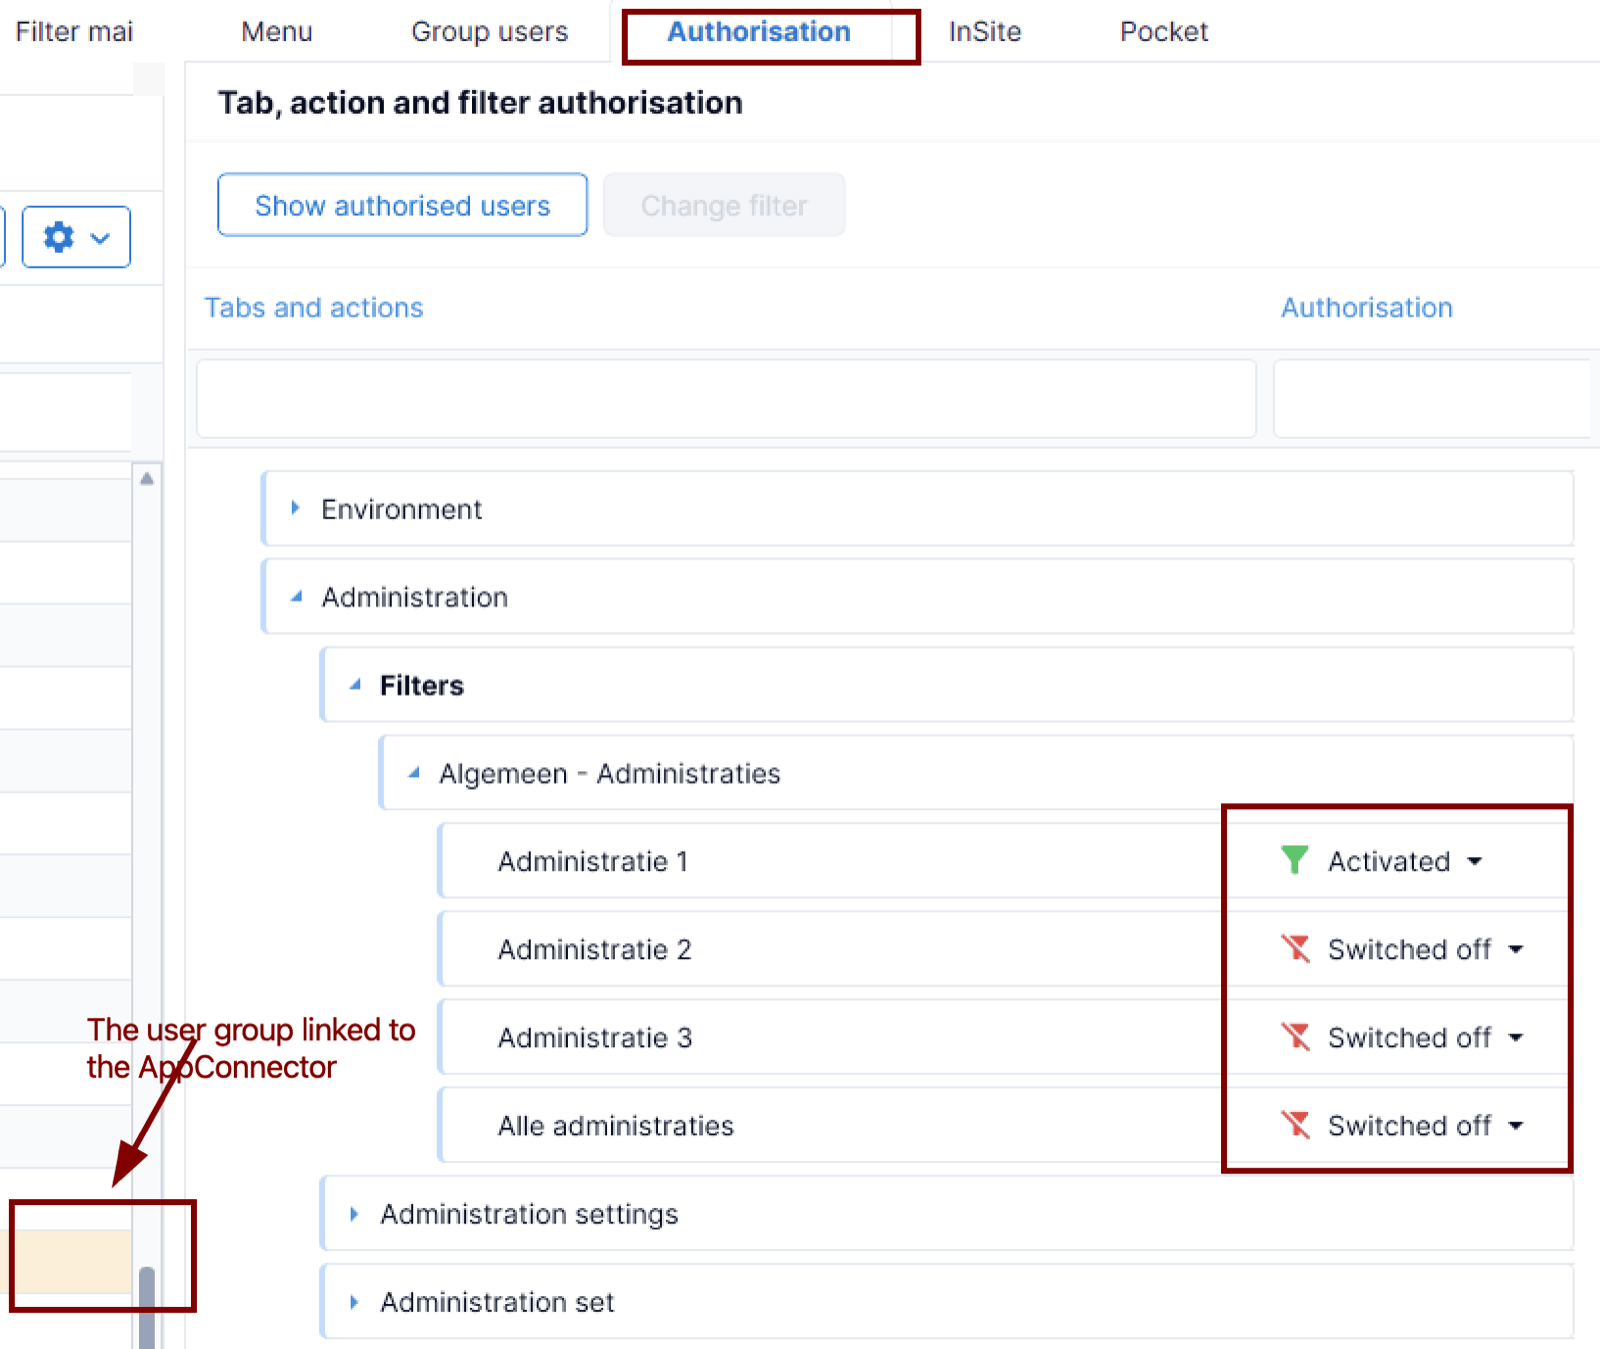
- Have an AFAS login with all admin rights listed in the above screenshot.
- Have the zip file downloaded on your computer and unzipped.
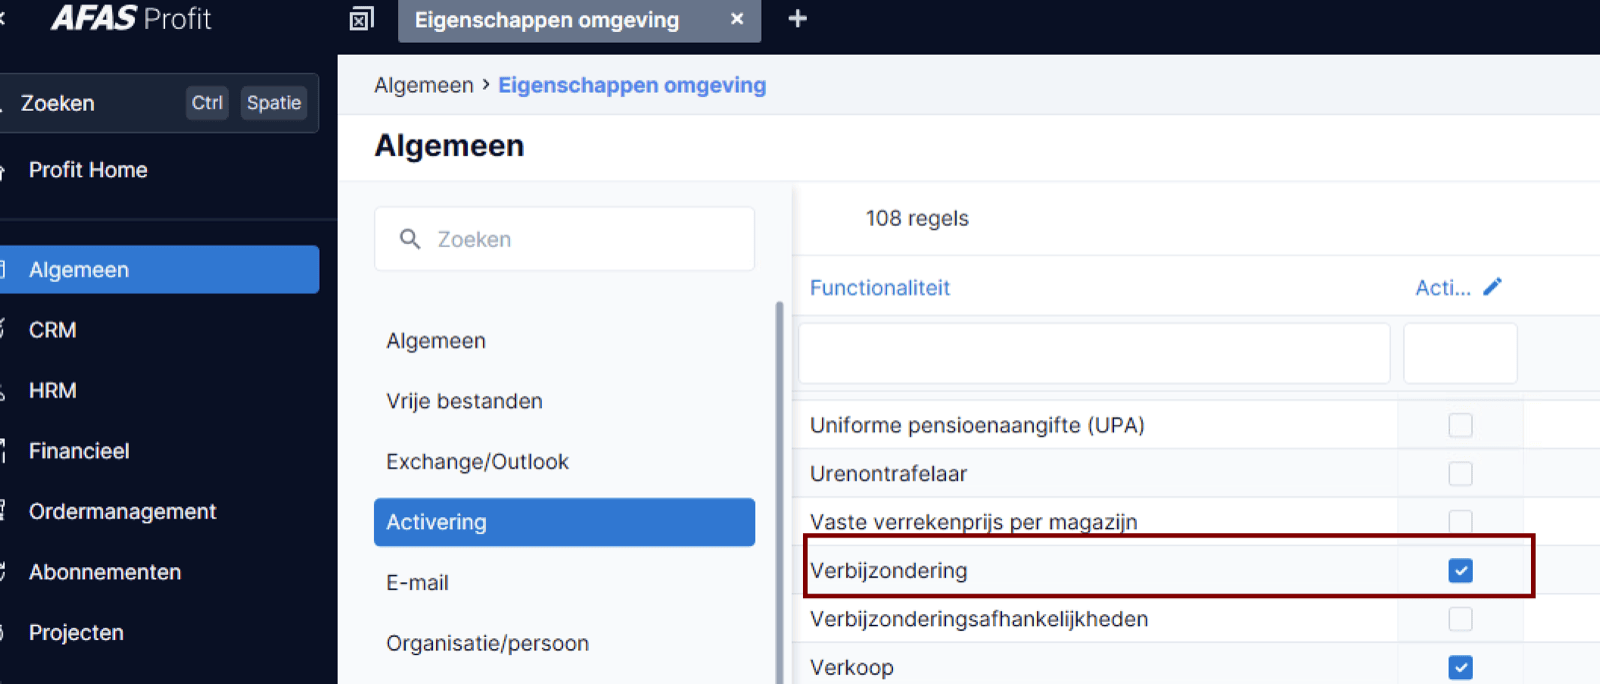
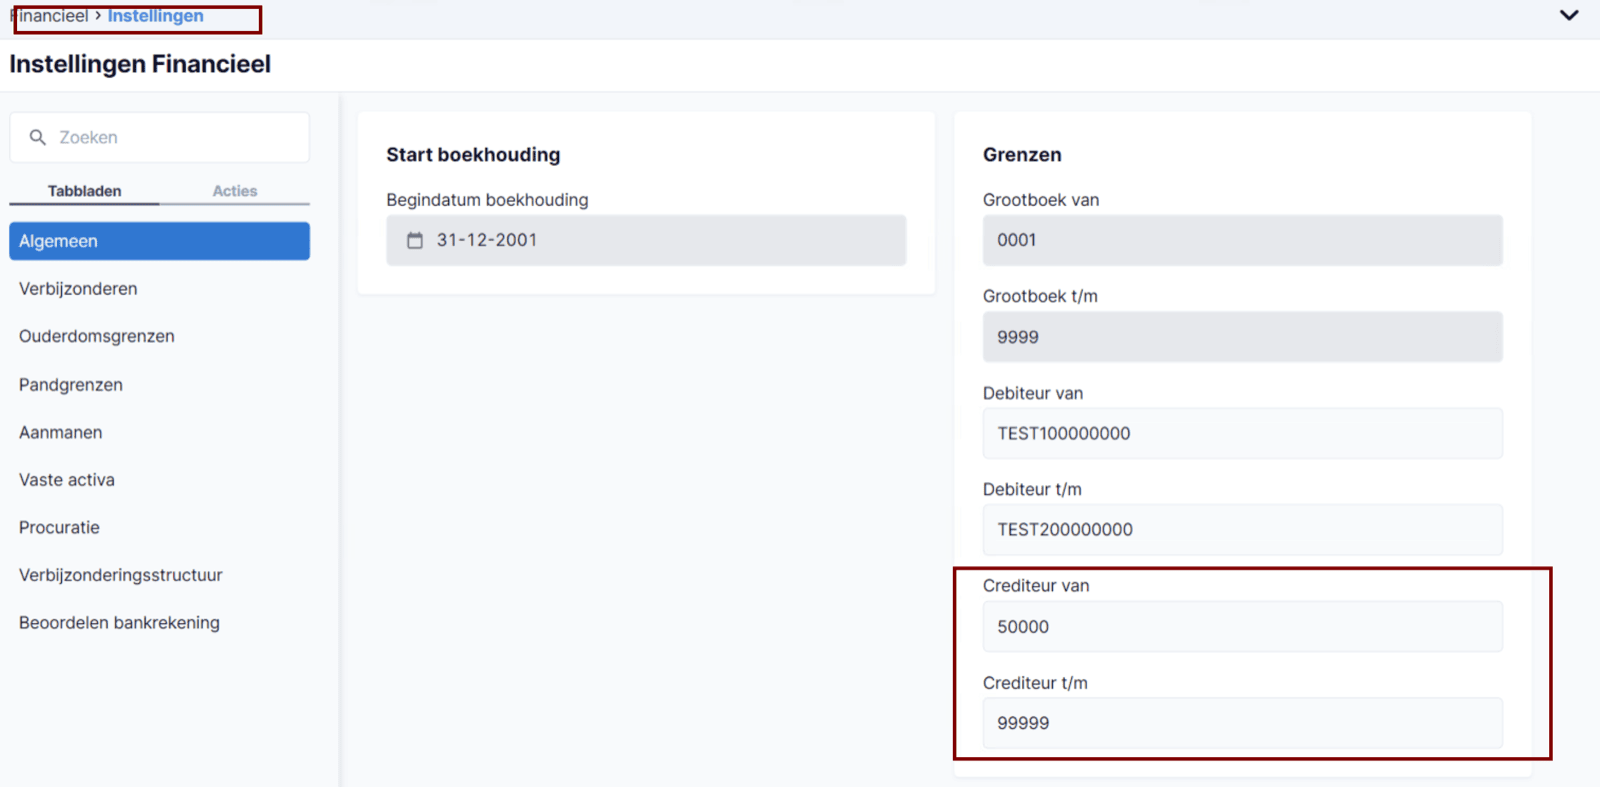
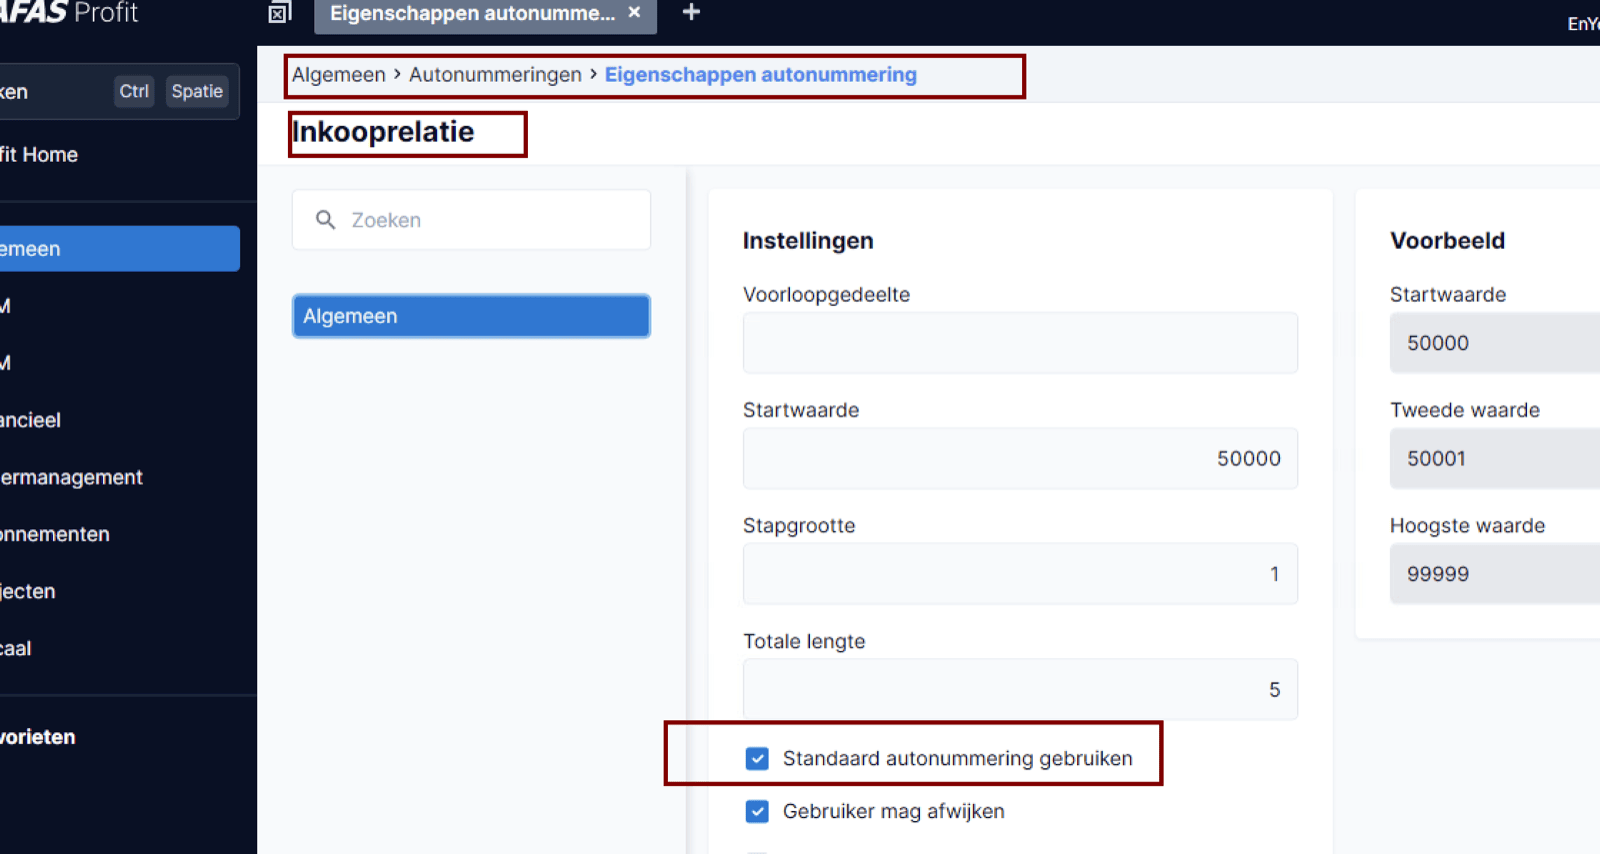
- AFAS settings :
💪 PREPARATION
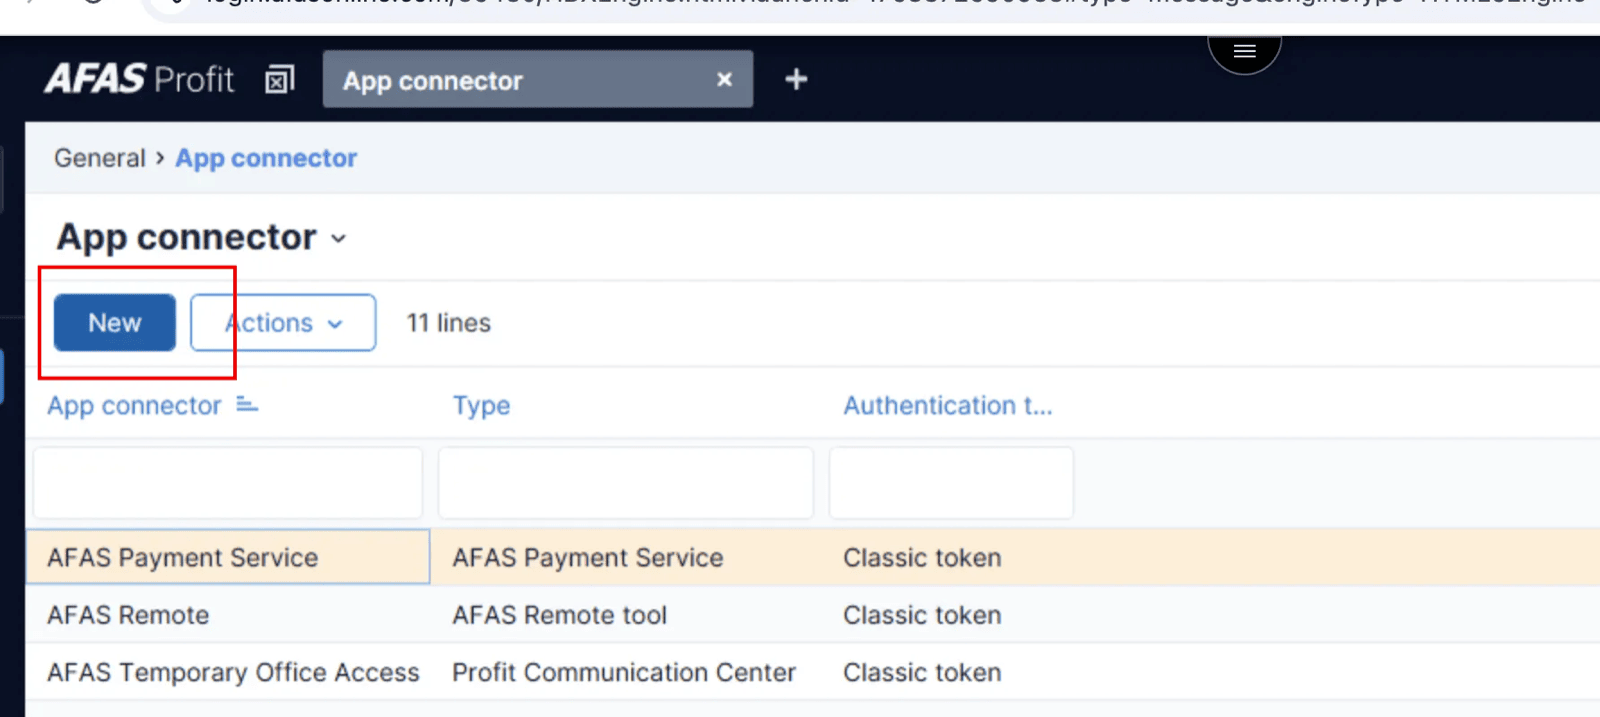
Step 1 : Creating a Chift App :
Go to AFAS Online Login and log in with your AFAS credentials. ⚠ Important: Use a Citrix session (not Citrix in the browser). You won’t be able to copy the credentials later. ⚠
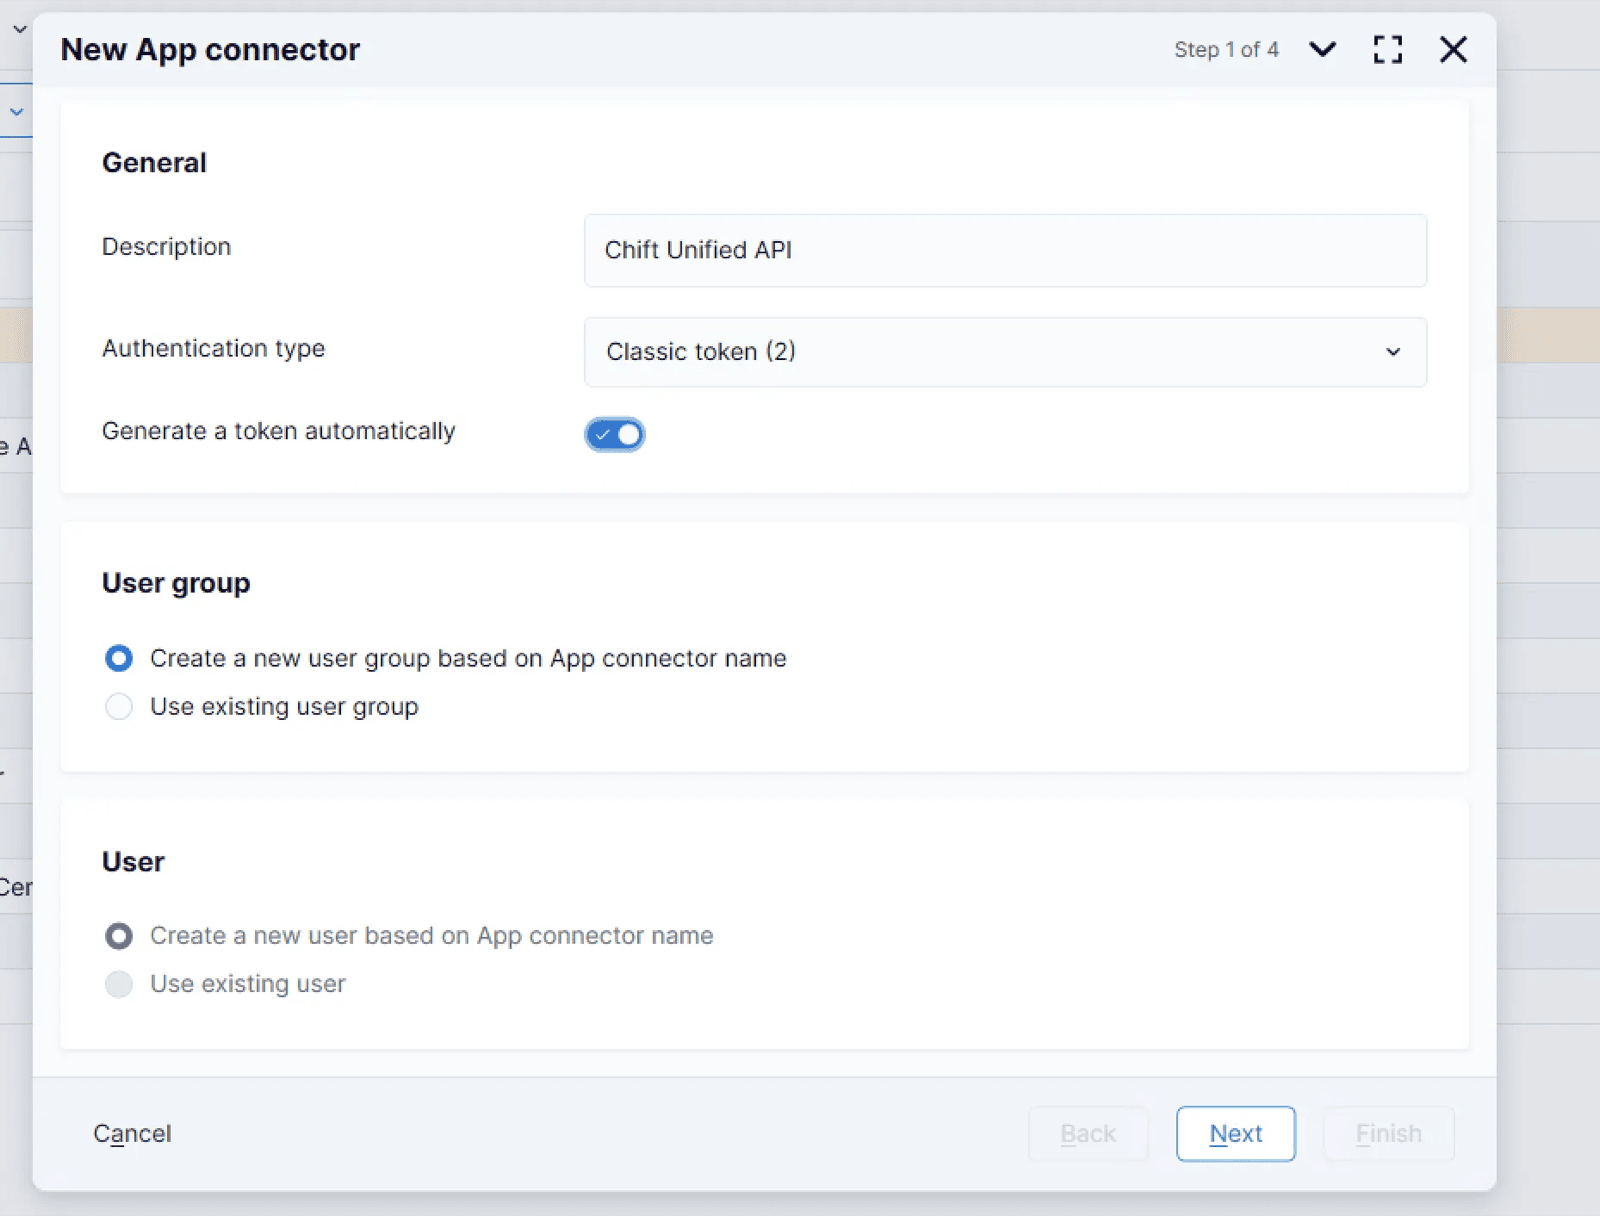
Step 2: Add the Chift GetConnectors to your App
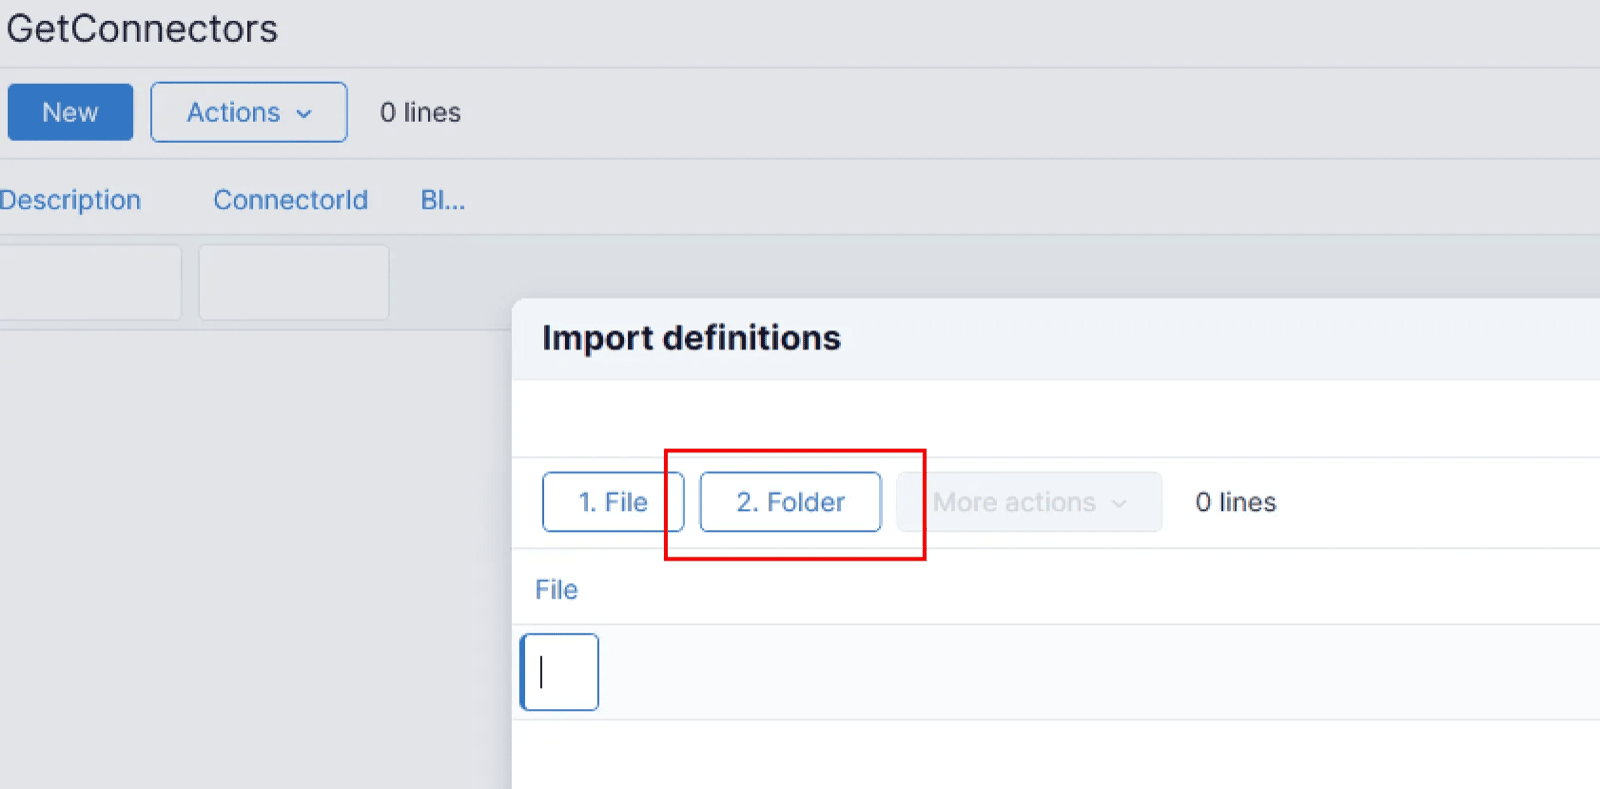
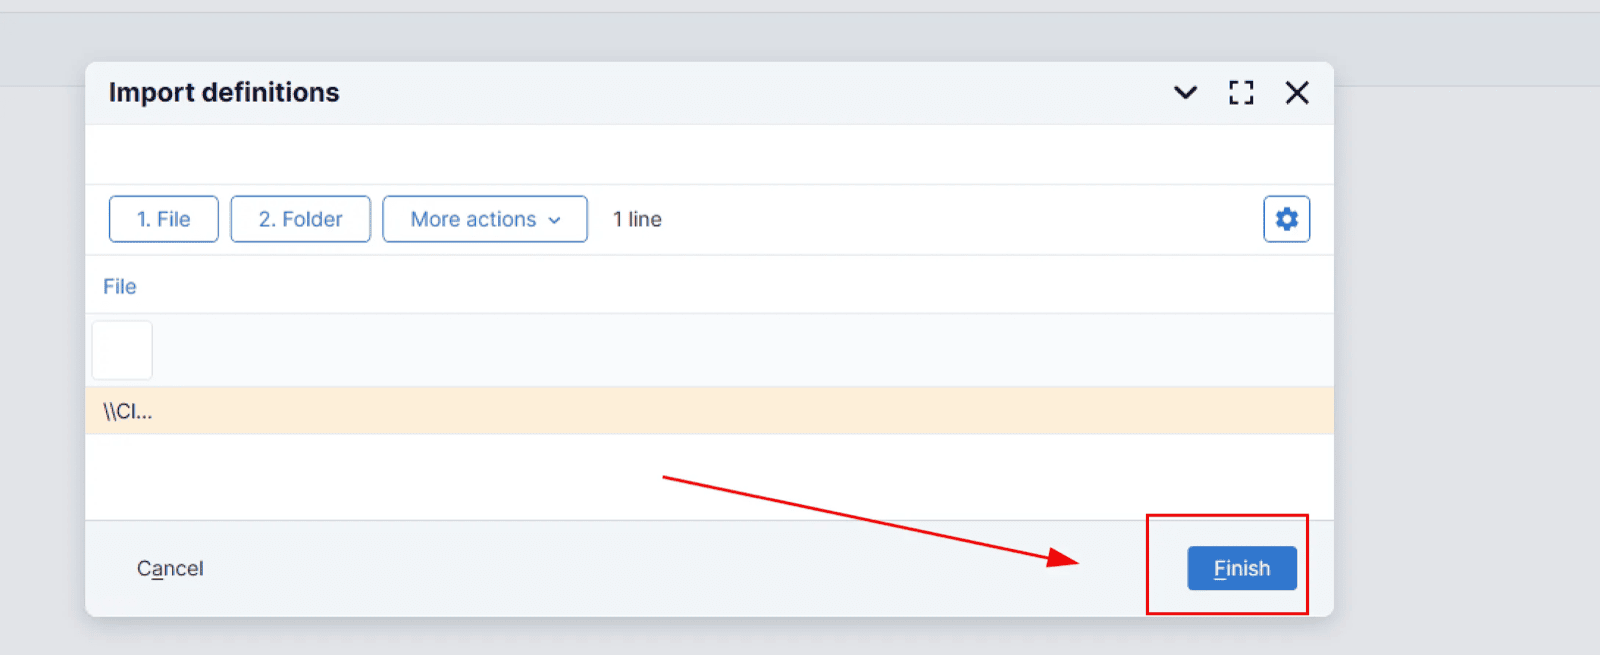
Use the import functionality to add the file below: AFAS_GetConnectors_15122025.zip (download it and import it as illustrated in the screenshot below )

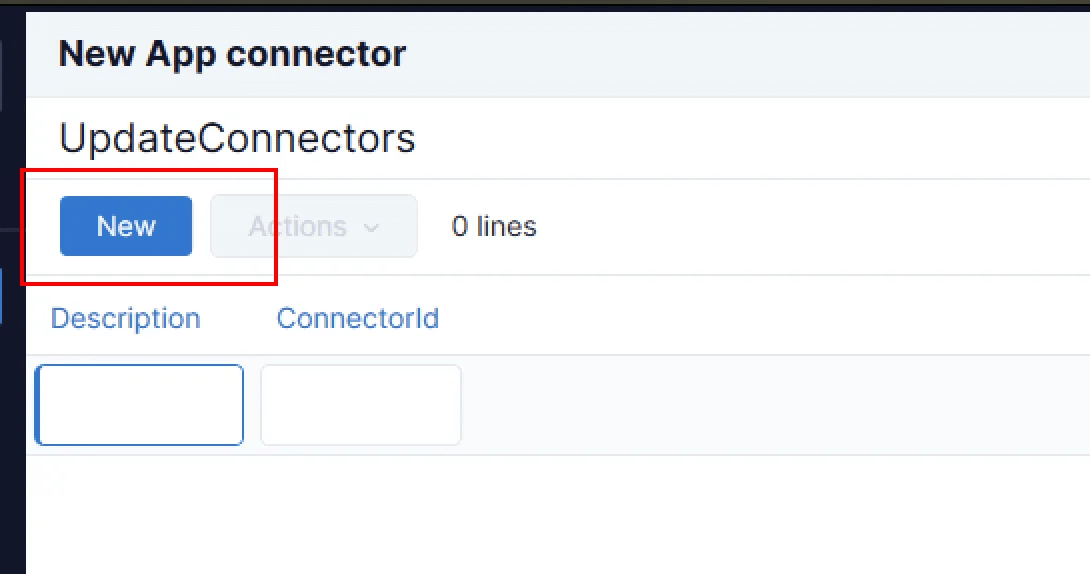
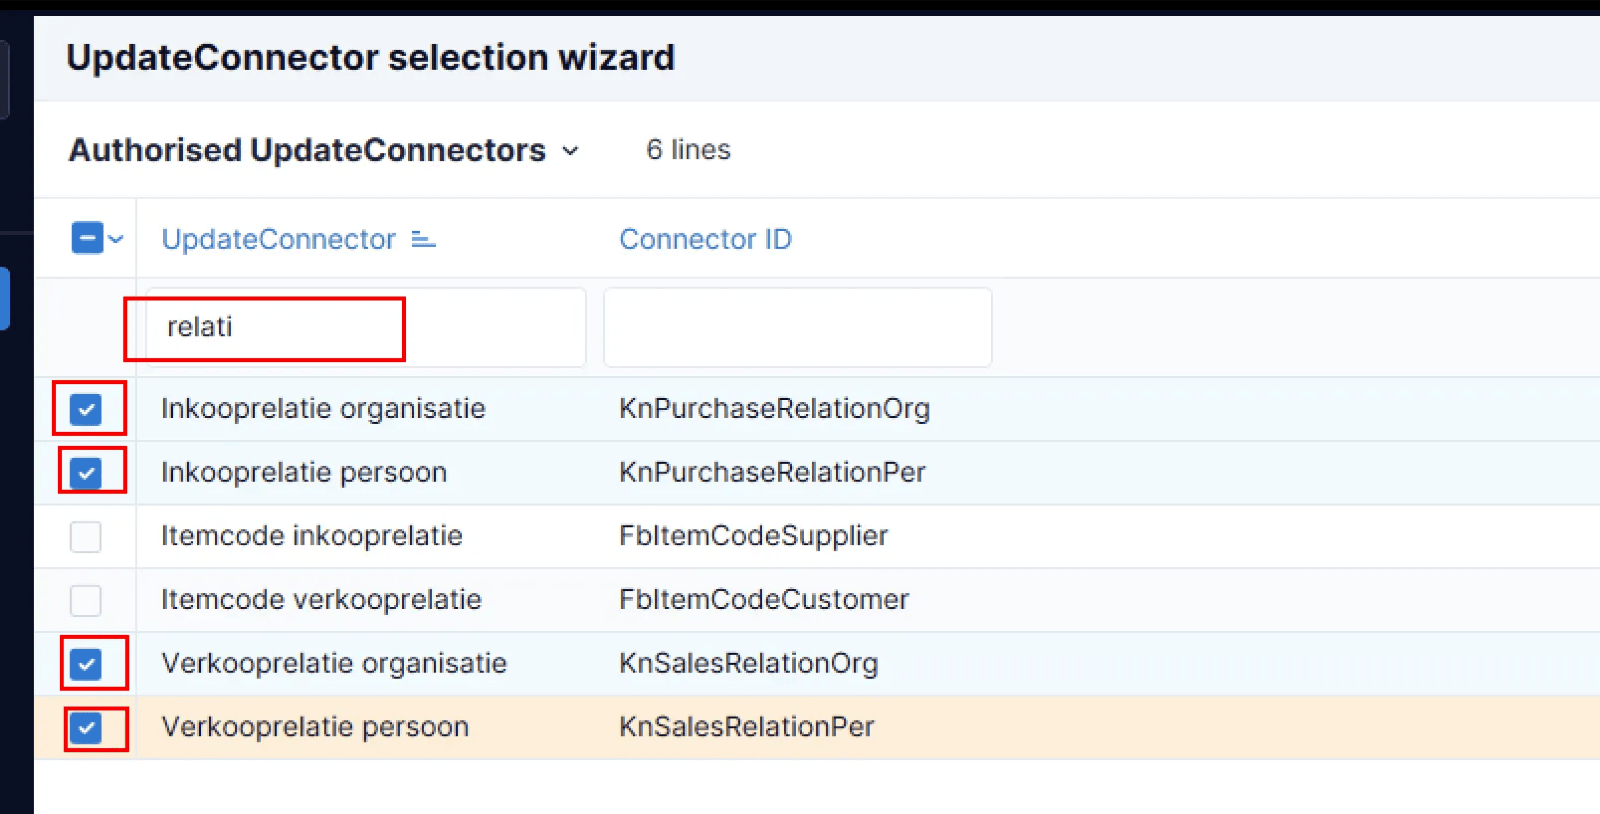
Step 3: Add the UpdateConnectors
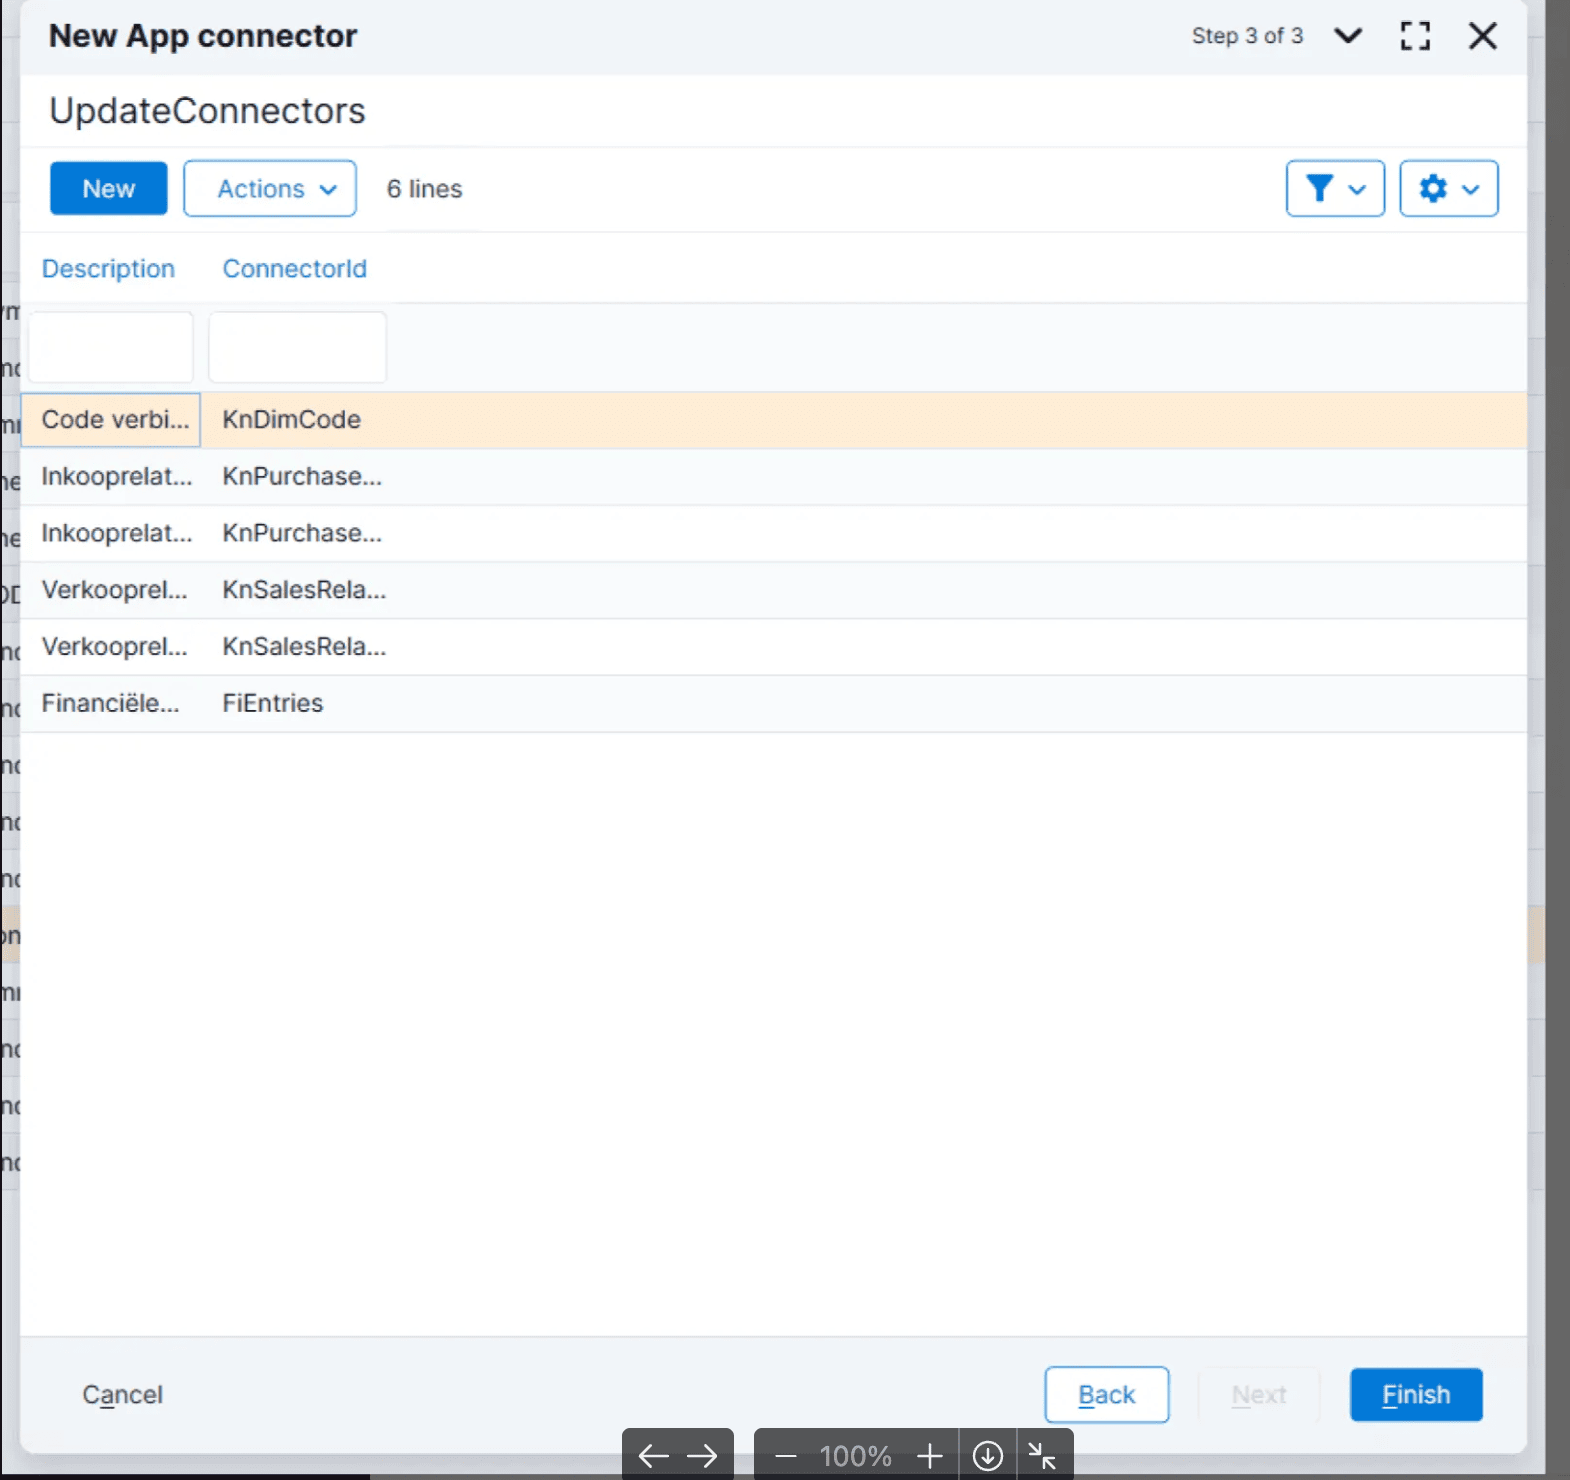
- Inkooprelatie organisatie - KnPurchaseRelationOrg
- Inkooprelatie persoon - KnPurchaseRealationPer
- Verkoopsrelatie organisatie - KnSalesRelationOrg
- Verkoopsrelatie persoon - KnSalesRelationPer
- Financiële mutaties - FiEntries
- Code verbijzondering - KnDimCode
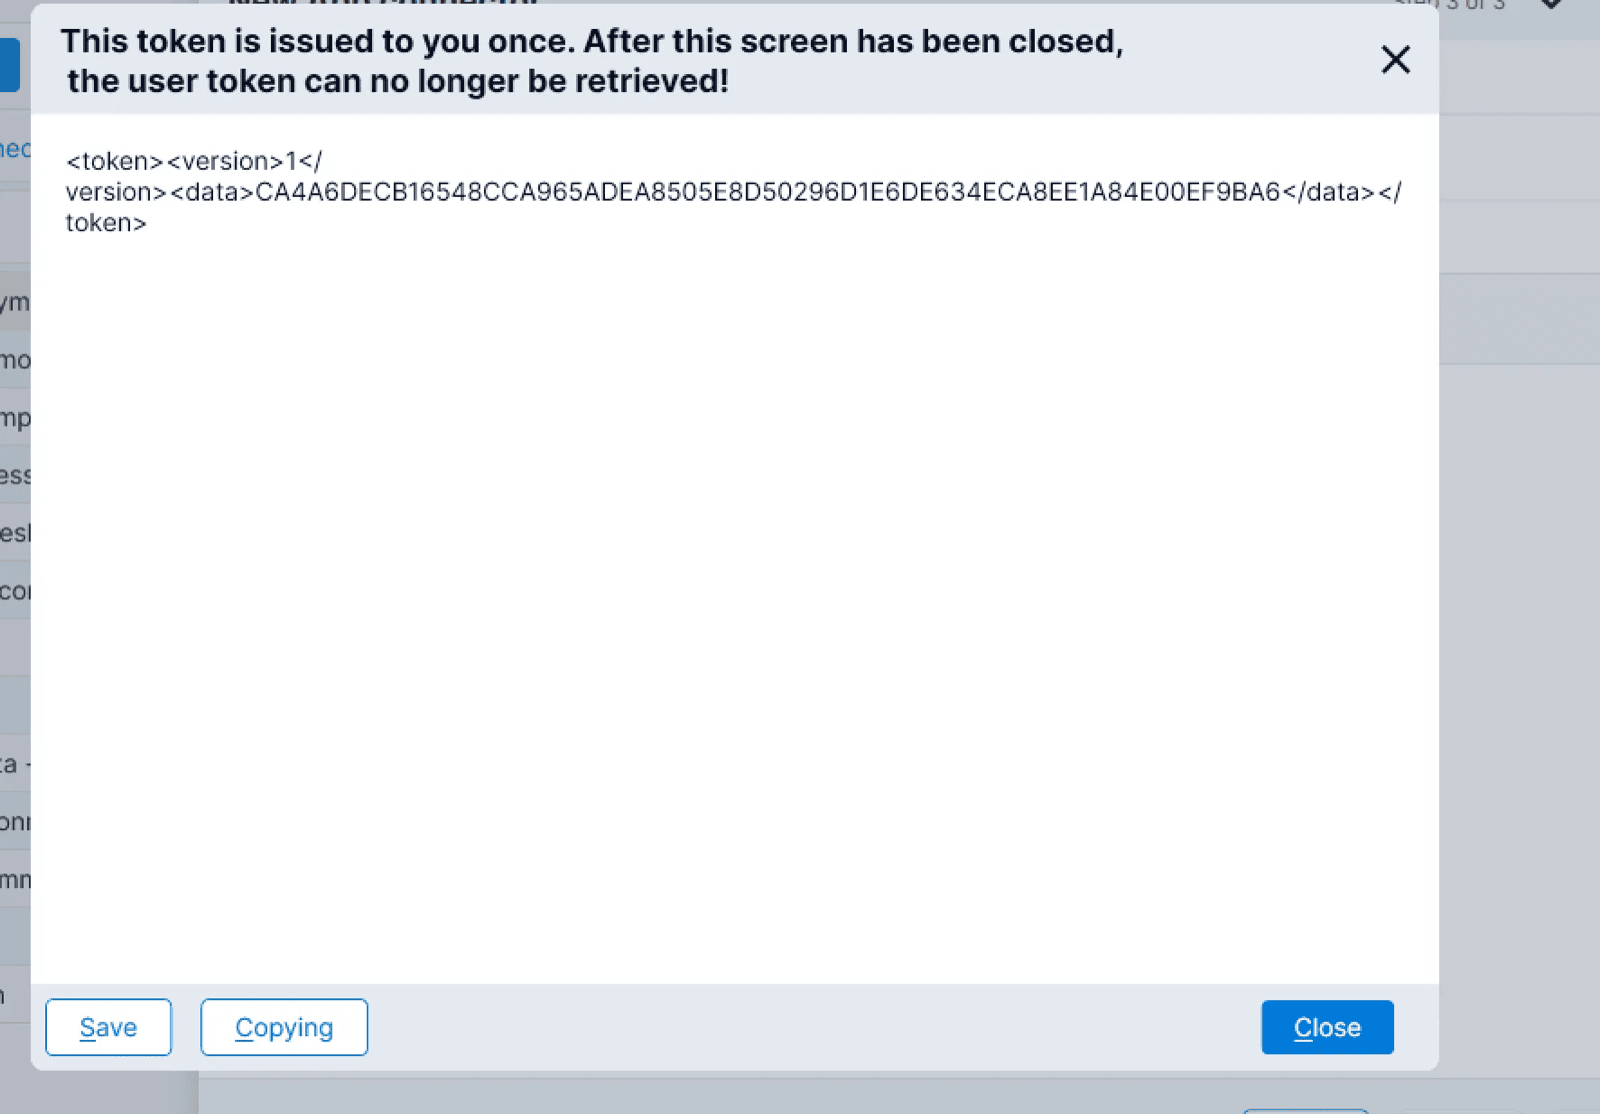
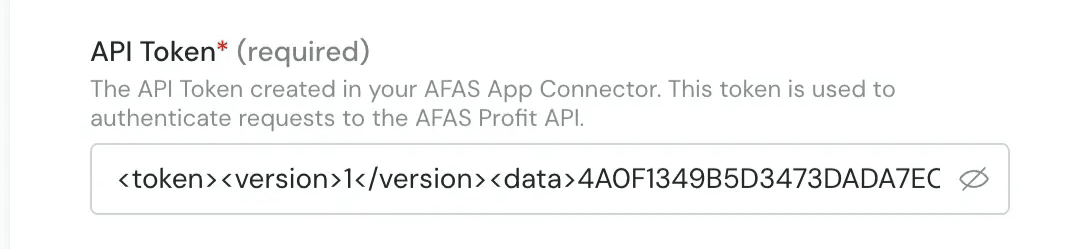
Step 4: Save your API token
AFAS will display the API token after completing the connector setup.Save it securely, as you will need to fill it in during the activation of the connection described in the next section.
⚡️ CONNECTION
❶ CONNECT
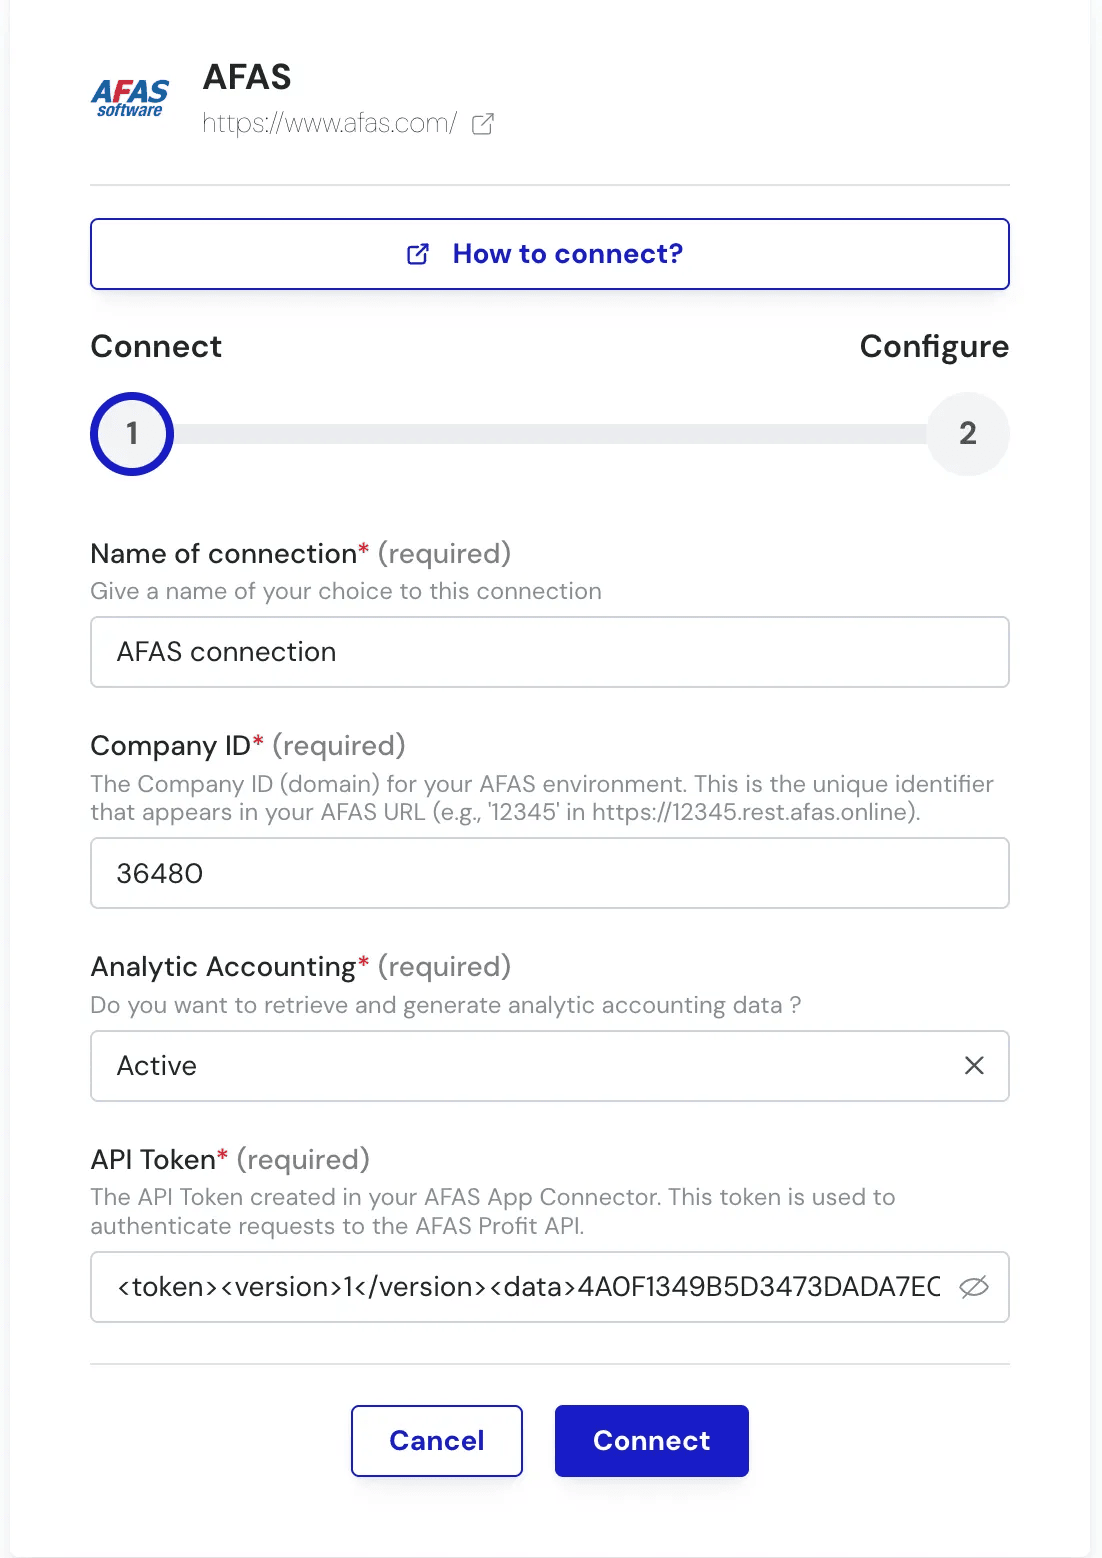
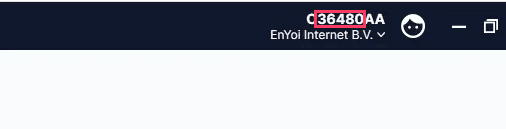
1) Company ID :
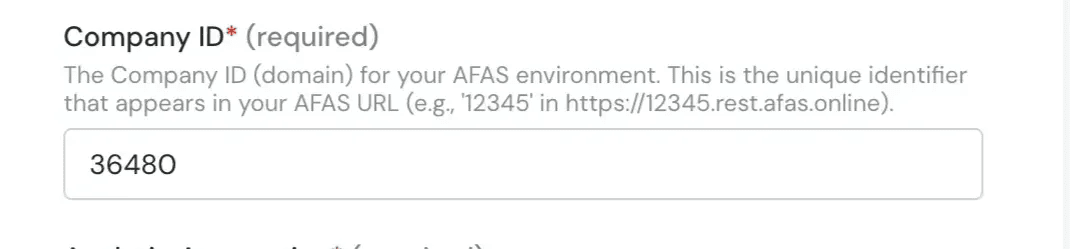

36480, not O36480AA.
2) API Token :
❷ Configure

This option is used when you need to connect to a specific administrative ID (for example, a particular accounting folder). Default Analytic Plan ℹ If this field is not displayed on the other side, you can ignore it. Select the Allocation Axis used by default. Submit! Congratulations ! 🎉