Requirements
- You have access to an admin user of the server to perform the installation process
- The .NET 4.8 framework must be installed on the server
-
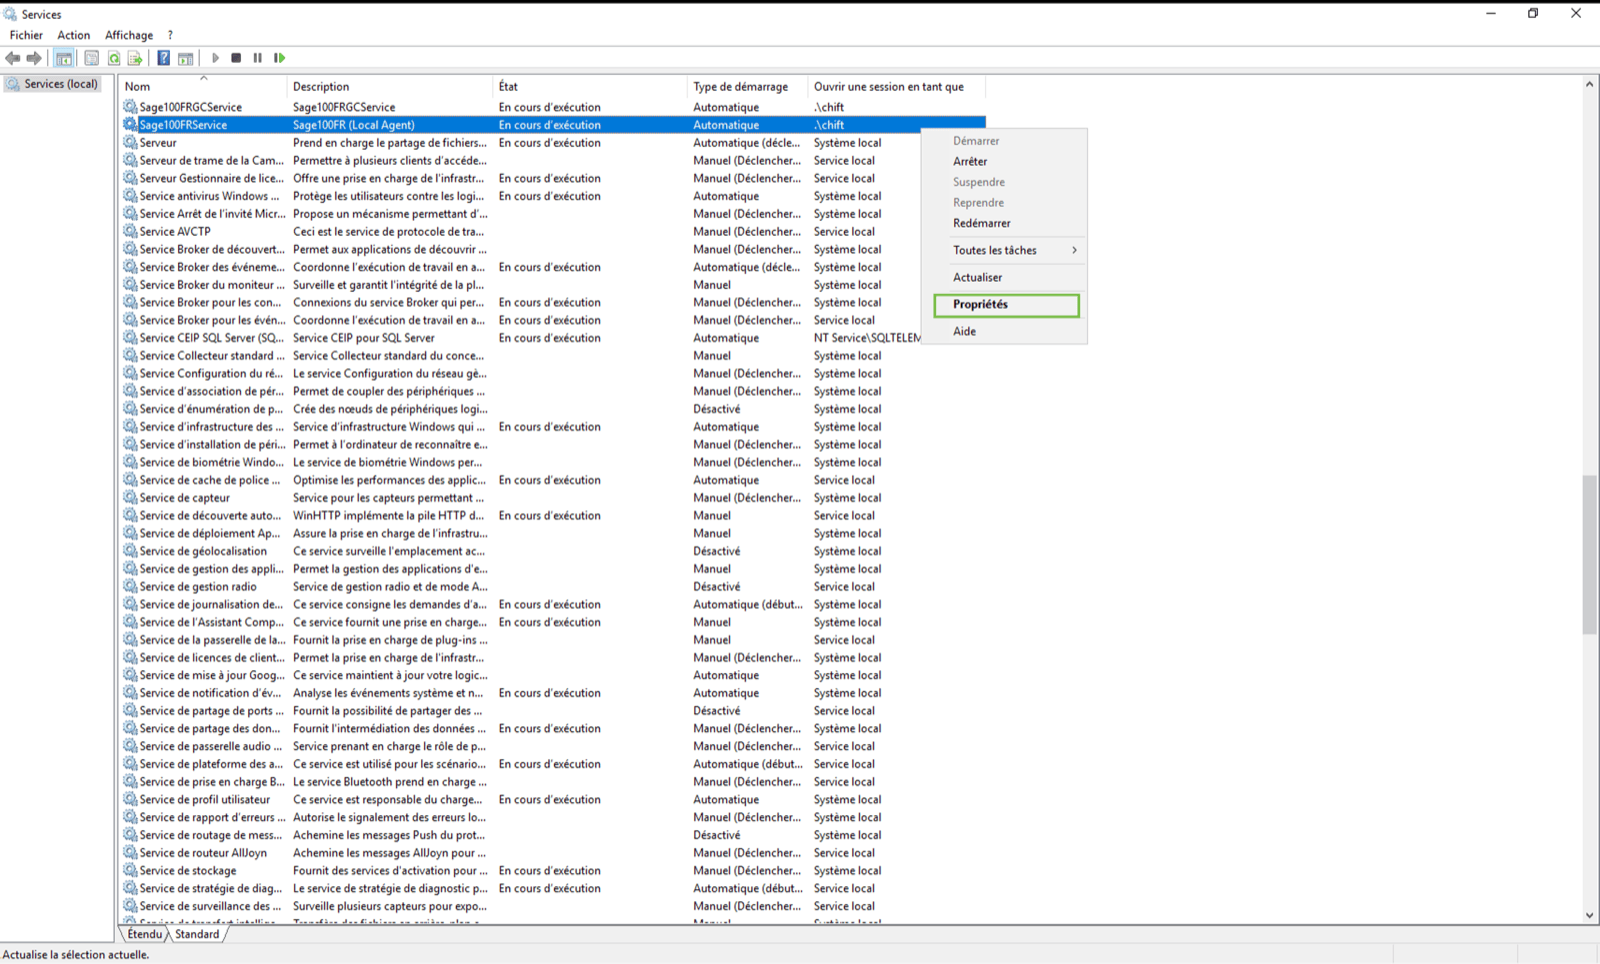
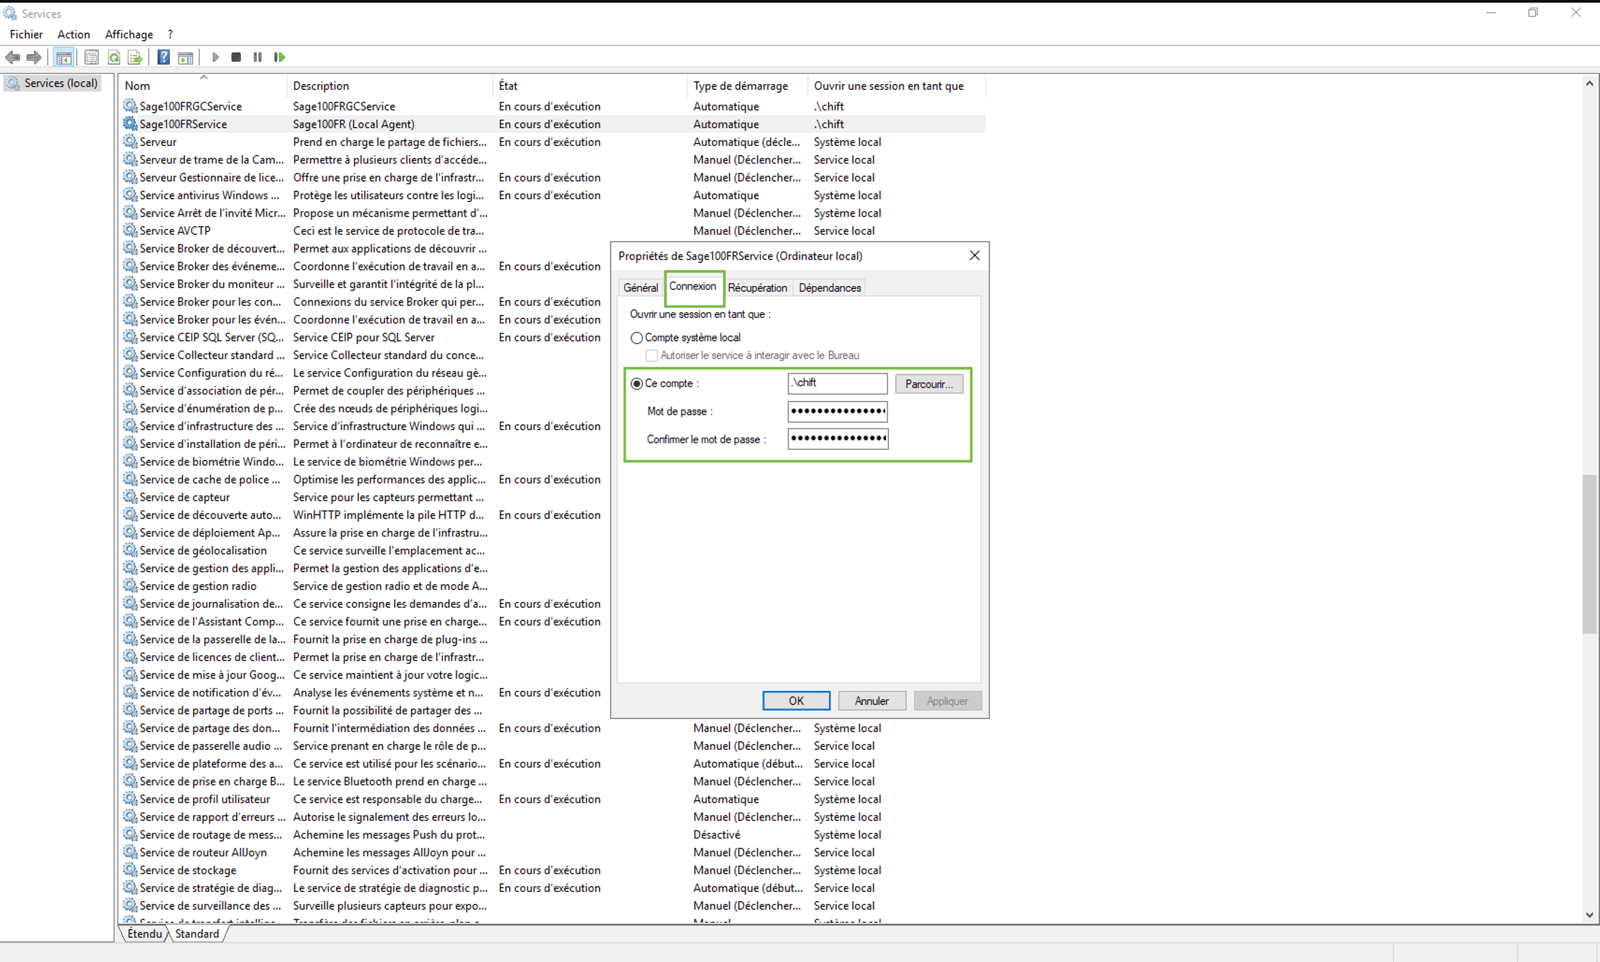
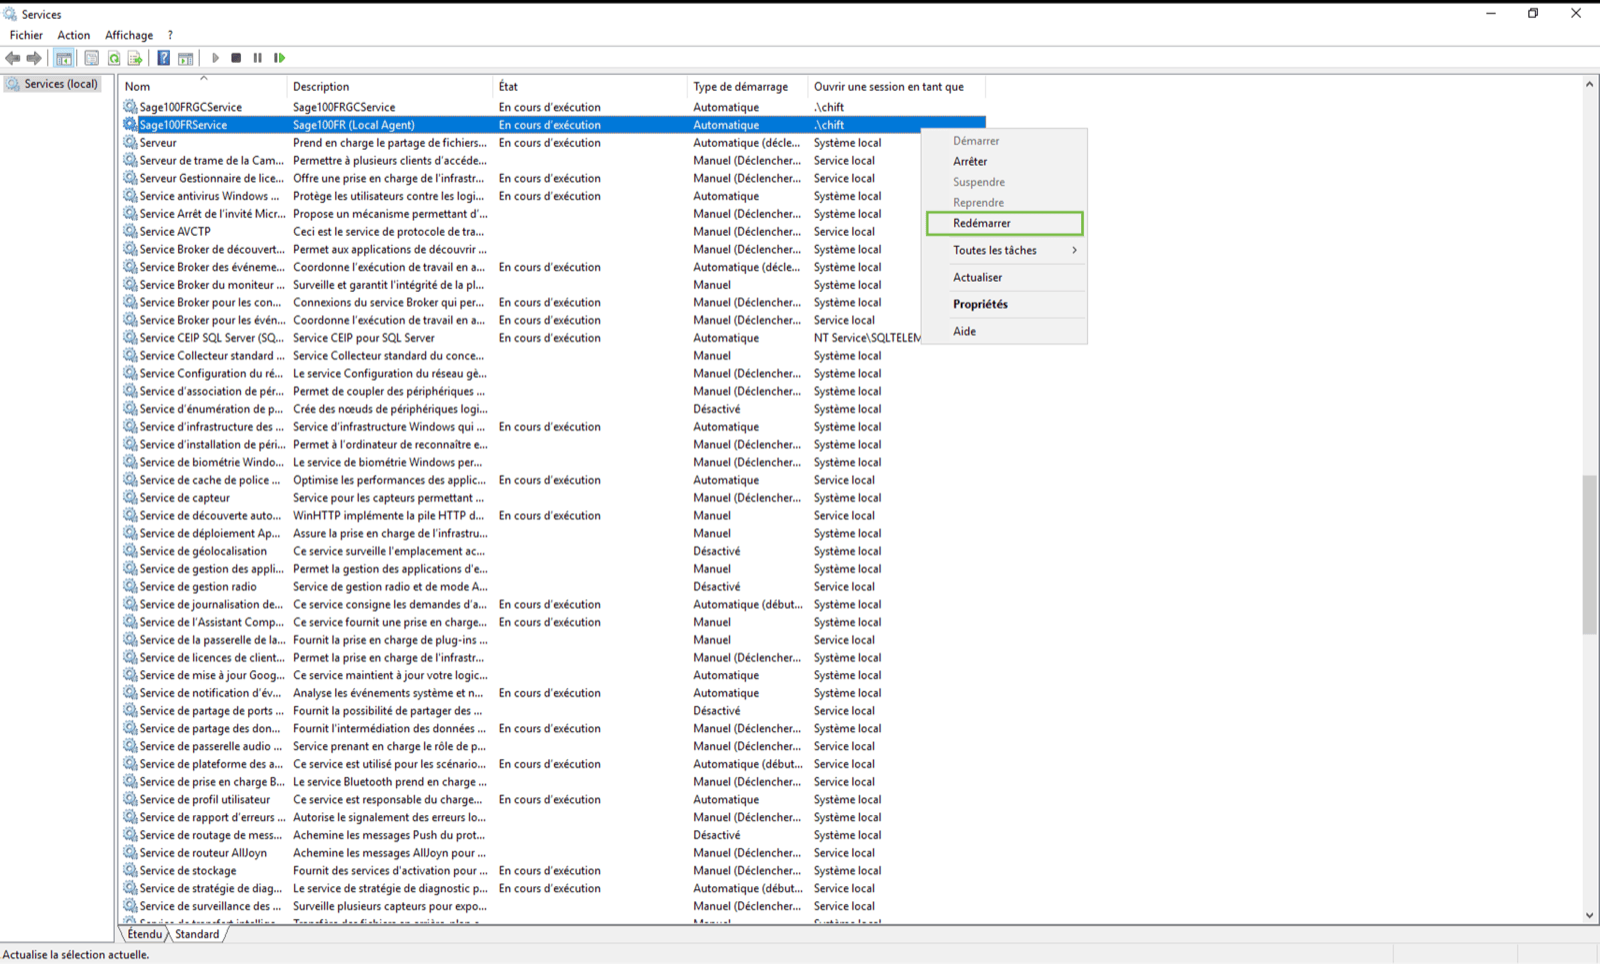
You have access to a windows user that has read and write access to both the SQL database of your accounting folder and access to the sage folder on your server. For this you have 2 possibilities:
- Create a dedicated user having those permissions to be used to run the service. This is the solution that we do recommend
- Get the user and the password of a user having both access
- Make sure that your Sage version is at least 7 or Higher. This is the version from which the Objets Métiers library is compatible with the connector
- Make sure that the Objets Métiers library is installed and that the version is matching with theSage version installed on the server. You can download it here.
Recurring questions
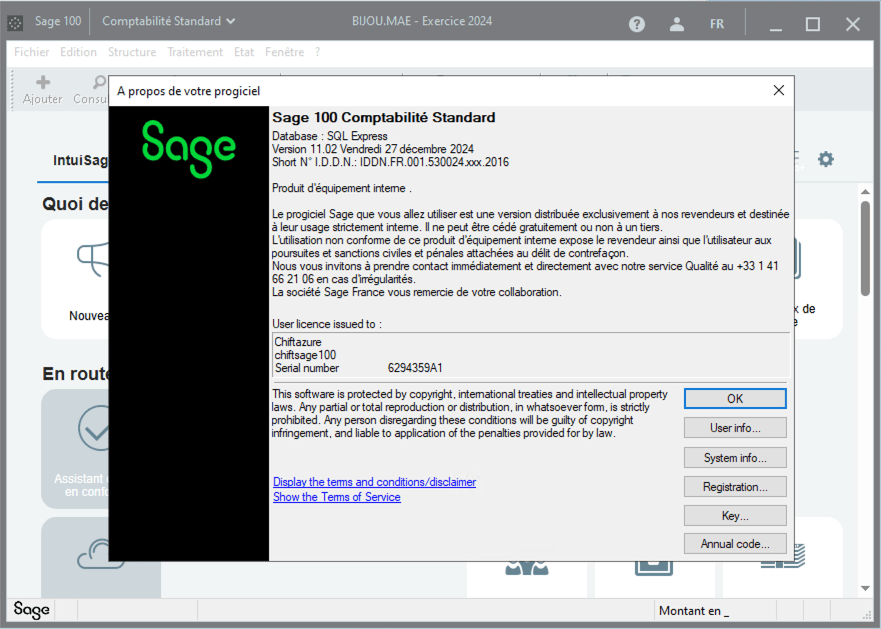
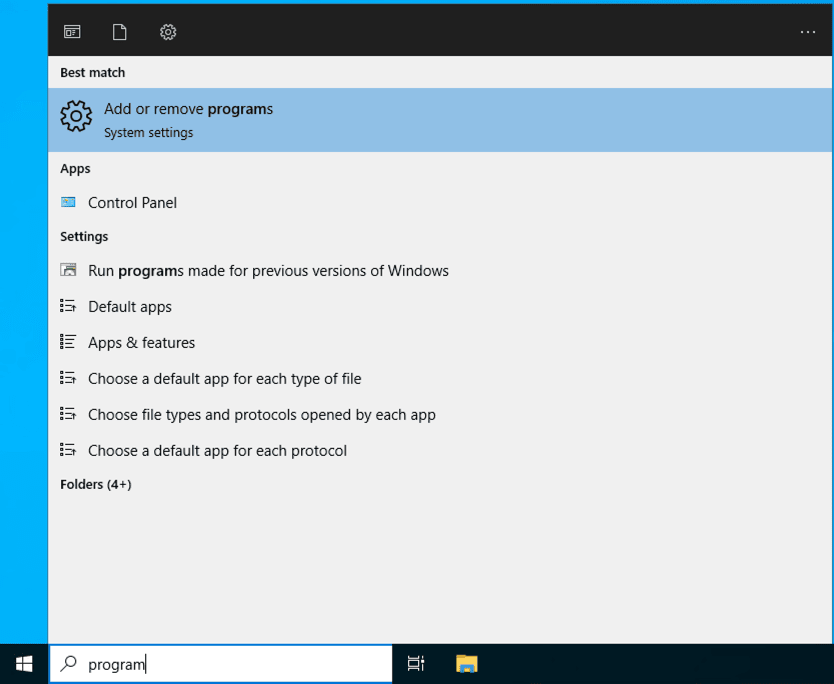
How to check your Sage version ? To check your Sage version, open Sage on the server. From the menu bar, click on the question mark and then open the “about Sage 100” section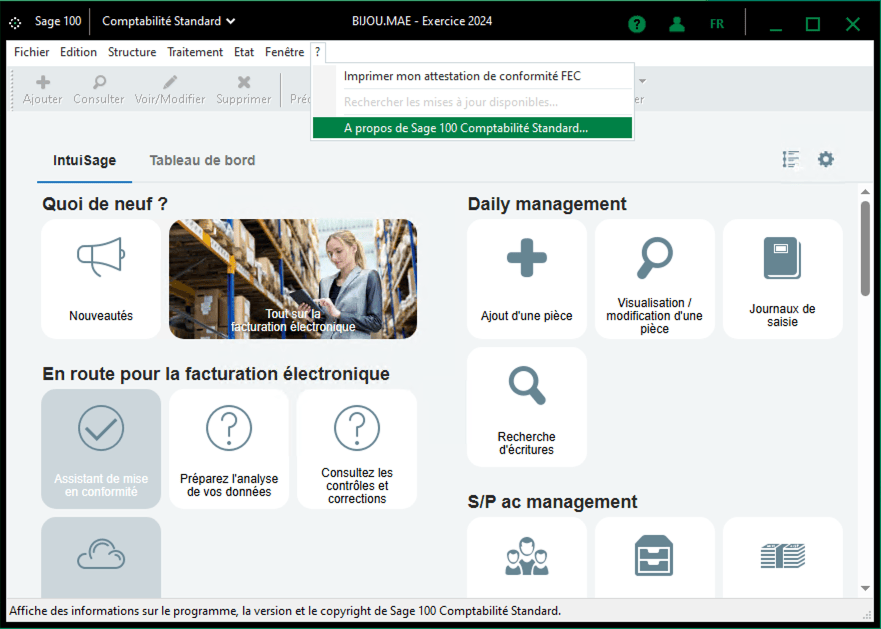

Filling the form
The first step is to fill the following form.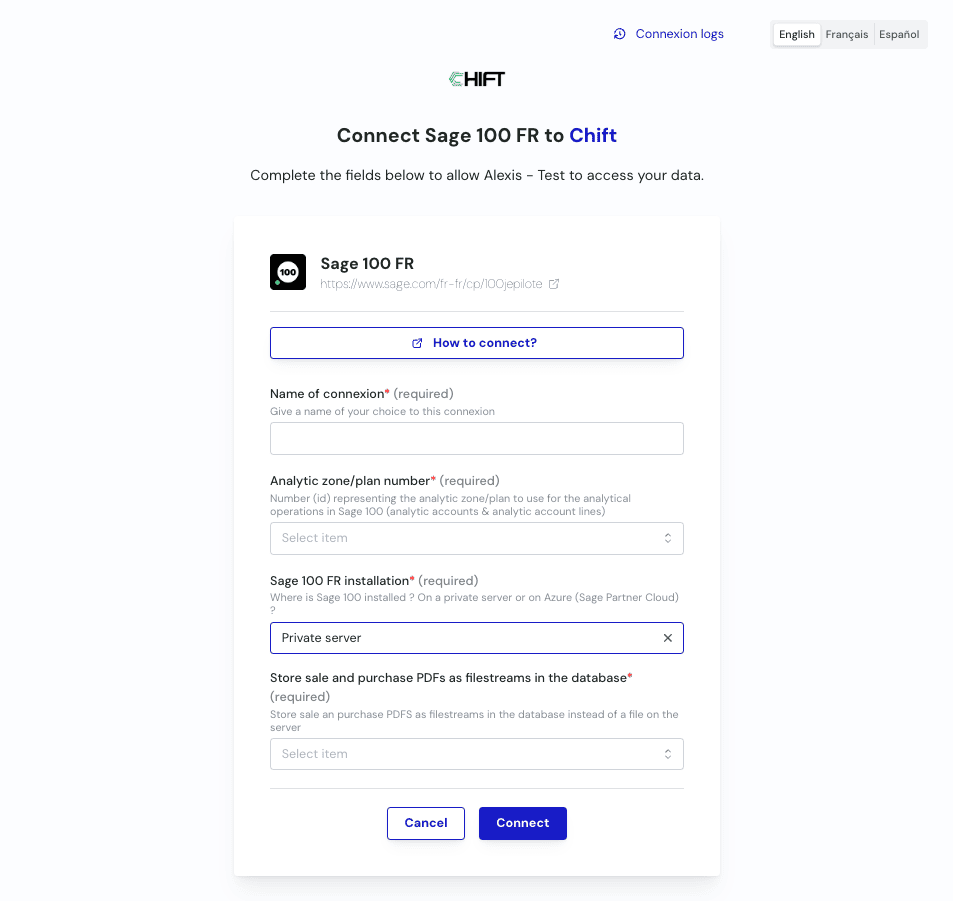
- Name of the connection: This name is used only on the Chift platform. We recommend using the name of the accounting folder you are connecting. This field will be shown and help you to later, during the installation process
- Analytic Zone/Plan Number: The ID of the analytic plan to use. This field may not always be displayed—if not visible, you can ignore it. If you need some assistance on this step, check the recurring questions below
- Server type : Select Private Server (since we are installing Sage On-Premise).
-
PDF Storage Option:
- Select Yes to store PDFs as filestreams within Sage (accessible from the invoice).
- Select No to store PDFs in a server folder.
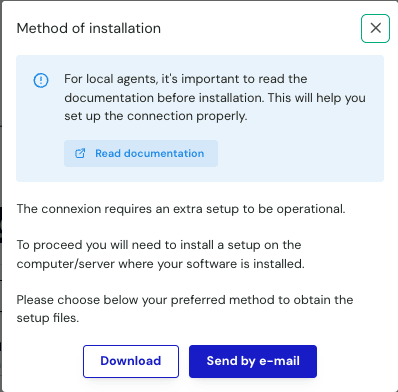
- If you are filling the form on the server, click Download to get the installation file.
- If someone else will perform the installation, click Send by Email and provide their email address.
Recurring questions
How to find the id of the analytic plan From your Sage instance, open the Analytic plan section on the “structure” section.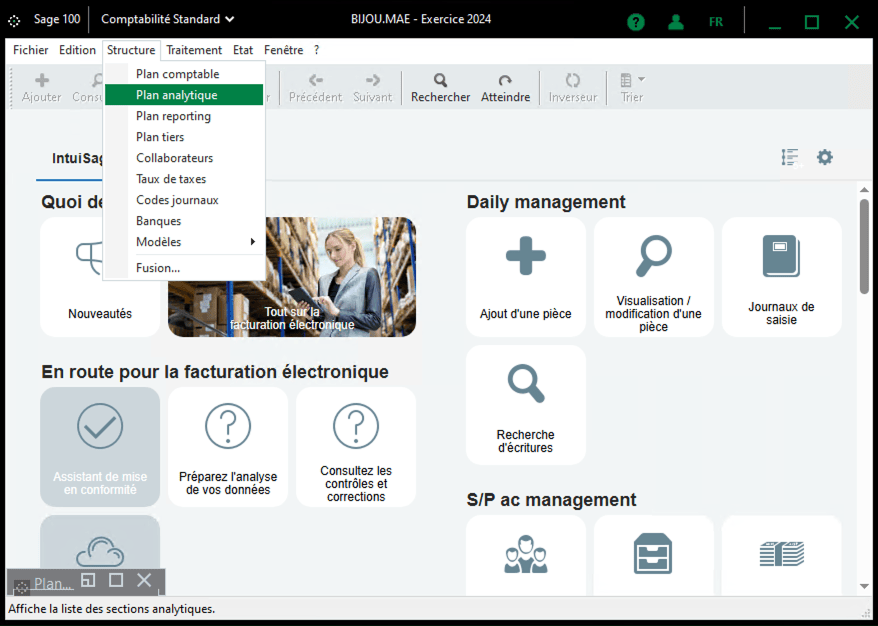

Installation process
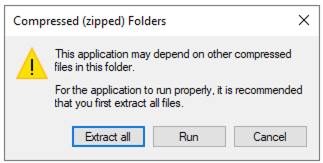
Recommendation: Perform the installation directly on the server running your Sage 100 FR instance. Once you have filled out the form and downloaded the zip archive, start by copying the archive to the server where Sage 100 is installed. All following steps assume that you are connected to the server and that all prerequisites have been verified. If you have any doubts, stop here and make sure the requirements are met before proceeding. If you are about to install the service for multiple folders, you may want to read the following documentation first (optional). 📄 Sage 100: Connect Multiple Accounting Folders at OnceExtract the contents of
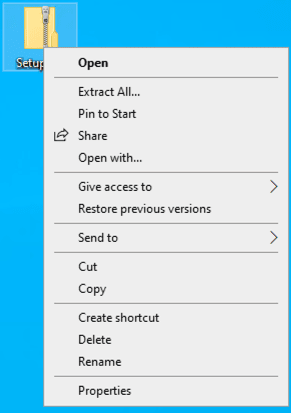
Setup.zip.
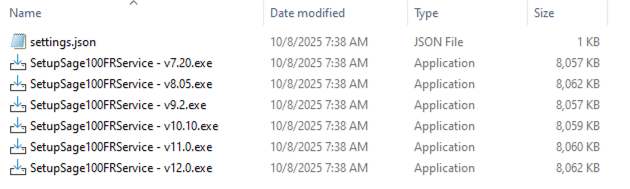
settings.json– this is a configuration file (do not open or edit).- A set of executable files to install the Windows service.
Start the executable that matches your Sage version. For example, on our server running Sage 11.02, we use the v11.0 installer
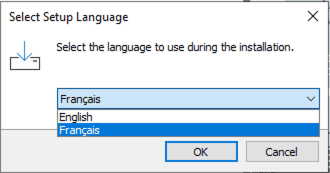
- The first screen asks you to select the installation language. Choose the one you are most comfortable with.
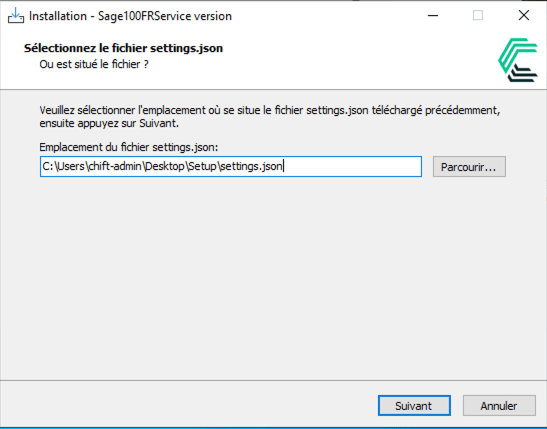
- On the next screen, the installer will ask for the configuration file we mentioned earlier. The good news is that it’s automatically detected in the same folder as the installer, so you don’t need to select it manually
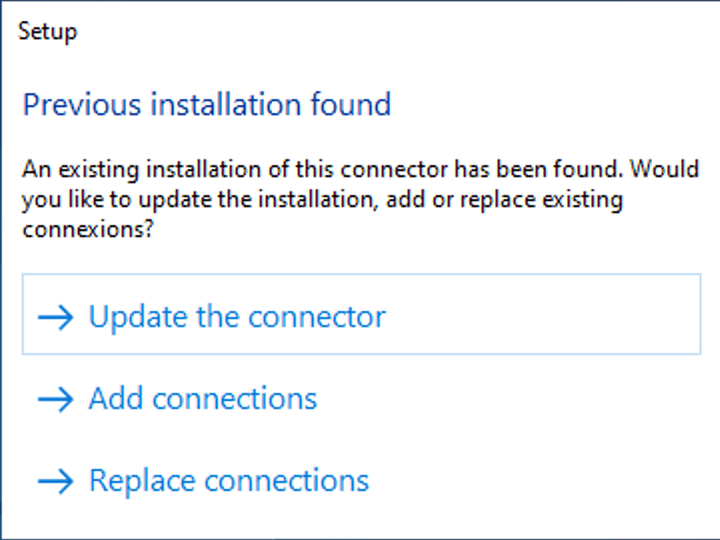
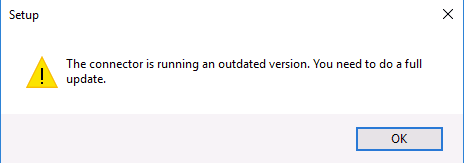
- If you already have a version of the service running locally, you will see the following window open to ask you what actions need to be performed on the connector. If this is not your case, go straight to step 4.
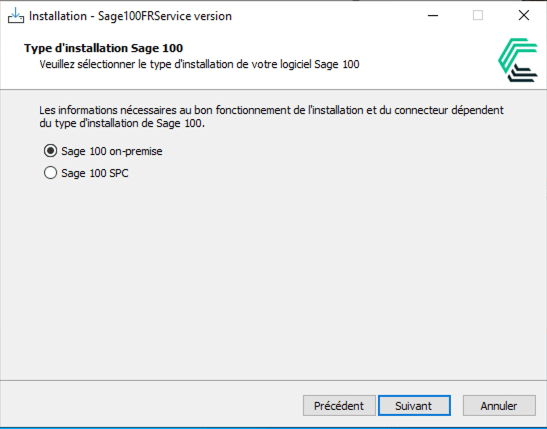
- Confirm your Sage version. Make sure Sage On-Premise Version is selected.
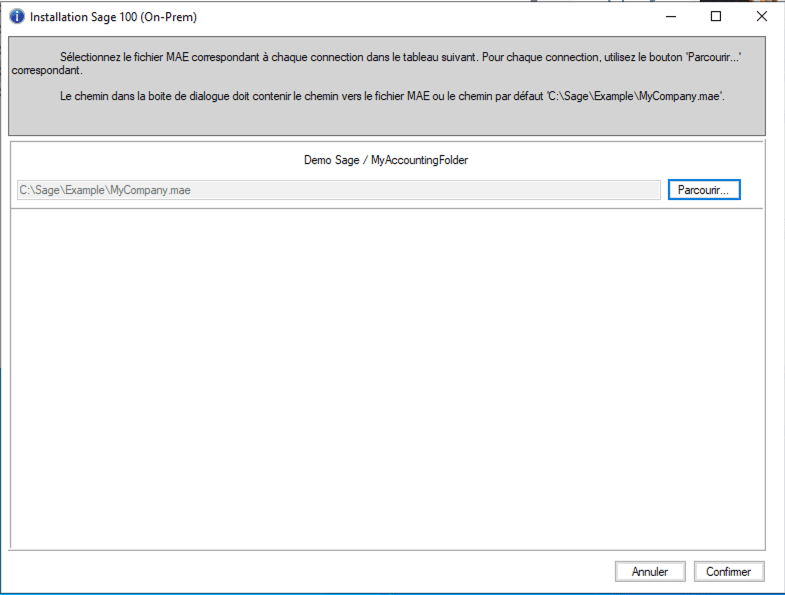
Next, you will set up the connections for your Sage instance. All connections currently available on the server will be listed. For each connection, you will see its name (for example,
Demo Sage / MyAccountingFolder). This name matches the connection name you entered on the form earlier and identifies the corresponding Sage folder.
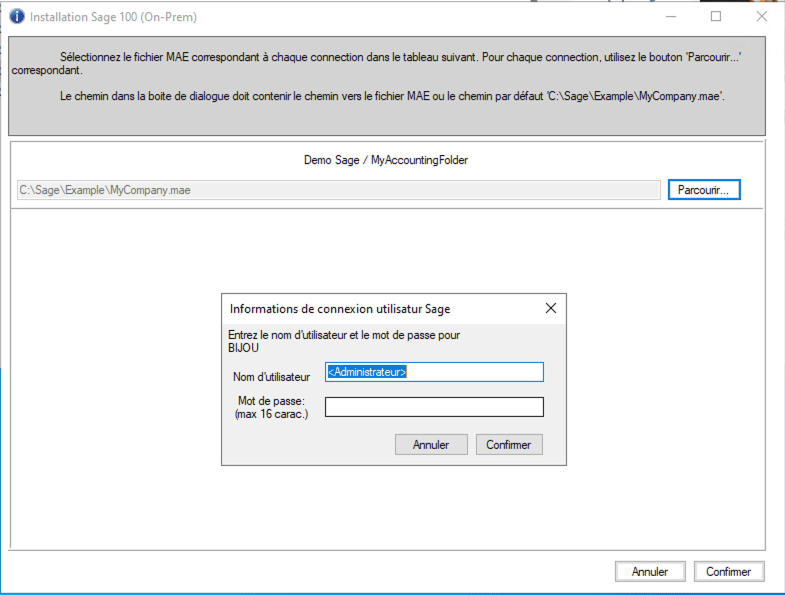
<administrateur> user.
-
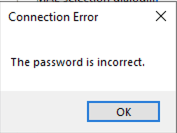
If the sage credentials provided are not valid. You should here check if the user can connect on Sage with those precise credentials.

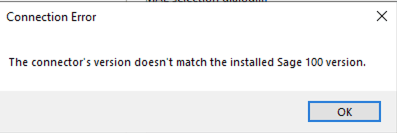
- If the version of the installer does not match the version of Sage on your server. You can just restart the installation with the version of Sage that is installed.
-
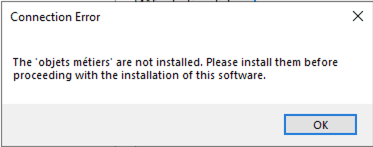
If the library has not been installed before the service, this error will occur. In that case, you should check with the client to make sure they install the library. You can download it here.
-
If the version of the library does not match with the version of Sage you have installed on your server, this error message will appear. To solve it you can simply uninstall the current version of the library and reinstall the correct version directly from Sage’s website.

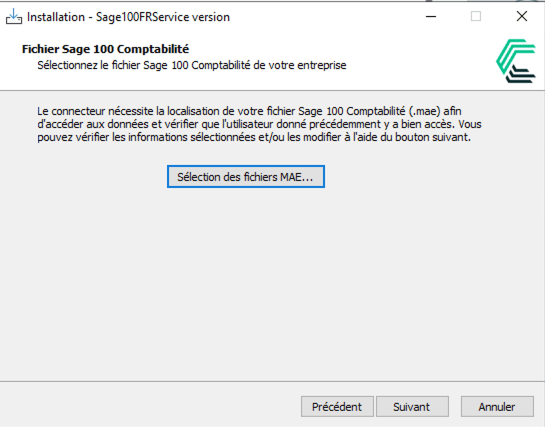
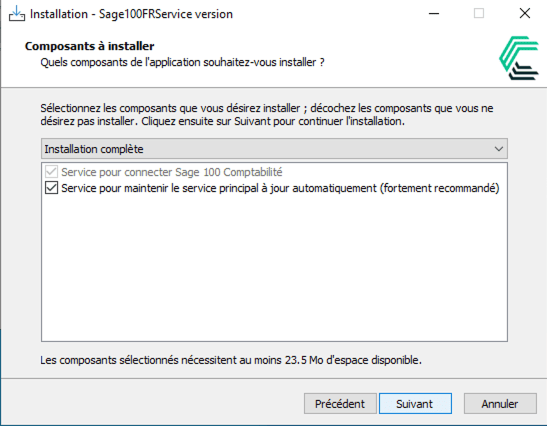
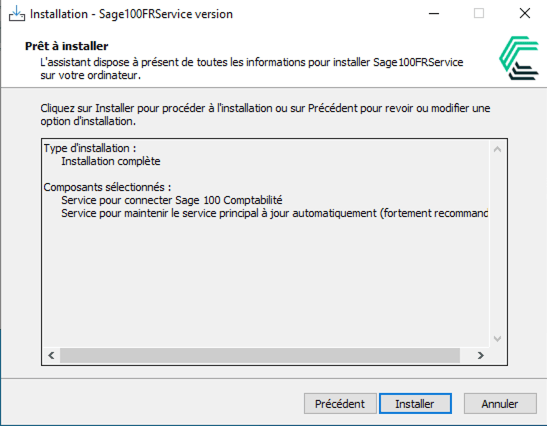
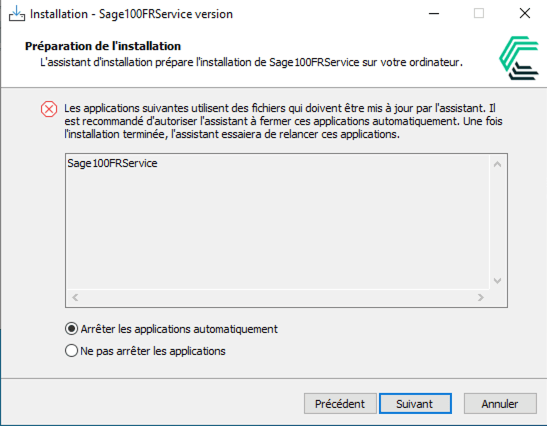
Click Next to finalize the installation of the agent.