

- Completed the connection form once per accounting folder you want to connect, so you have one setup zip per folder
- Admin rights on the machine where you’ll run the installer
1. Download your setup files
Each accounting folder you connect requires its own setup package. When you complete the connection form for a folder, you receive a zip file containing the Sage 100 installer plus a settings.json file unique to that connection. If you’re connecting 10 accounting folders, you’ll end up with 10 zip files, each containing its own settings.json. Create a temporary directory on your machine (e.g. C:\Sage100-Setup) to collect everything in the next steps.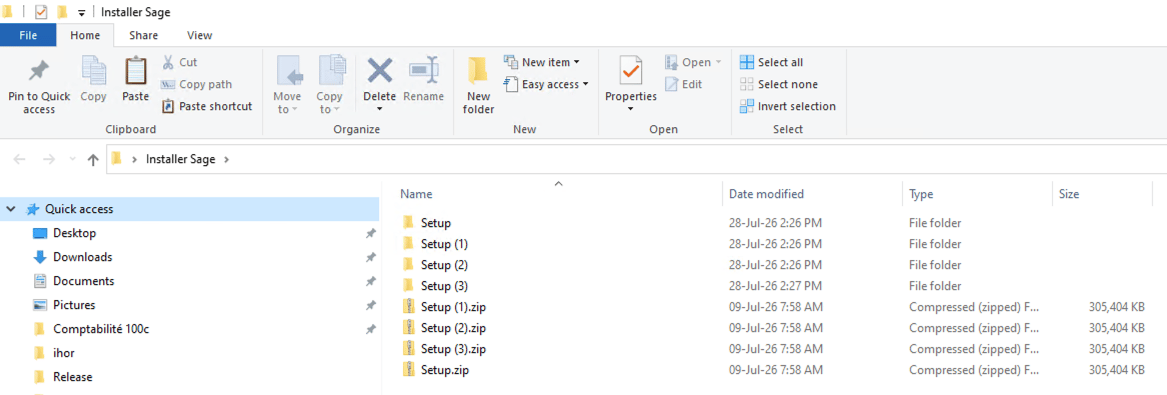
2. Duplicate a settings.json file
Pick any one of your downloaded zip files, extract its settings.json, and copy it into the temporary directory you just created. This copy becomes your single consolidated settings file — you’ll add the rest of your connections into it.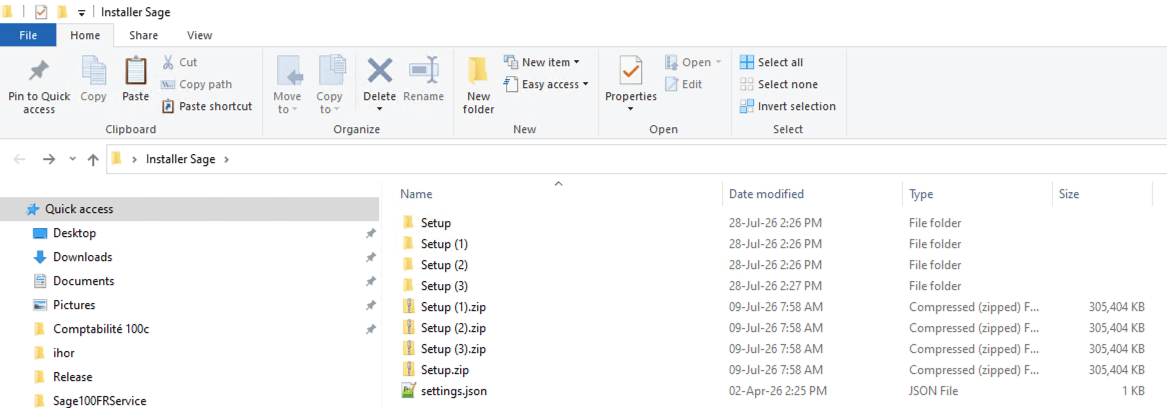
3. Merge the connections
Open your consolidated settings.json. It currently looks like this, with one connection block inside the connections array:{ ... } object containing clientId, clientSecret, accountId, consumerId, connectionId, connectionName and consumerName — into the connections array of your consolidated file.
Your final file should look like this, with one block per accounting folder: