🚨 Prerequisites
- You must have an active Sage Intacct Web Services developer license (this can be purchased by contacting your Intacct account manager)
- You must have a valid Web Services sender ID (this will be sent by email after purchasing the Sage Intacct Web Services developer license)
- You must have a valid Web Services sender password (you will receive an email after purchasing the Sage Intacct Web Services developer license that will allow you to generate this password)
🛠 Preparation
Create your API application
- Go to Sage Developer Portal
- Click on “View Console” and create your organisation
- Go to “Applications” and click on “New application”
-
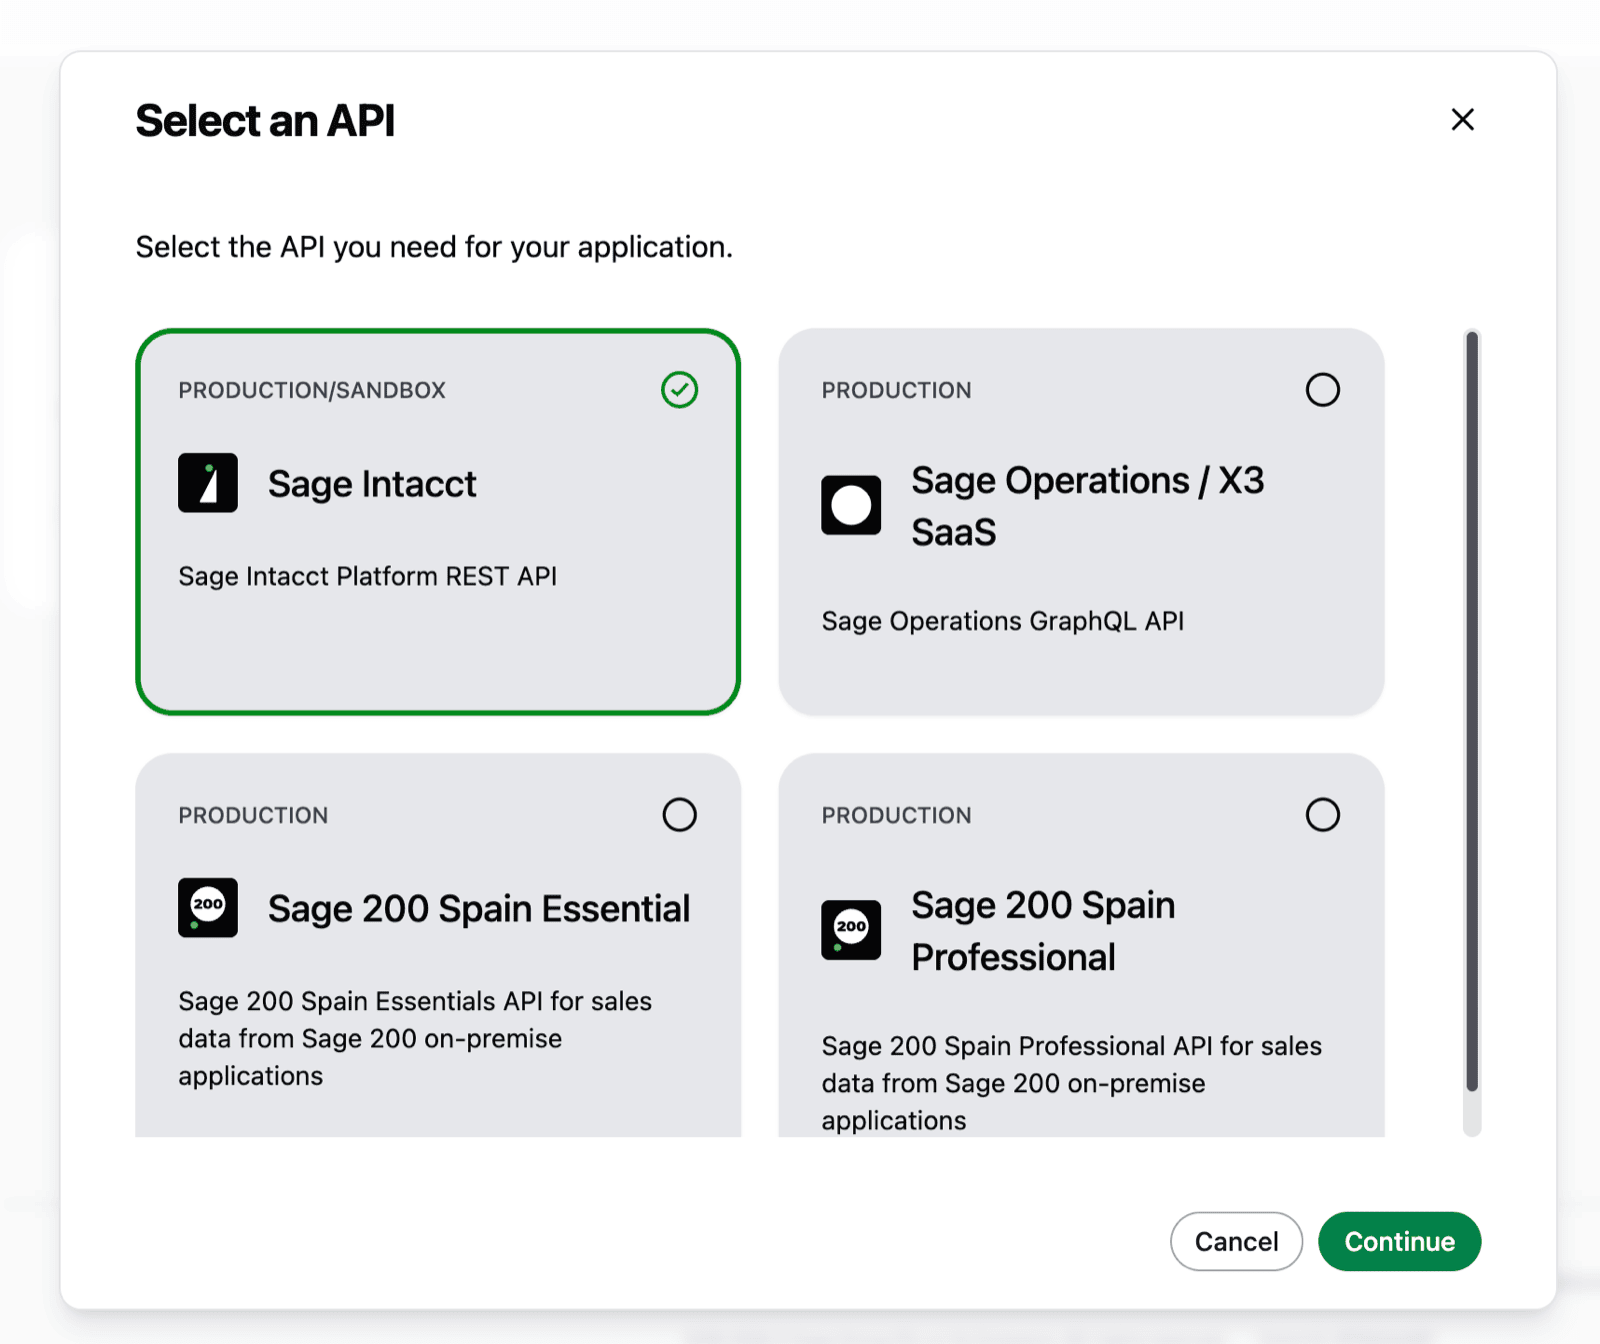
Select “Sage Intacct”
-
Fill in an “Application name” and click on continue (the application name is informative and can be whatever you want)

-
Fill in Chift’s Redirect URI with the following value: https://chift.app/oauth2/redirect
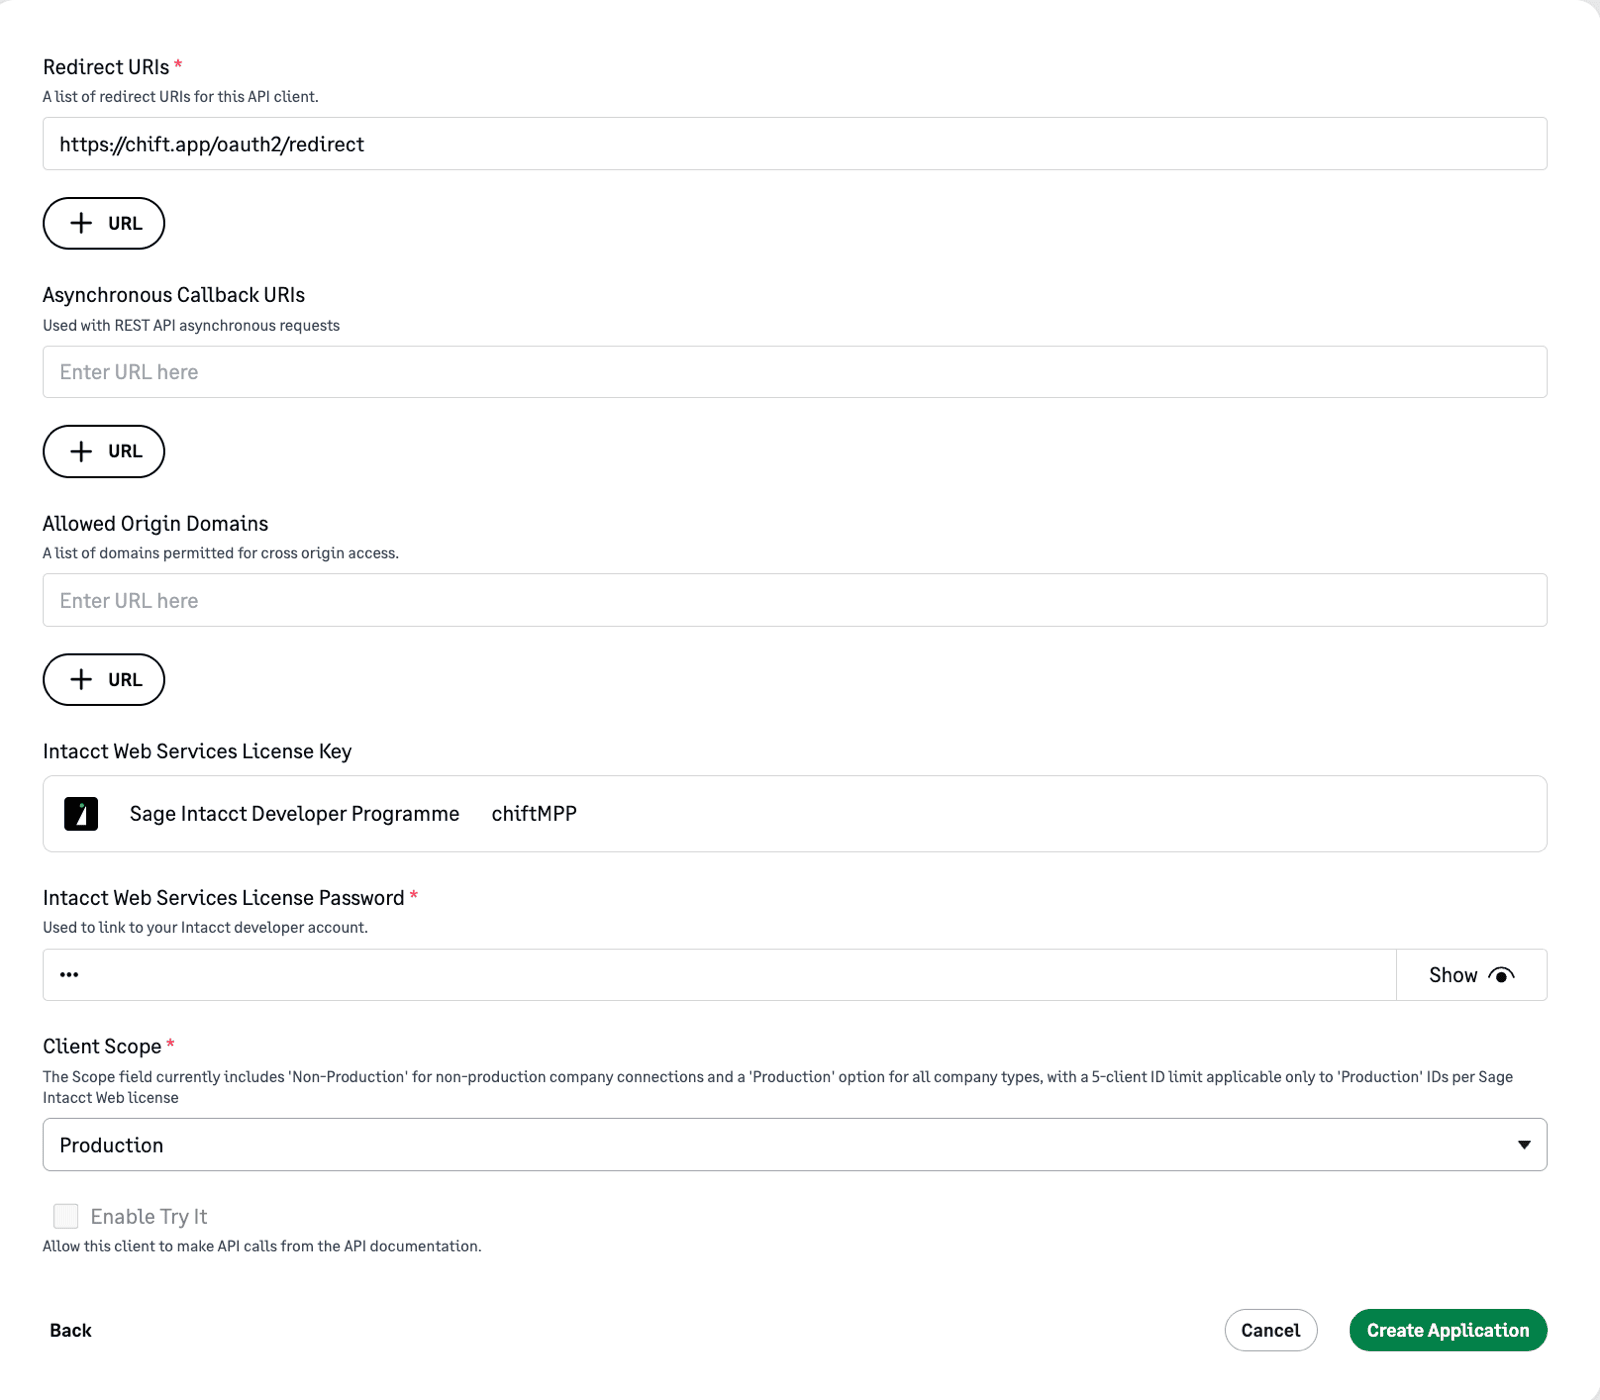
- Specify the Web Services sender ID from the prerequisites as Intacct Web Services License Key
- Specify the Web Services sender password from the prerequisites as Intacct Web Services License Password
- Select “Production” as client scope
- Click on “Create Application”
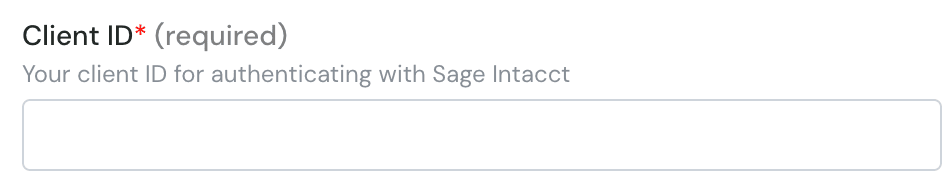
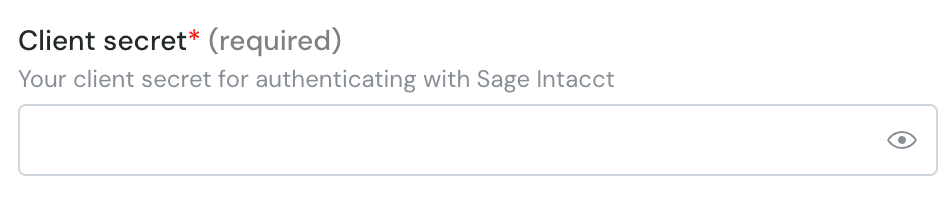
- This will generate a client ID and a client Secret that you will need during the “Connection” step below

Authorize the Webservice on each company you want to connect
After- Connect to your Sage Intacct account
-
Navigate to Company > Configuration > Company
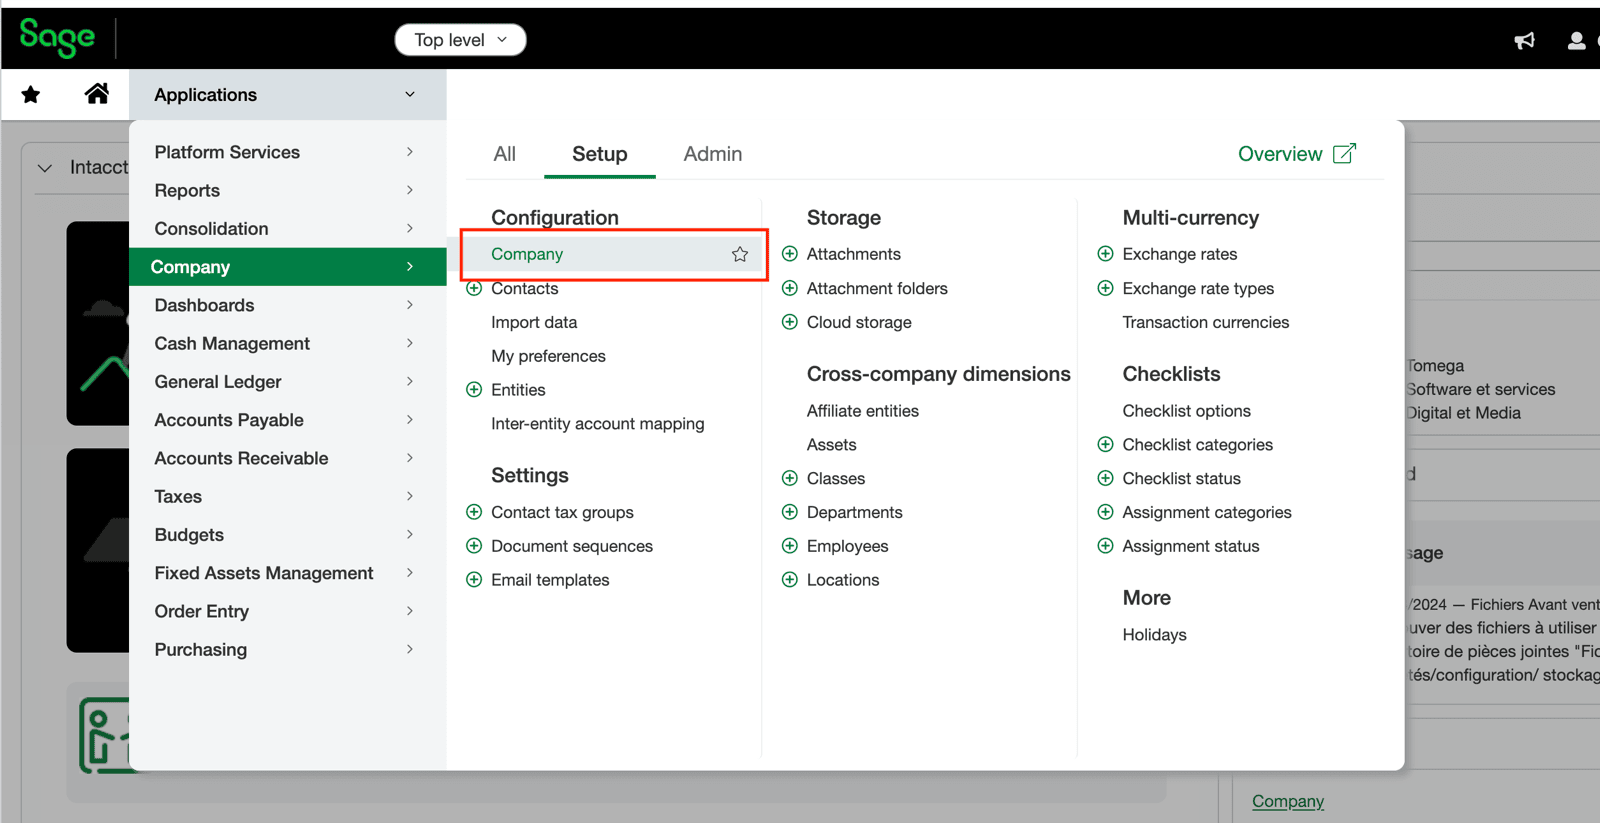
- Go to Security tab and click on “Edit”
-
Scroll down to the Web Services Authorizations section and click on “Add”
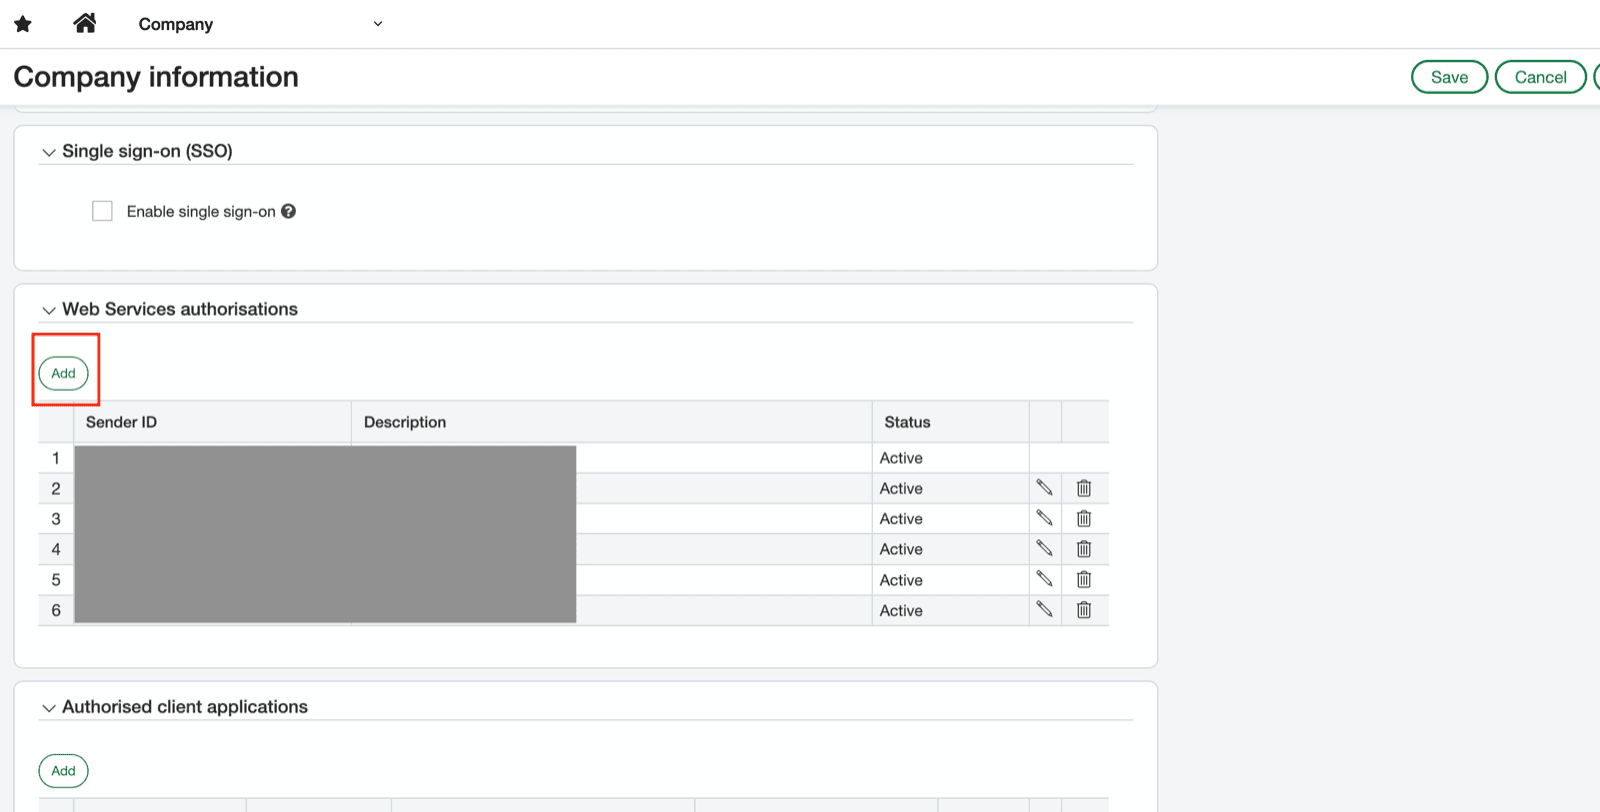
- Fill in your Web Services sender ID from the prerequisites
- Set status to “Active” and click on “Save”
⚡️ Connection
Step 1: Choose a name for your connection. (If the connection name field isn’t visible, simply skip this step and continue.)