

- The version of Sage on your server has been updated and you need to update the version of the connector to make it work again.
- You need to update the version of the connector (because you are using an older version of the Local agent or any other reason).

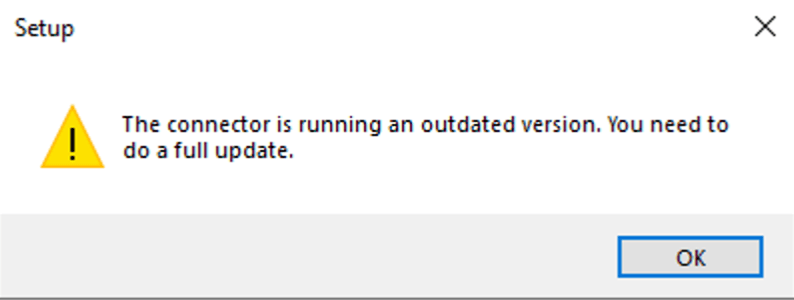
Reinstallation steps
To make the reinstallation easier, make sure to follow the next couple steps.Step 1. Create a backup of your current settings.
You will need to create a backup of your current settings file. To do so, go to this folder:C://Program Files (x86)/Sage100FRService. You will find a settings.json file. This is the file that contains all your current connections.
You will have to copy it and paste it temporarily on your desktop. The name of the file or its location is not important as long as you remember where you store it.
Step 2. Reinstall the agent with a new connection
If you are trying to install a new connection to your current local agent, we do recommend you to start by updating the Local Agent with that extra connection then to follow the step 3 to reinstall all your existing connection based on your backup file from step 1. If you are not trying to add a new connection to the existing ones, you can directly move to step 3. You can run the executable file matching the Sage version locally installed on your server. When reaching the step of settings selection, as you are trying to update the Windows service by adding a new connection, you can click the next button.
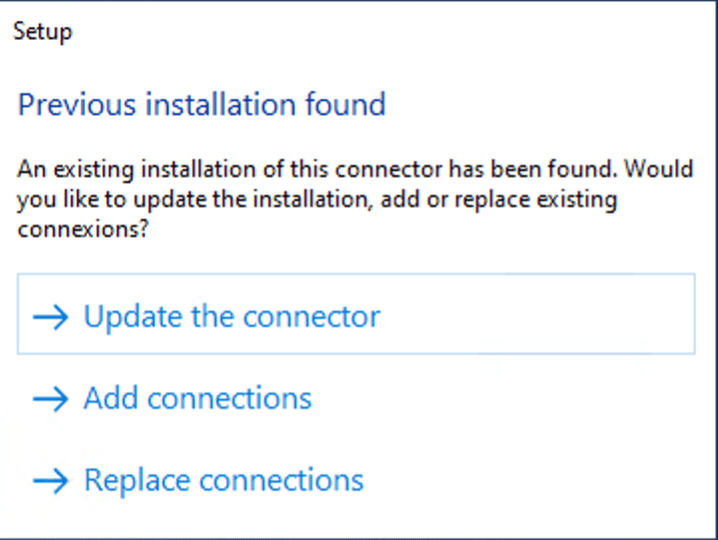
Step 3. Reinstall the connections from your backup file
You can then start the installation of your Sage100FR. The main point of attention here will be during the following step: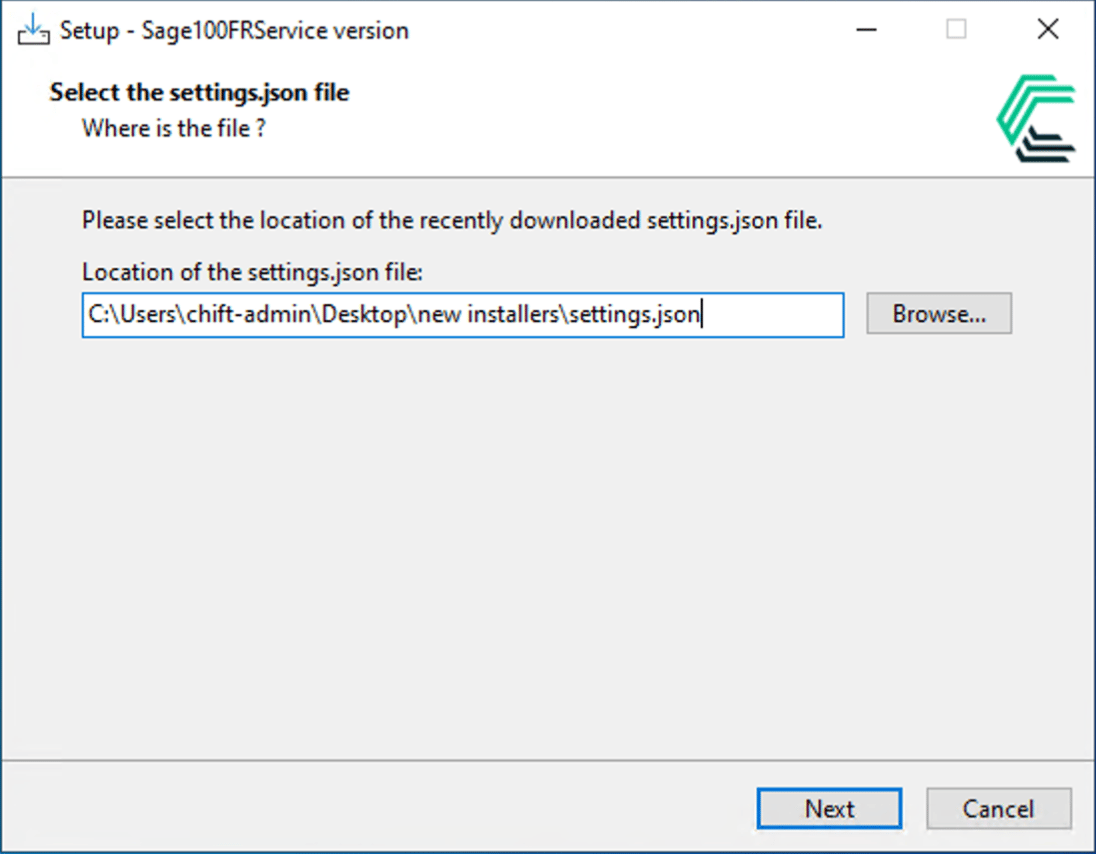
C:\\Desktop\settings.json). This settings will allow you to keep all your previous connections.
If you skipped step 2, click on the update connector button (The update connector button will erase all existing connection so make sure you skipped step 2 if you click on this option). Otherwise click on the add connections button. To add the previous connections to the one you just reinstalled.
