🚨 Prerequisites
- The integration is enabled for Odoo versions 13 and above for Odoo.sh and Odoo SaaS.
- A “custom” pricing plan is necessary for the activation of the integration with Odoo. (Odoo’s Plans & Pricing)
- The user must have admin permissions to enable the connection
🛠 Preparation
Watch this video: https://chift-connector-videos.s3.eu-west-3.amazonaws.com/1000/1000-config.mp4-
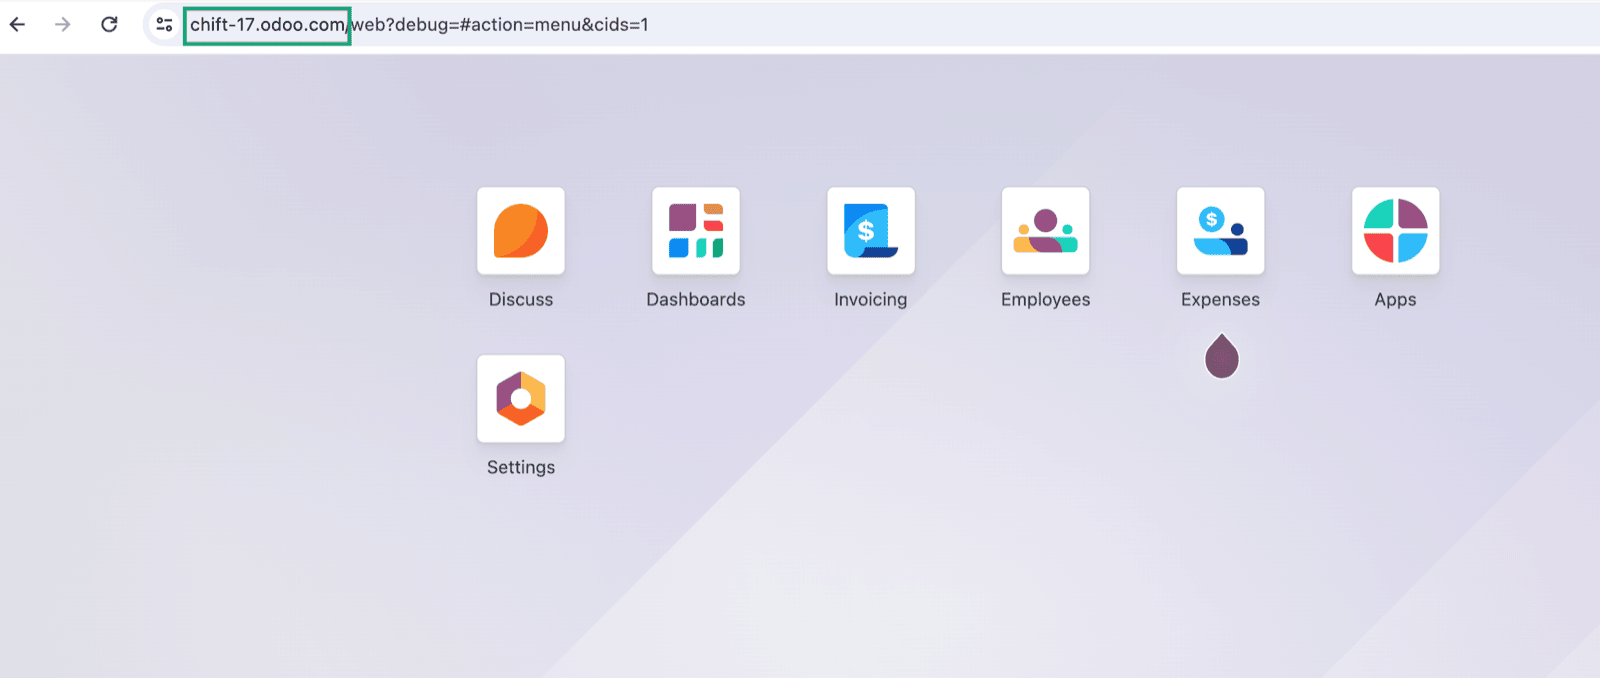
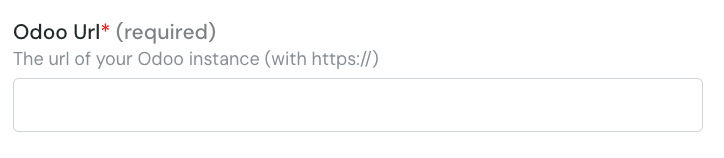
Find your Odoo URL.
-
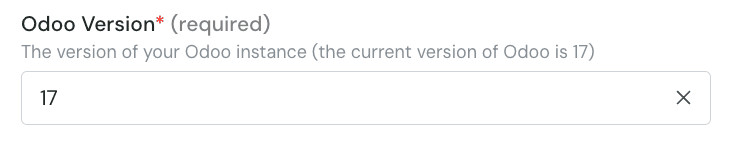
(If you don’t know it or are unsure) Find the version of your Odoo account in your settings
- Go to Configuration → Settings
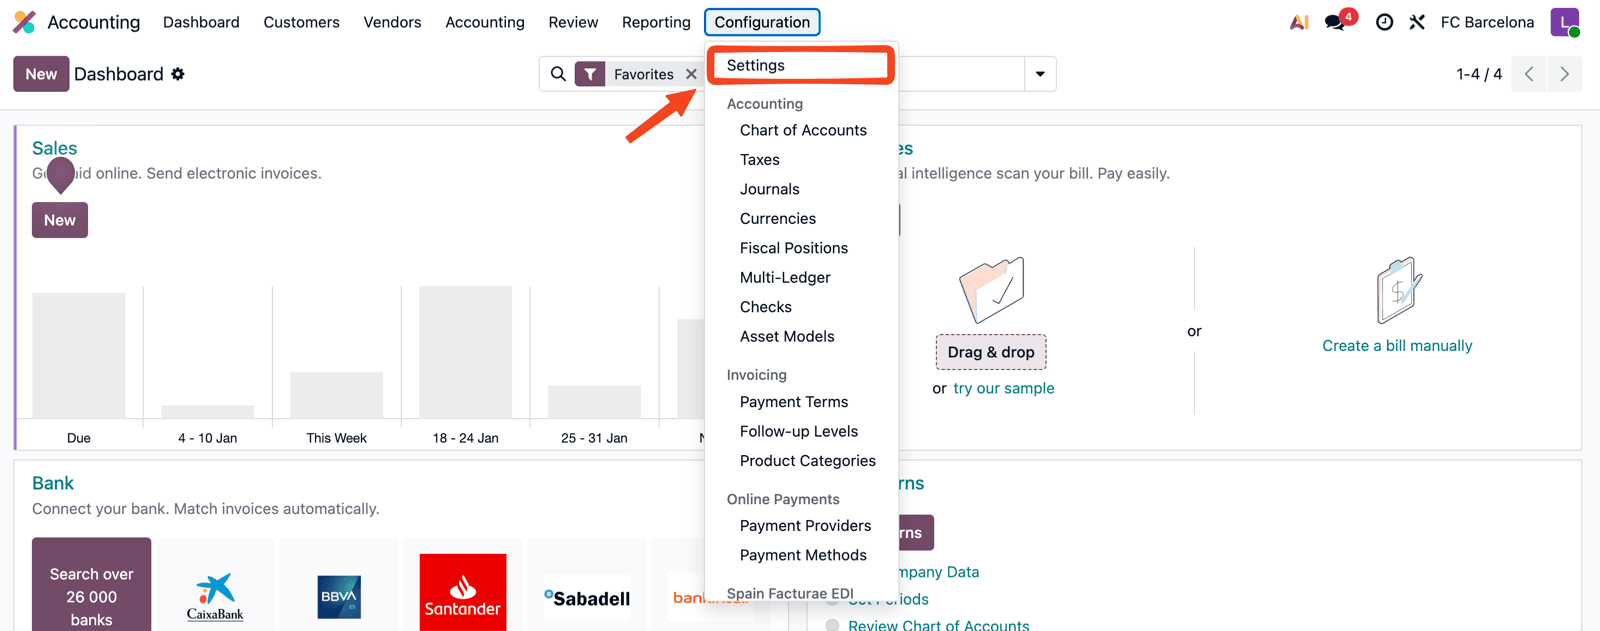
- In the left menu, select General Settings. Then, scroll down to the About section to see your version.
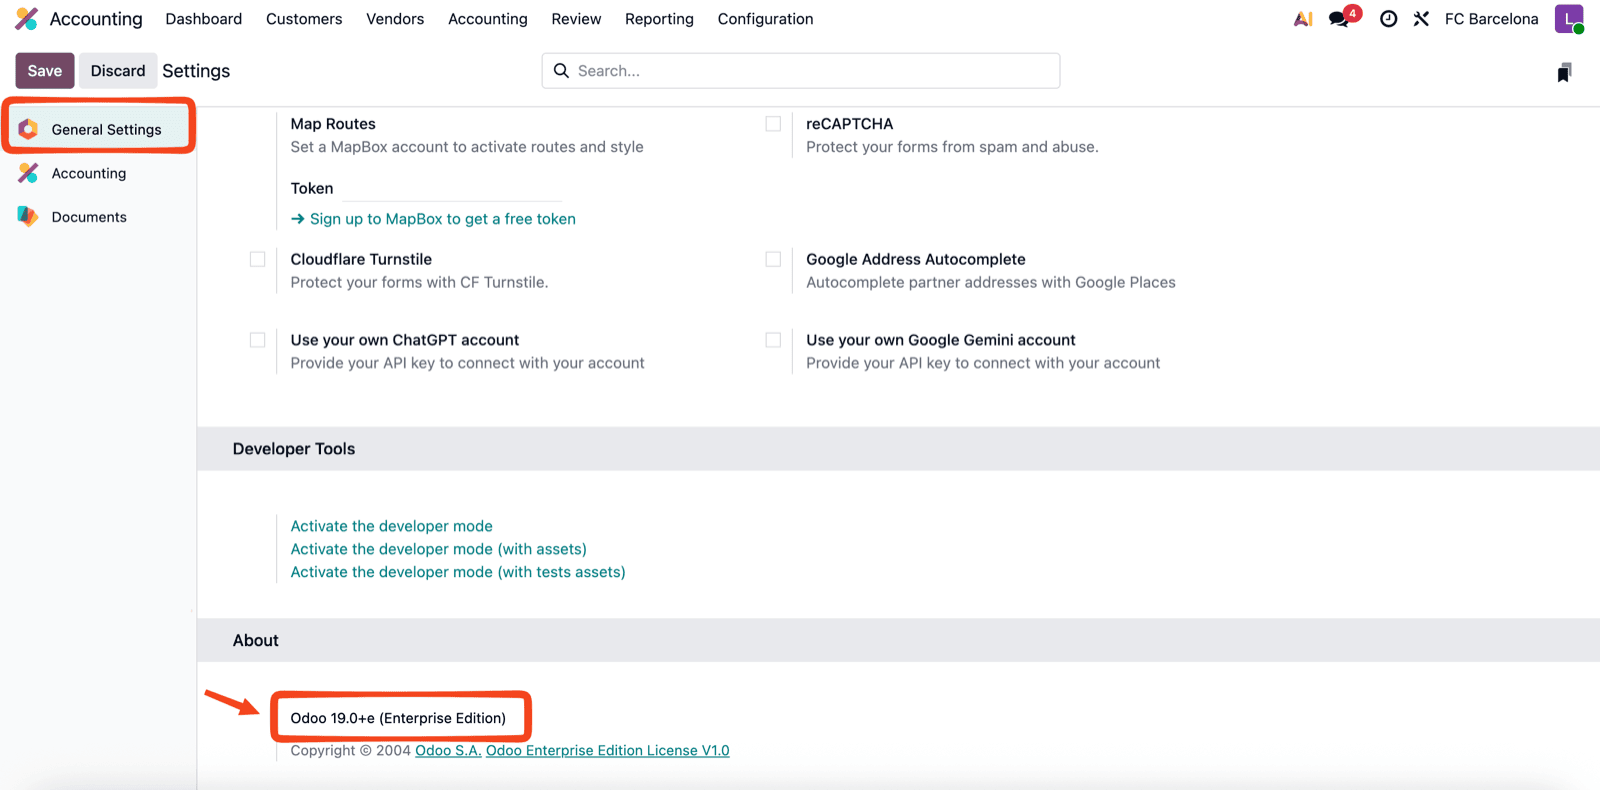
- Go to Configuration → Settings
-
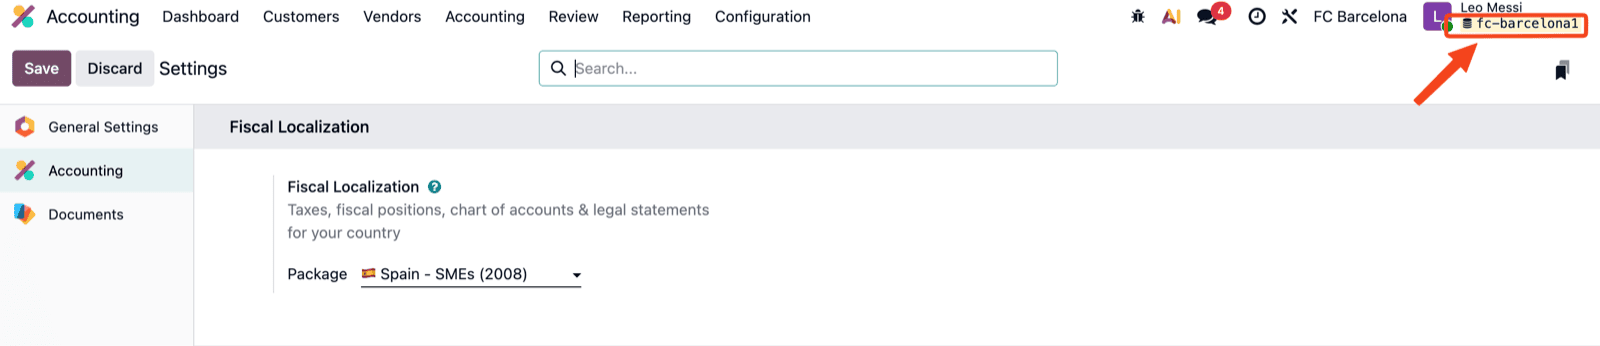
Find your database name
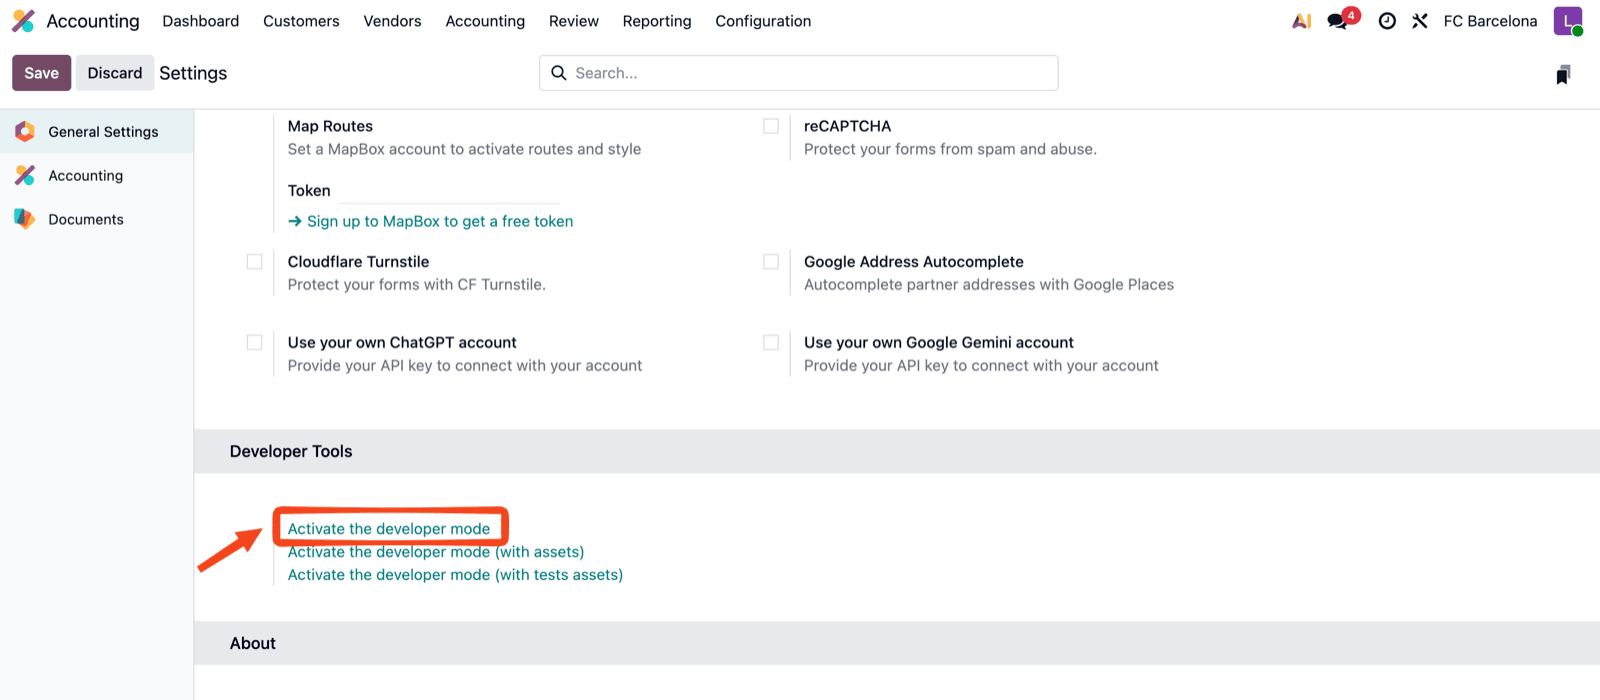
- Activate developer mode in Odoo.
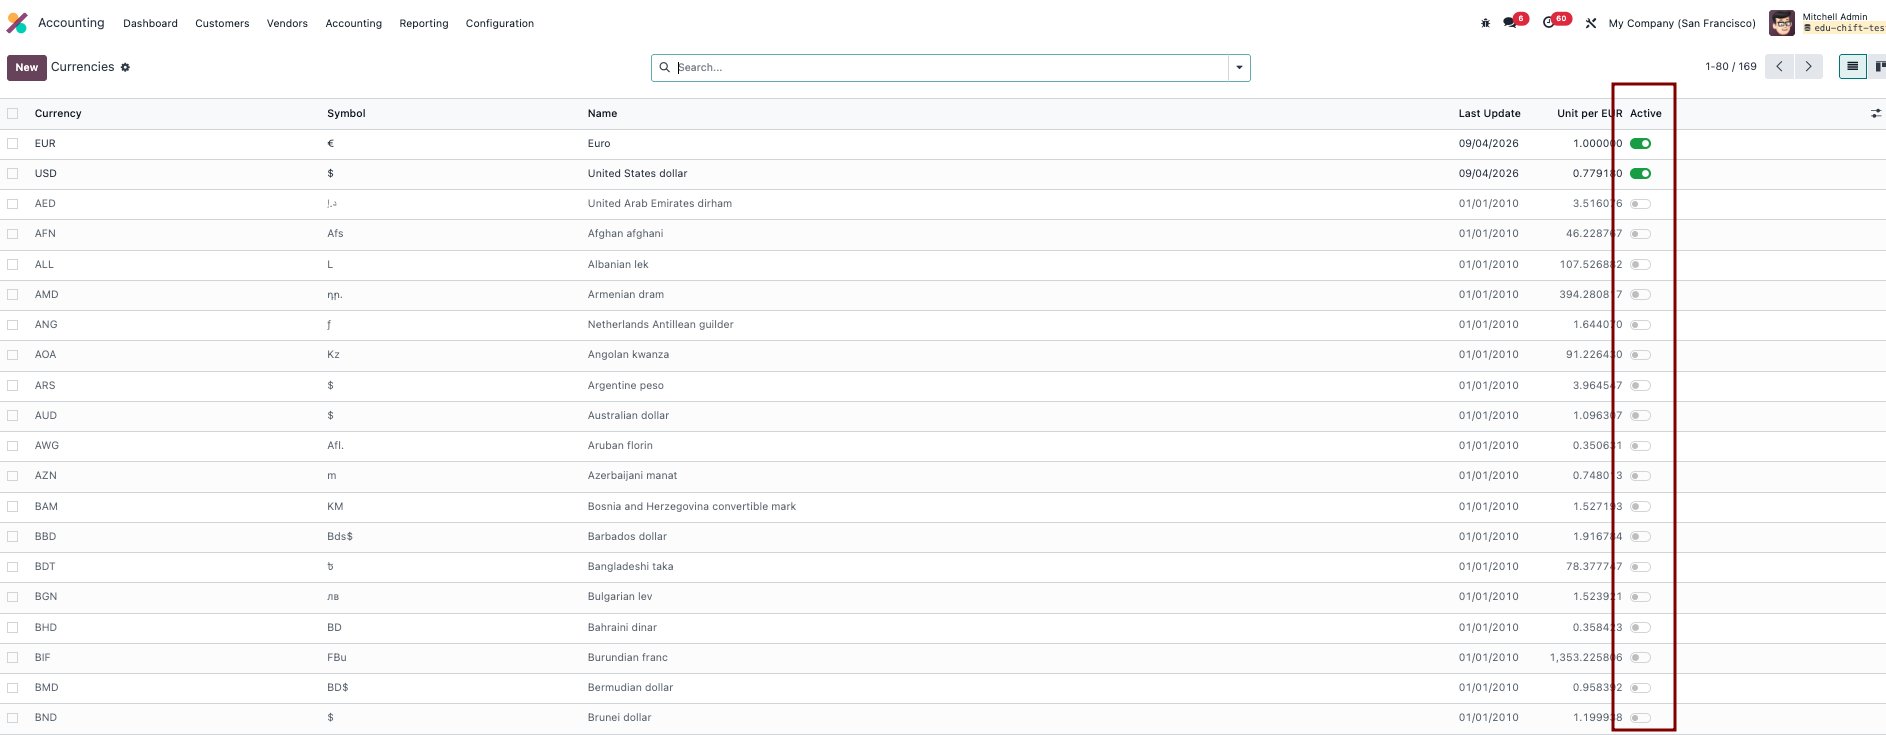
- Your database name will appear in the top-right corner under your username.
⚡️ Connection
Step 1: Choose a name for your connection. (If the connection name field isn’t visible, simply skip this step and continue.)


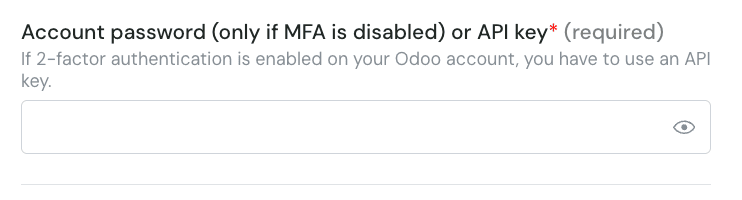
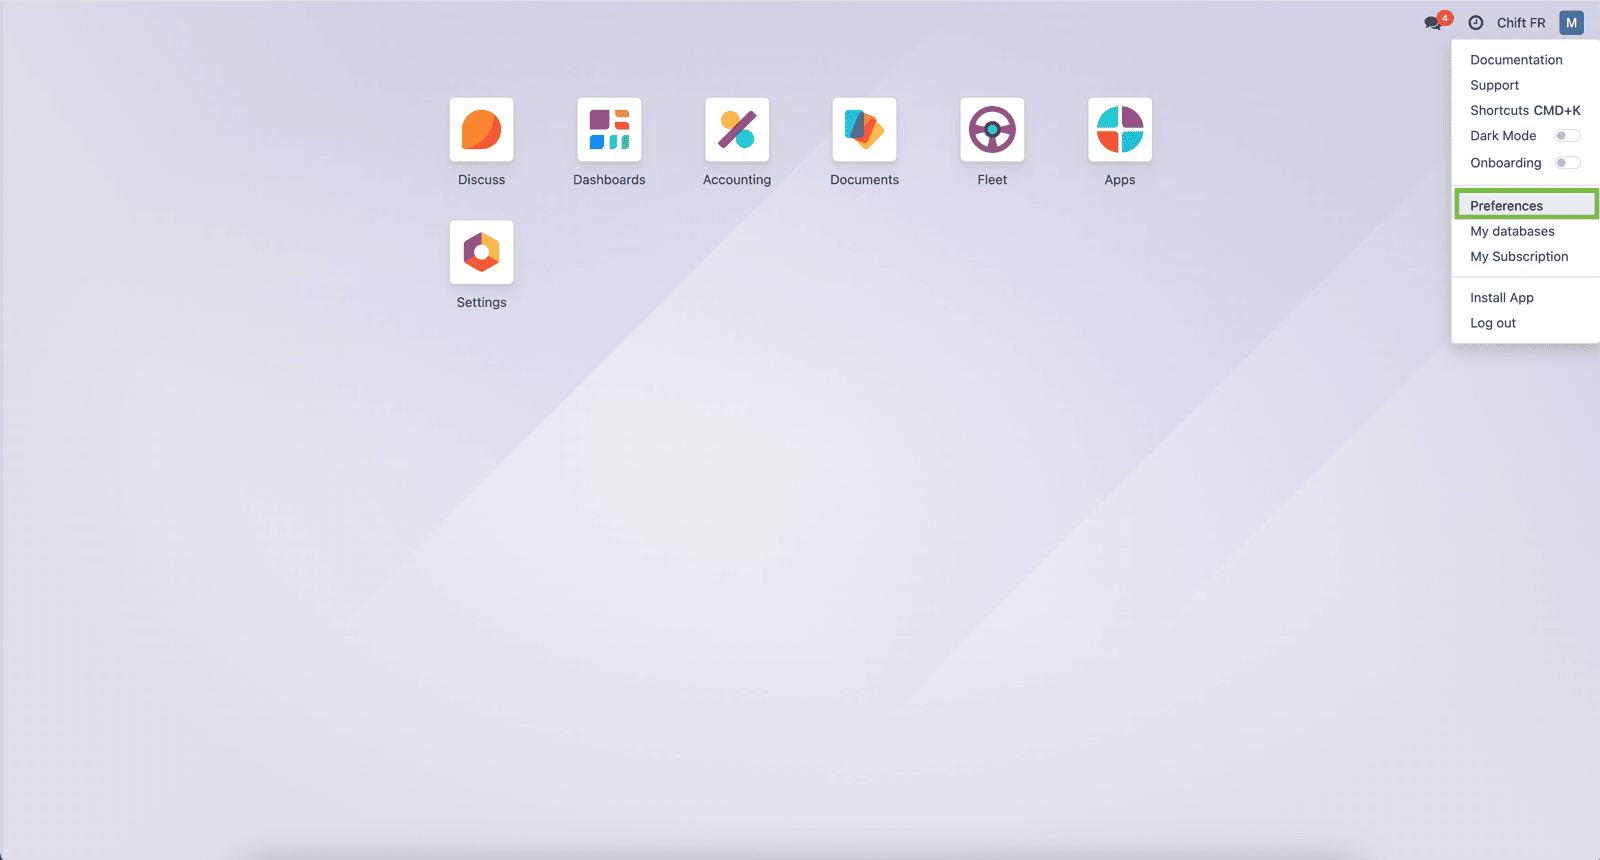


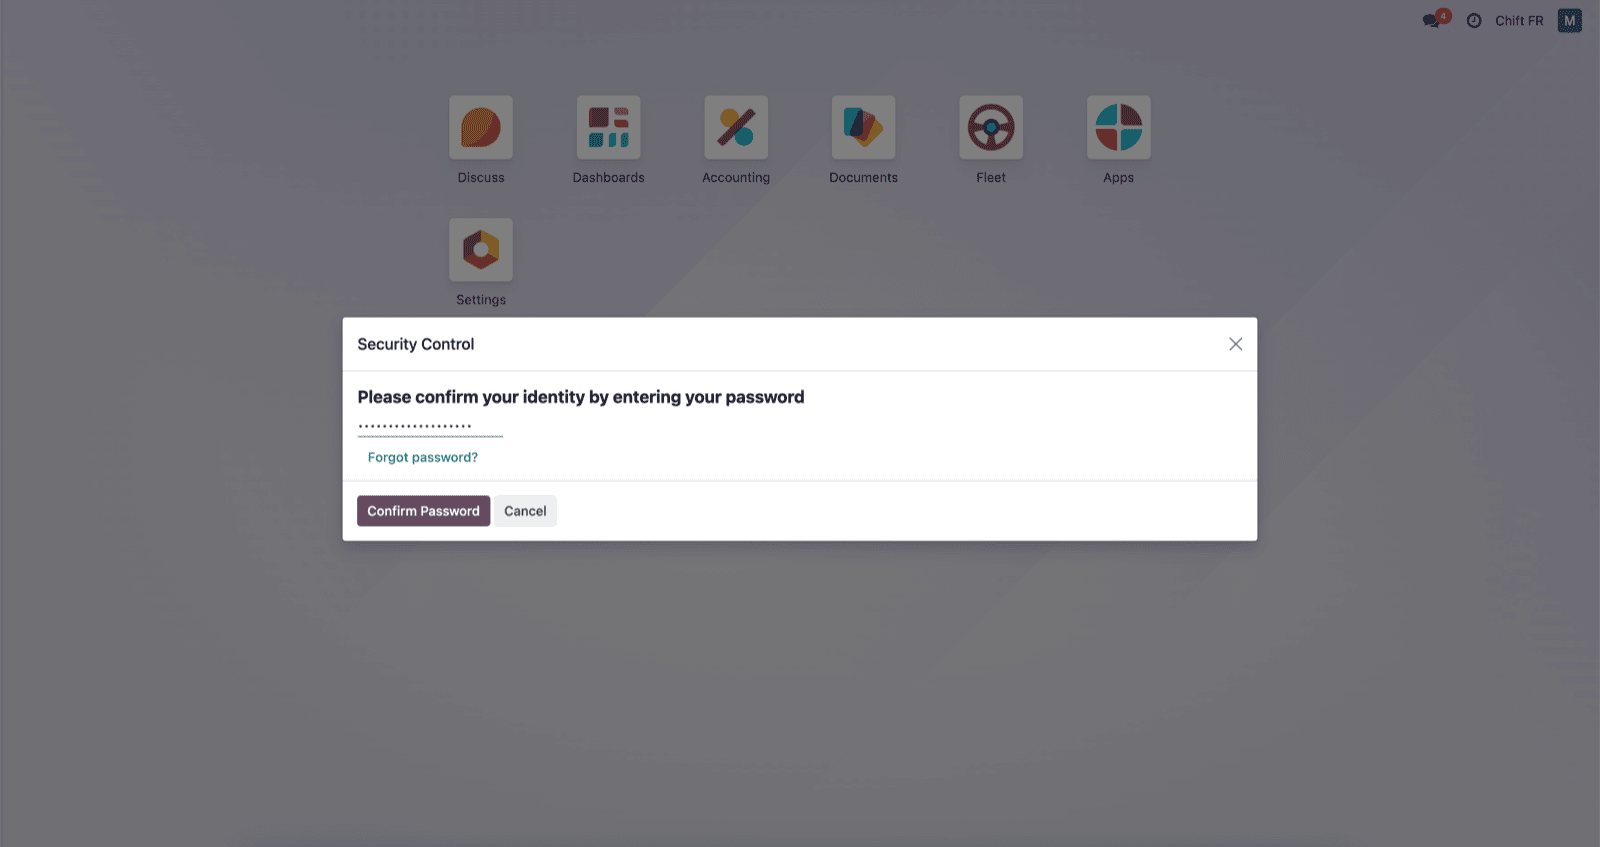
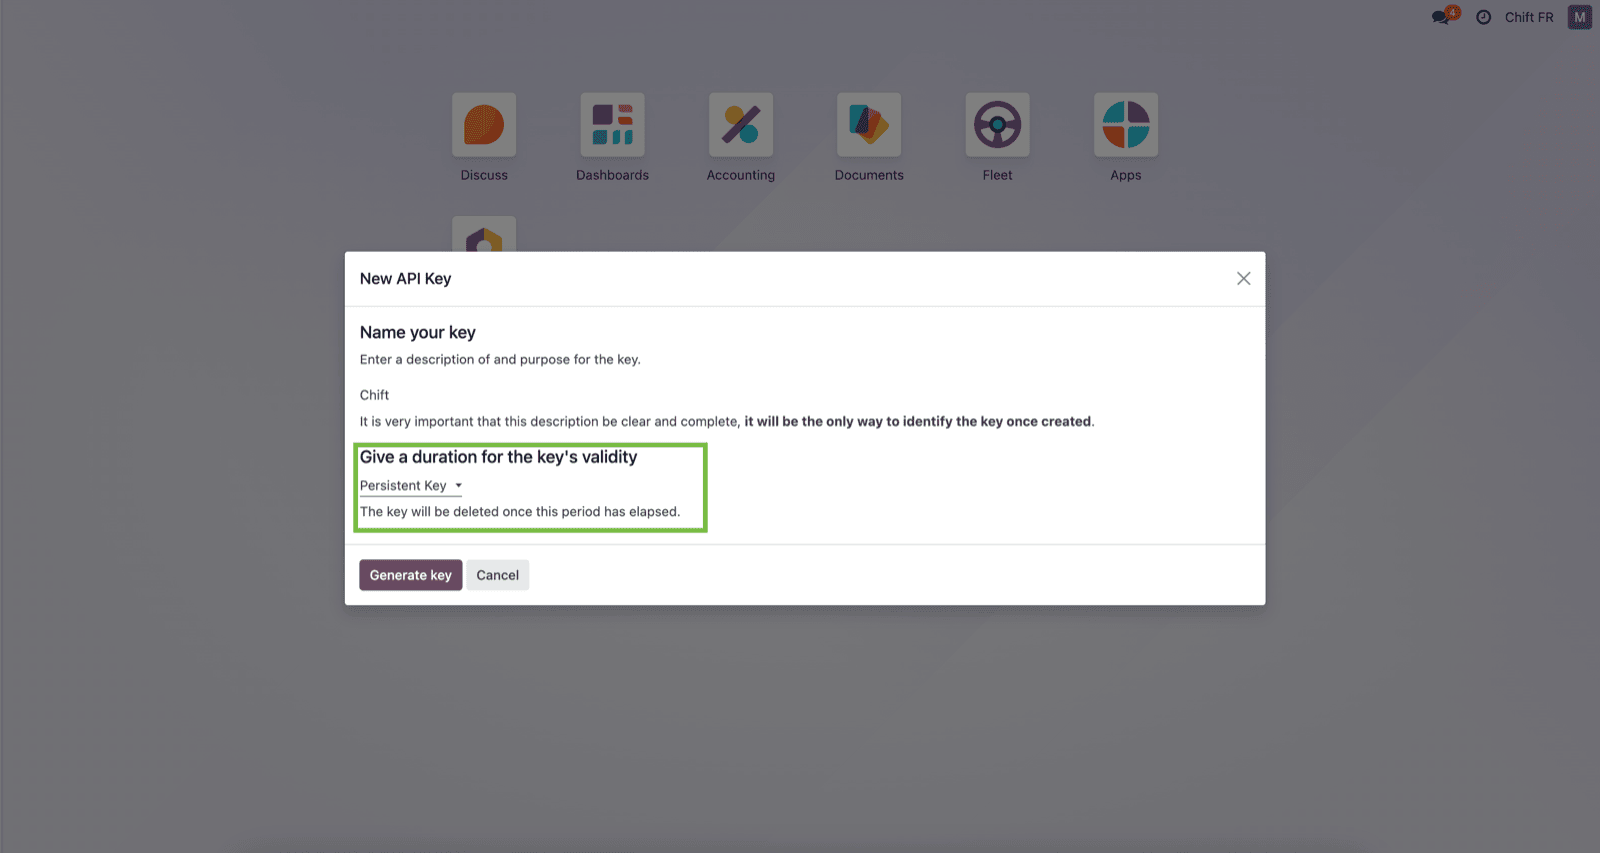

Configuration
Step 1: Select the company to connect to on Odoo.

❓ Troubleshooting