- Native access to the Microsoft SQL Server Azure engine
- Access to Sage 100 SPC-specific business objects.
- Uninstall the Objets Métiers library of Sage 100 On Premise
- Update the virtual machine to the current installed version. This will force the installation of the correct version of the Objets Métiers library of Sage 100 SPC
🚨PREREQUISITES (conditions to be met prior to connection**)**
In order for the connector to work on the server, you must ensure before installation that: ✅ You have admin access to the server where Sage 100 is installed ⚠ Please note that the server/computer must be accessible at all times with internet access (24 hours a day). Otherwise, the data will not be synchronized ✅ The .NET framework 4.8 are installed on the server ✅ We have a Windows user who has read and write access to the SQL database of the accounting file and to the Sage 100 file. There are two possible options:- Retrieve the name and password of a user who would have these two accesses.
- Create a user specific to the Sage 100 connector - this is the recommended solution
🛠 PREPARATION (information needed prior to connection)
In order to establish the connection with Sage 100 “On Premise”, you will need to retrieve a certain amount of information on your Sage 100 instance and from the integrator partner who installed your Sage 100 instance.- Find the code of your file / company
- Retrieve the number of the zone / analytical plan
- Retrieve your Azure SQL instance and database name
- Retrieve your SQL credentials
1. Find your file / company code
This information is visible from your Sage 100 instance at the very top of your page in a menu bar. In the center of this “menu” banner you will see the code of your file (company) indicated. 
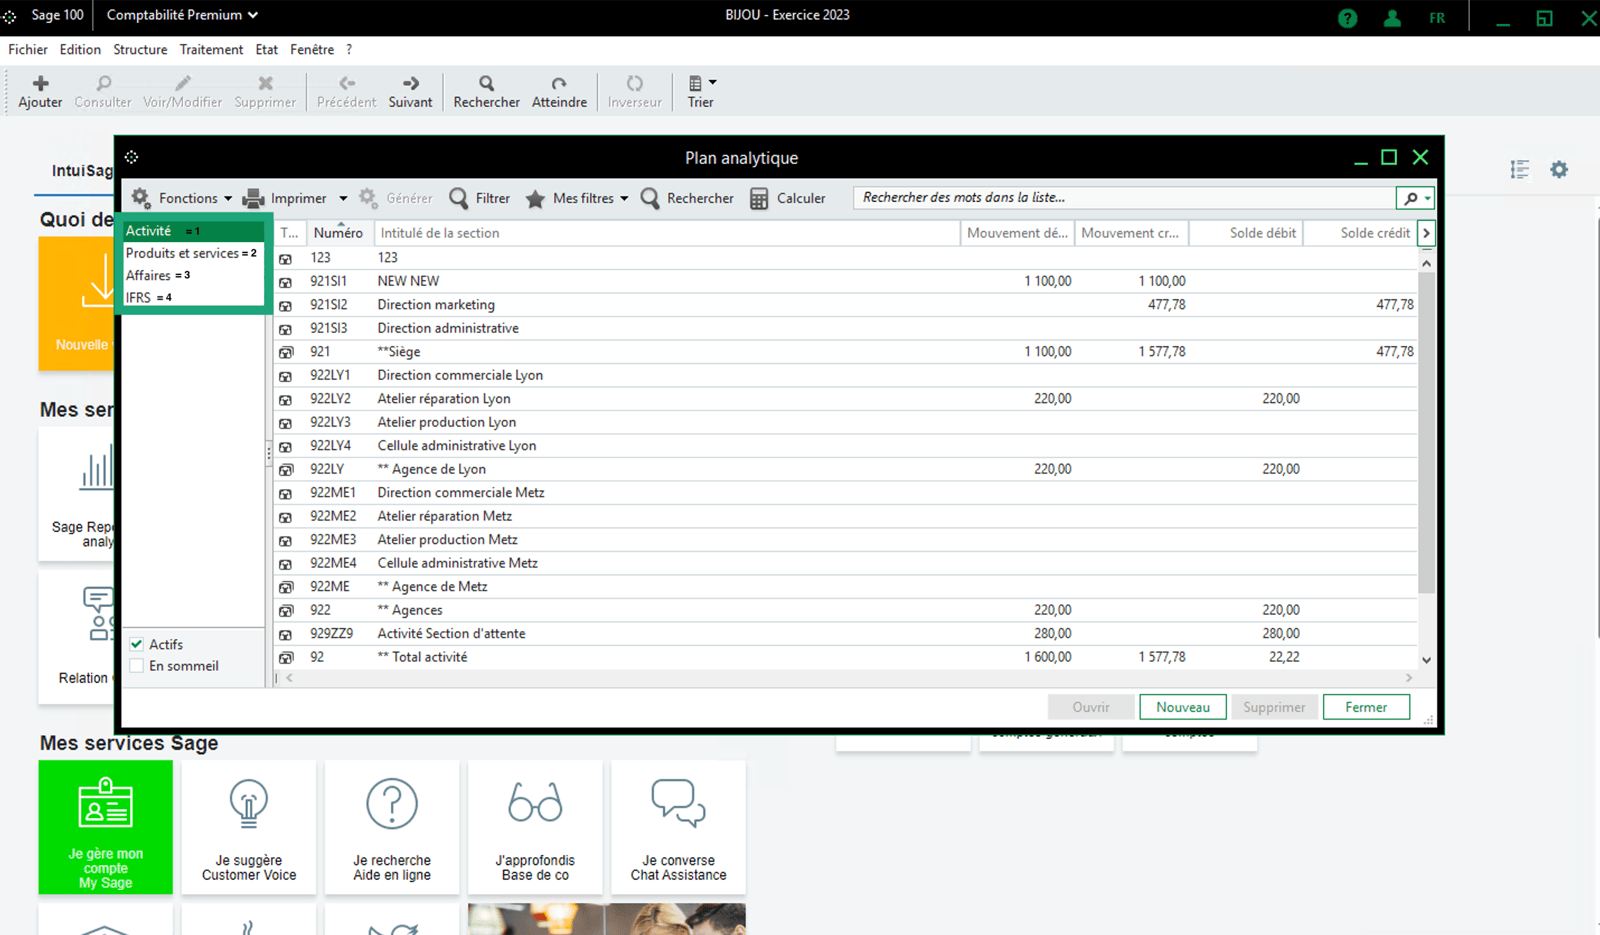
2. Retrieve the number of the analytical zone/plan
To identify the analytical zone/plan number, you need to follow these steps from your Sage100 instance.-
Menu → Structure → Analytical plan
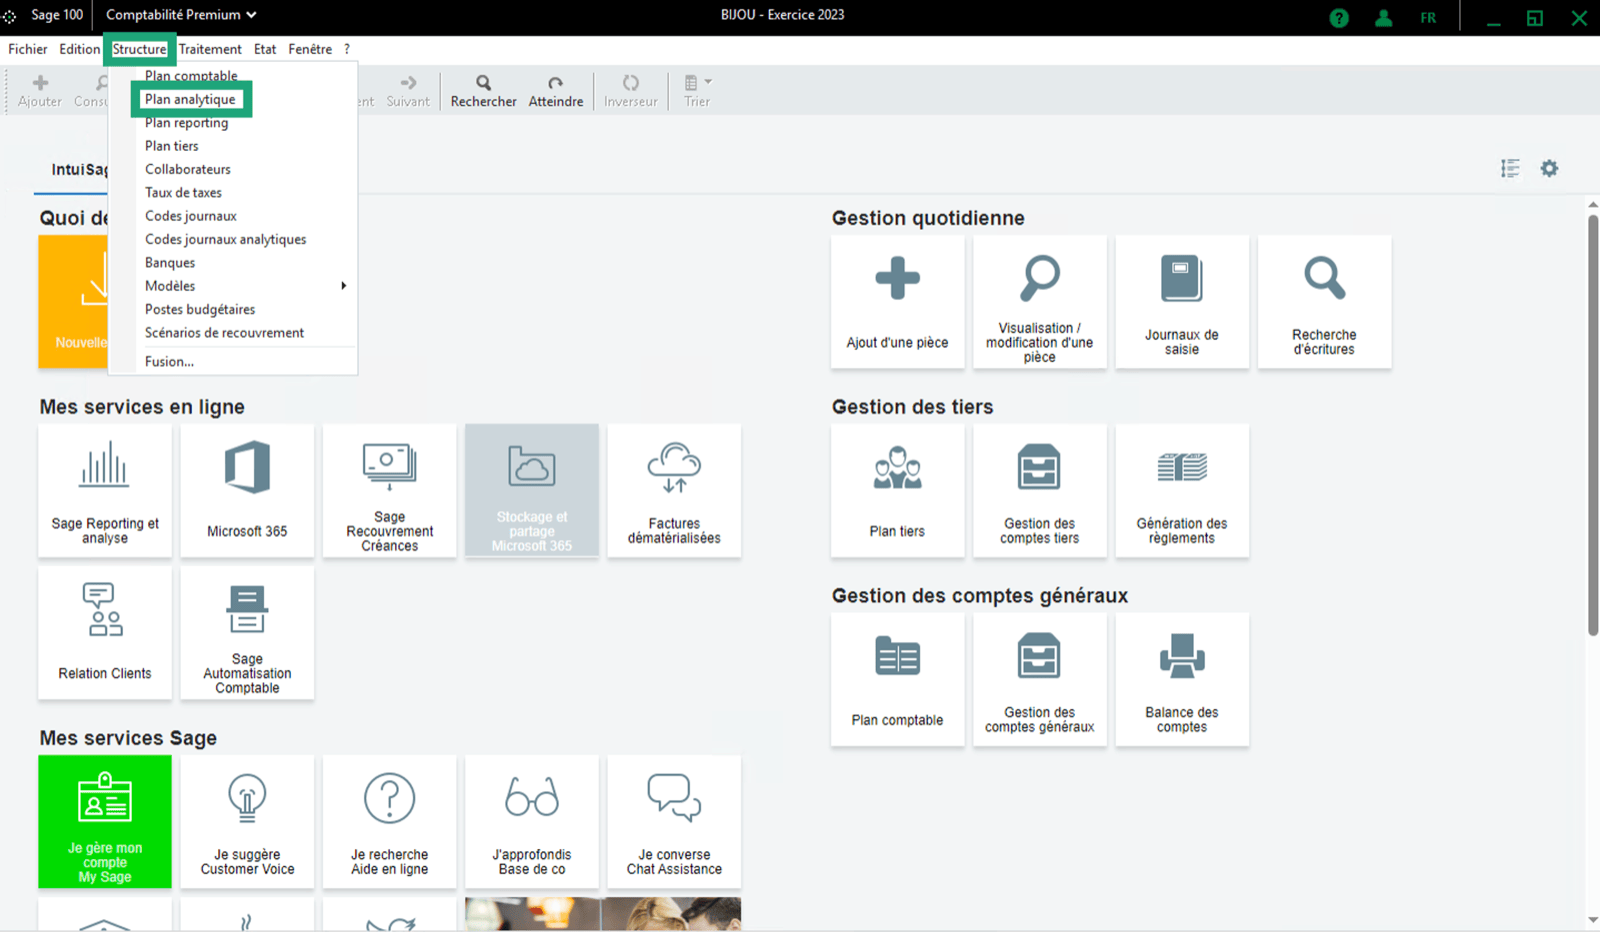
- Activity = 1 (fill in the number 1 to select the first analytical plan option)
- Products and services = 2 (fill in the number 2 to select the second analytical plan option)
- Business = 3 (fill in the number 3 to select the third analytical plan option)
- and so on…
3. Retrieve your Azure SQL instance and database name
To install the extension on the cloud, you will need to:-
Contact your Sage100 integrator.
-
Ask them to provide you with the following information:
- Your SQL Azure instance (server) name (looks like a code like “xiyxu8z271”)
- SQL Azure database name (looks like a code like “xim9mokrk4q_AS274AY1ZH”)
-
Ask them to provide you with the following information:
4. Retrieve your Azure SQL username and password
You must contact your Sage100 integrator and ask them to provide you with the following information:- Sage100 SQL Server Username
- Sage100 SQL Server Password
⚡️CONNECTION
Step 1: Choose a name for your connection (may vary from tools you are connecting to) Step 2: Select the analytic zone/plan number to use based on the value you found from the second point of the preparation steps.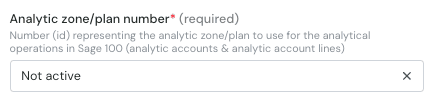
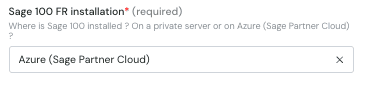

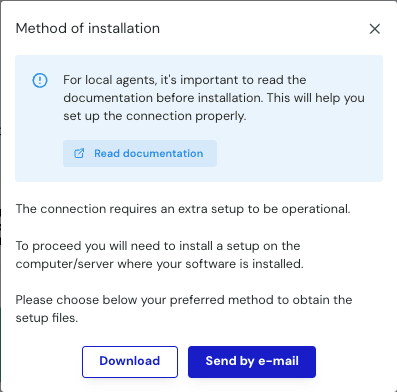
💿 FINALISATION - local agent download and installation
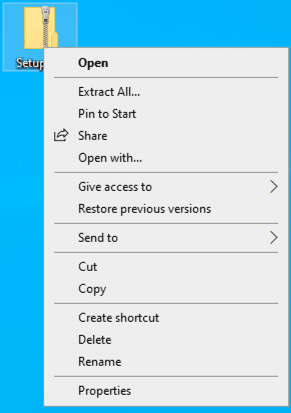
Recommendation: Perform the installation directly on the server running your Sage 100 FR instance. Once you have filled out the form and downloaded the zip archive, start by copying the archive to the server where Sage 100 is installed. All following steps assume that you are connected to the server and that all prerequisites have been verified. If you have any doubts, stop here and make sure the requirements are met before proceeding. If you are about to install the service for multiple folders, you may want to read the following documentation first (optional). 📄 Sage 100: Connect Multiple Accounting Folders at OnceExtract the contents of
Setup.zip.
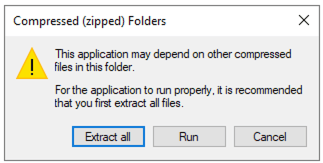
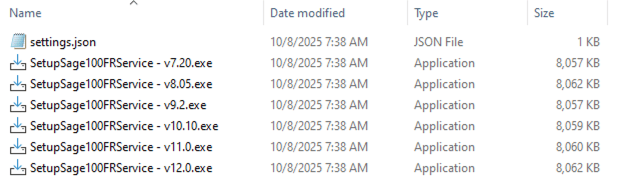
settings.json– this is a configuration file (do not open or edit).- A set of executable files to install the Windows service.
Start the executable that matches your Sage version. For example, on our server running Sage 11.02, we use the v11.0 installer
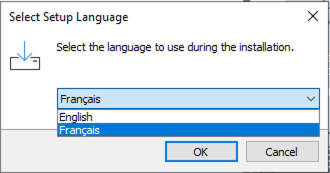
- The first screen asks you to select the installation language. Choose the one you are most comfortable with.
- On the next screen, the installer will ask for the configuration file we mentioned earlier. The good news is that it’s automatically detected in the same folder as the installer, so you don’t need to select it manually

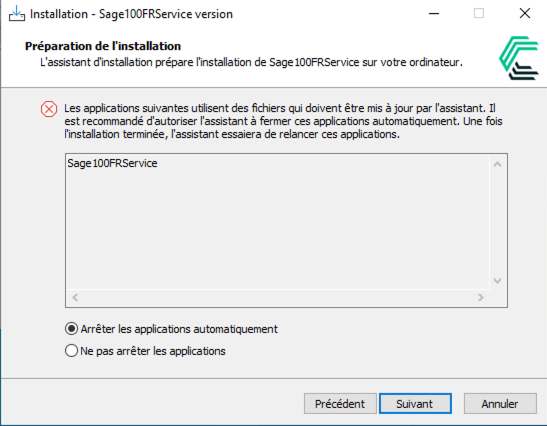
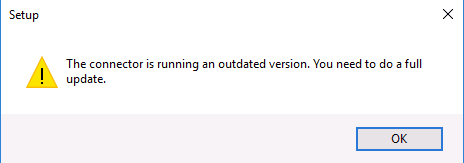
- If you already have a version of the service running locally, you will see the following window open to ask you what actions need to be performed on the connector. If this is not your case, go straight to step 4.

-
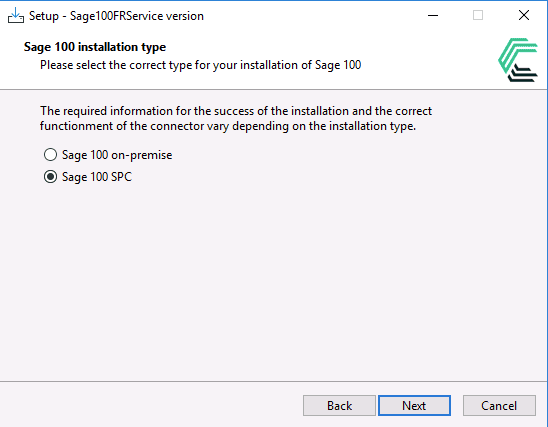
Confirm your Sage version. Make sure Sage SPC Version is selected.
-
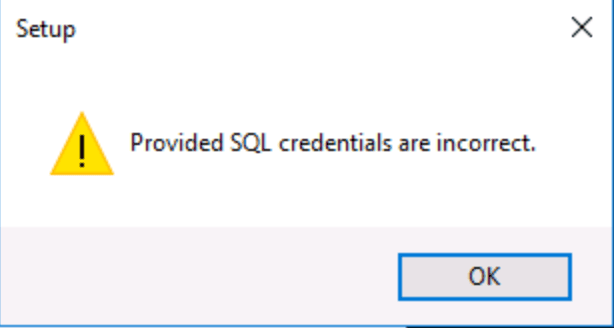
If you are installing the connector from scratch or updating the service, you will have to provide the technical access to your Sage 100 database. You should have prepared this information in the 4th point of the preparation steps.

-
Once the connection with the database has been tested by the installation script, you will have to provide the email of the Sage user that needs to be used by the connector. We usually recommend to use the email address of the accountant that connects to this Server.
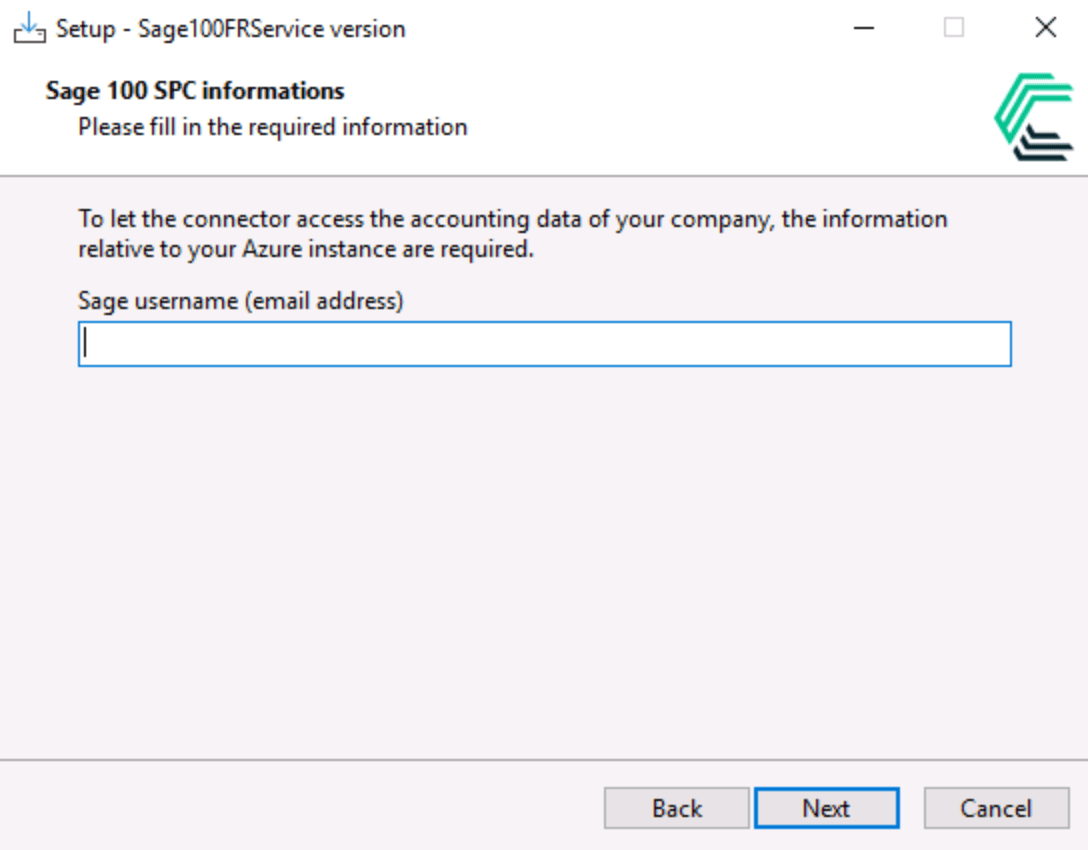
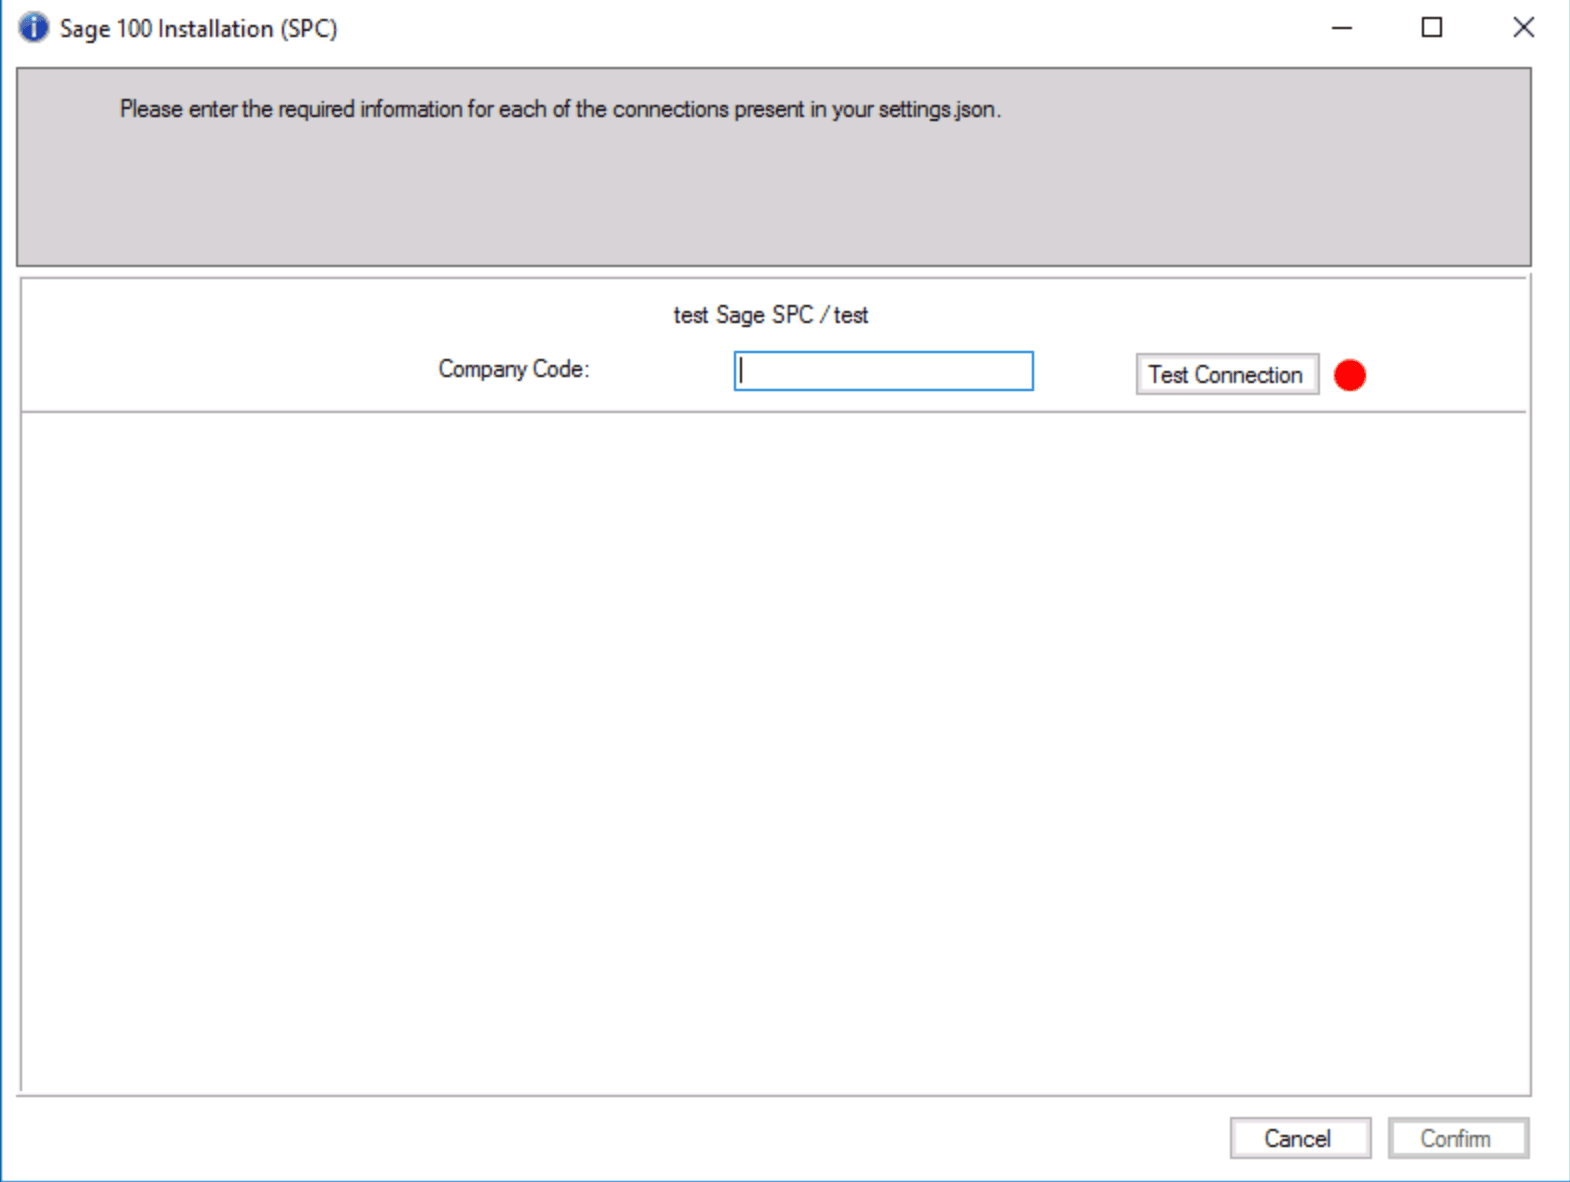
-
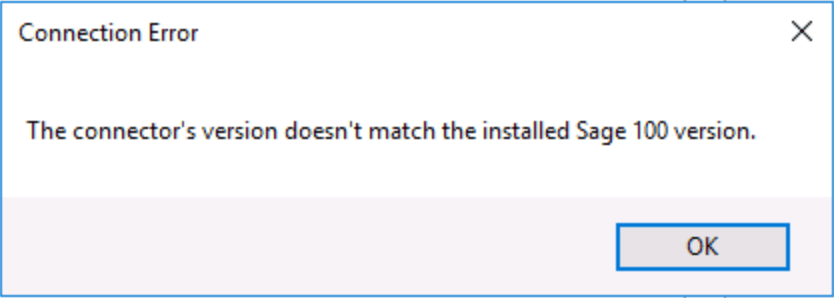
If the version of the connector does not match with the version of Sage, you will see this error message:
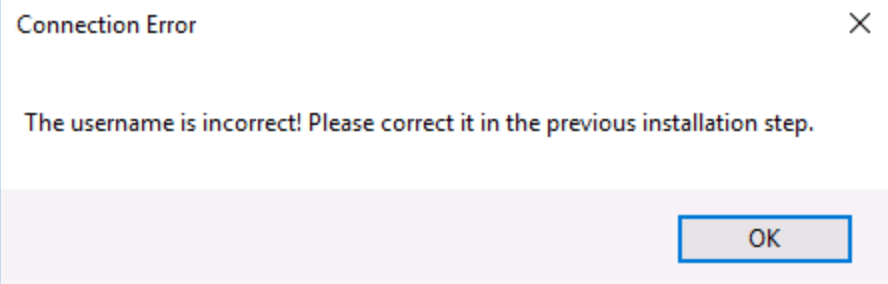
- If the email provided is incorrect you will see this error message:
-
If the Company code is not correct you will get this error message
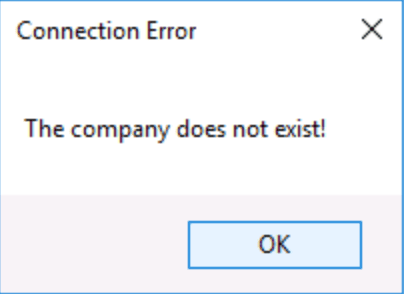

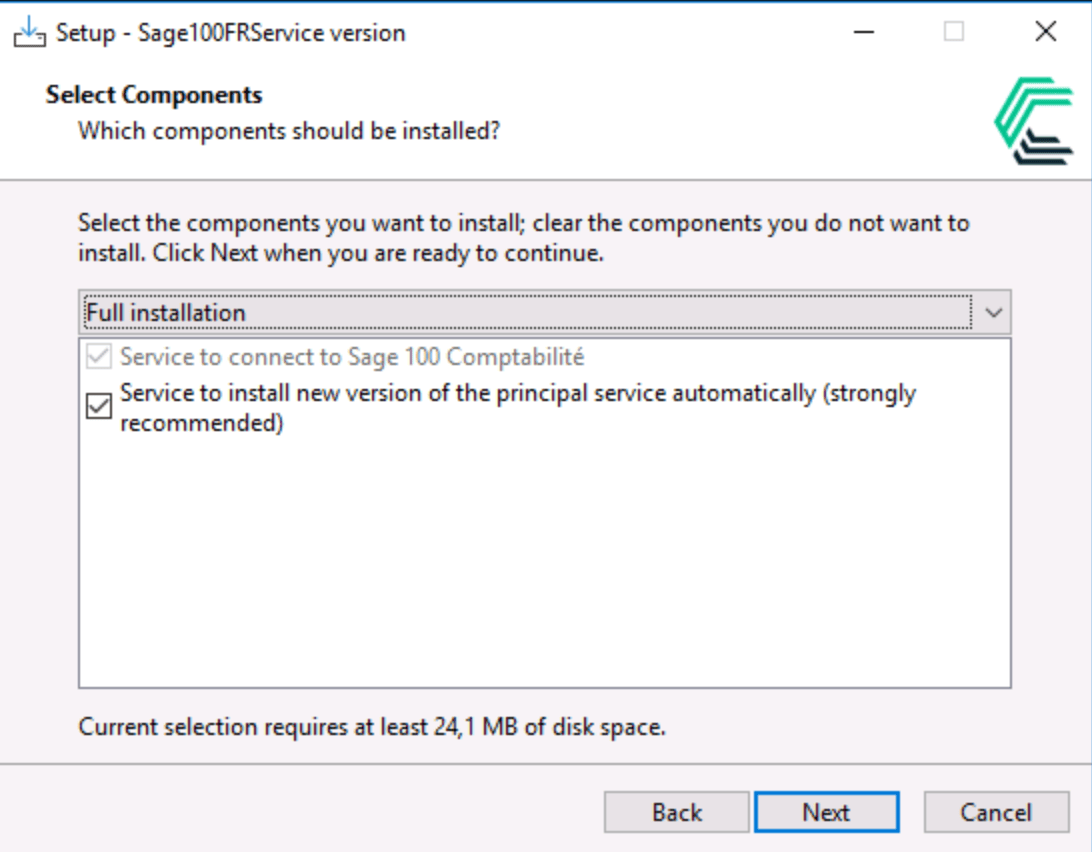
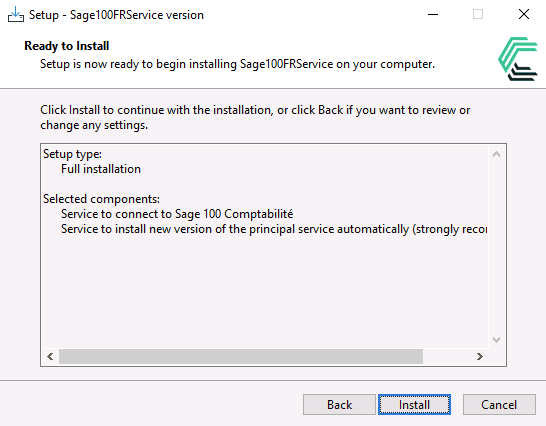
Click on the Next button to validate all the information you’ve entered. The installer will now check access to each accounting folder configured in the previous step to ensure everything is set up correctly.
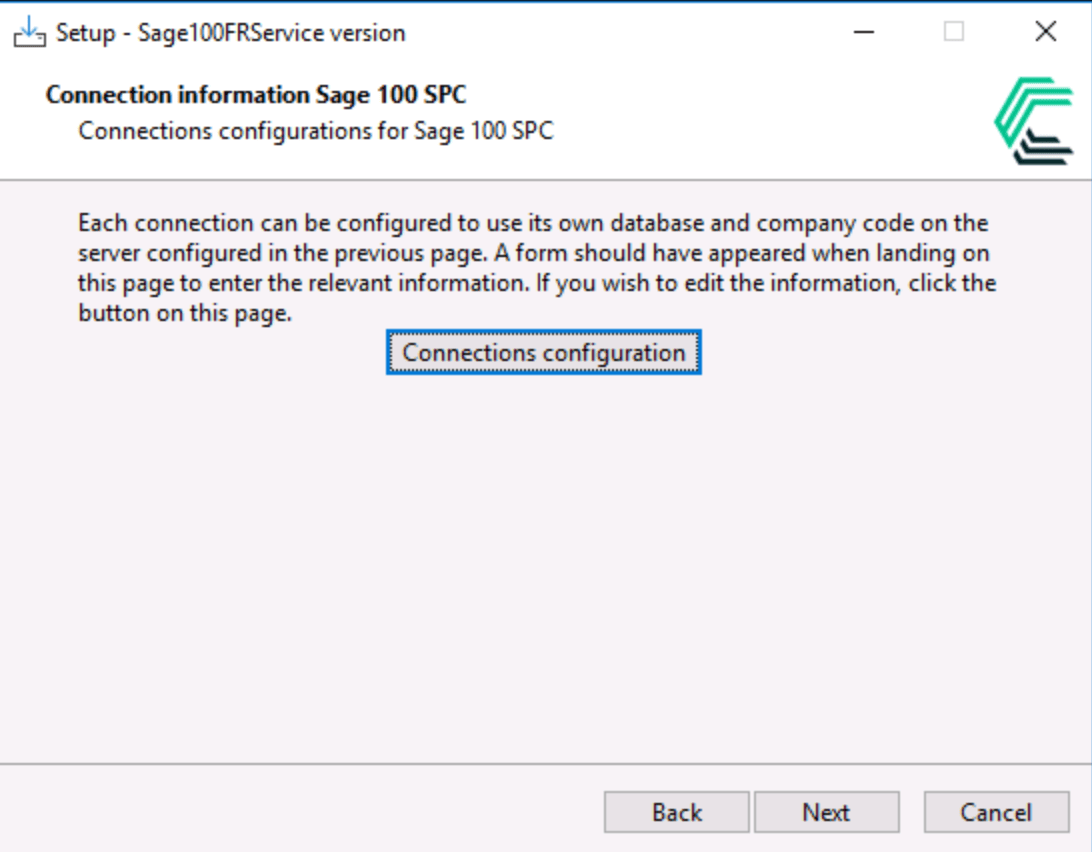
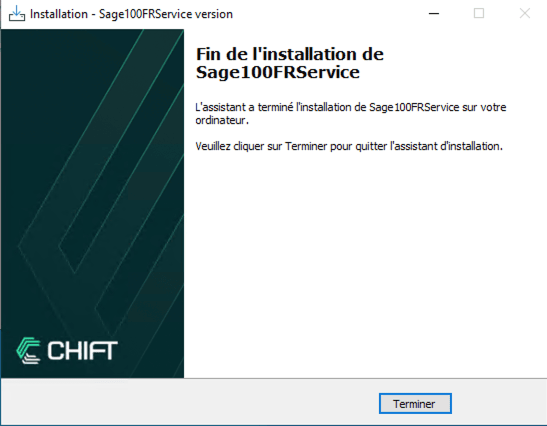
Click Next to finalize the installation of the agent.