

Overview Legend 🧭
Overview Legend 🧭
Introduction
Inqom is a French AI-based accounting production platform, used by accounting firms to automate bookkeeping, data entry and financial reporting. It is part of the Visma group.Activate Inqom
Partner keys
You can use Chift’s app, or register your own with Inqom. Inqom must approve the connection before it goes live. Once approved, count about a week before you can test or activate.Use Chift's app
Ask your Chift point of contact to activate the connector with Chift’s shared keys. No developer account needed.
Use your own app
Inqom supplies the client ID during partner onboarding. Once Inqom approves the app, share the client ID and client secret with Chift.
1
Ask Inqom for a partner OAuth2 app
Inqom supplies the client ID during partner onboarding.
2
Have Inqom whitelist Chift's redirect URI
By default, Inqom only whitelists
http://localhost:8080/. Ask Inqom to whitelist this redirect URI:3
Request the scopes
Request the scopes
apidata, offline_access and openid. See Inqom’s scopes documentation.Activate Inqom in your Chift account
In Connectors, enter your client ID and client secret, and choose the Environment.
Connector settings
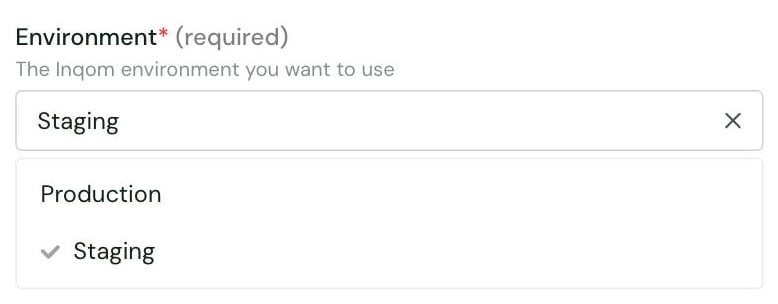
- Production (default): Chift calls Inqom’s production API.
- Staging: Chift calls Inqom’s staging API. End users must then sign in with an Inqom staging account.
Test Inqom
Vendor fees
No vendor fees, for you or your end users.
Connect Inqom
Inqom setup guide for end users
The full step-by-step, with screenshots.
- an Inqom account with at least one accounting folder (dossier) set up
- sign in with their Inqom account — with an Inqom staging account if you set Environment to Staging above
- select one or more accounting folders to connect
- choose whether to turn on Analytic accounting
- if analytic accounting is enabled, choose a default analytic plan (used only when a single folder is connected)
Rate limits
Inqom applies a fixed quota: 15 requests per second, per client ID and username, over a sliding one-second window. The limit applies across every API route. When the limit is exceeded, Inqom returns HTTP429 Too Many Requests.
Chift automatically manages these limits to optimize performance and prevent interruptions. However, once the API rate limit is reached, Chift cannot bypass these limitations.
See Inqom’s API rate limiting documentation.
Limitations & specificities
Chart of accounts & VAT
Chart of accounts & VAT
Inqom only accepts entries on ledger accounts flagged as postable (imputable), whose root account allows sub-accounts (divisible). Posting to any other account fails.
Contacts (clients & suppliers)
Contacts (clients & suppliers)
A client or supplier account cannot be created with the same code as an existing one in the accounting folder, nor under a parent account that is not divisible.
Invoices
Invoices
An invoice with an untaxed total of 0 is rejected.
Journal entries
Journal entries
Chift drops lines whose debit and credit are both 0 before sending an entry, and rejects the entry if no line is left.