- Set up your personal information and language
- Invite team members
- Configure the public pages of your organization
- Configure automatic email reminders (See Email Reminders)
As a new user, you can as well follow our “Getting Started” onboarding in the sidebar.
Set up your personal information and language
In this section you can set up your personal information and default language. Next to that you can as well update your password if required.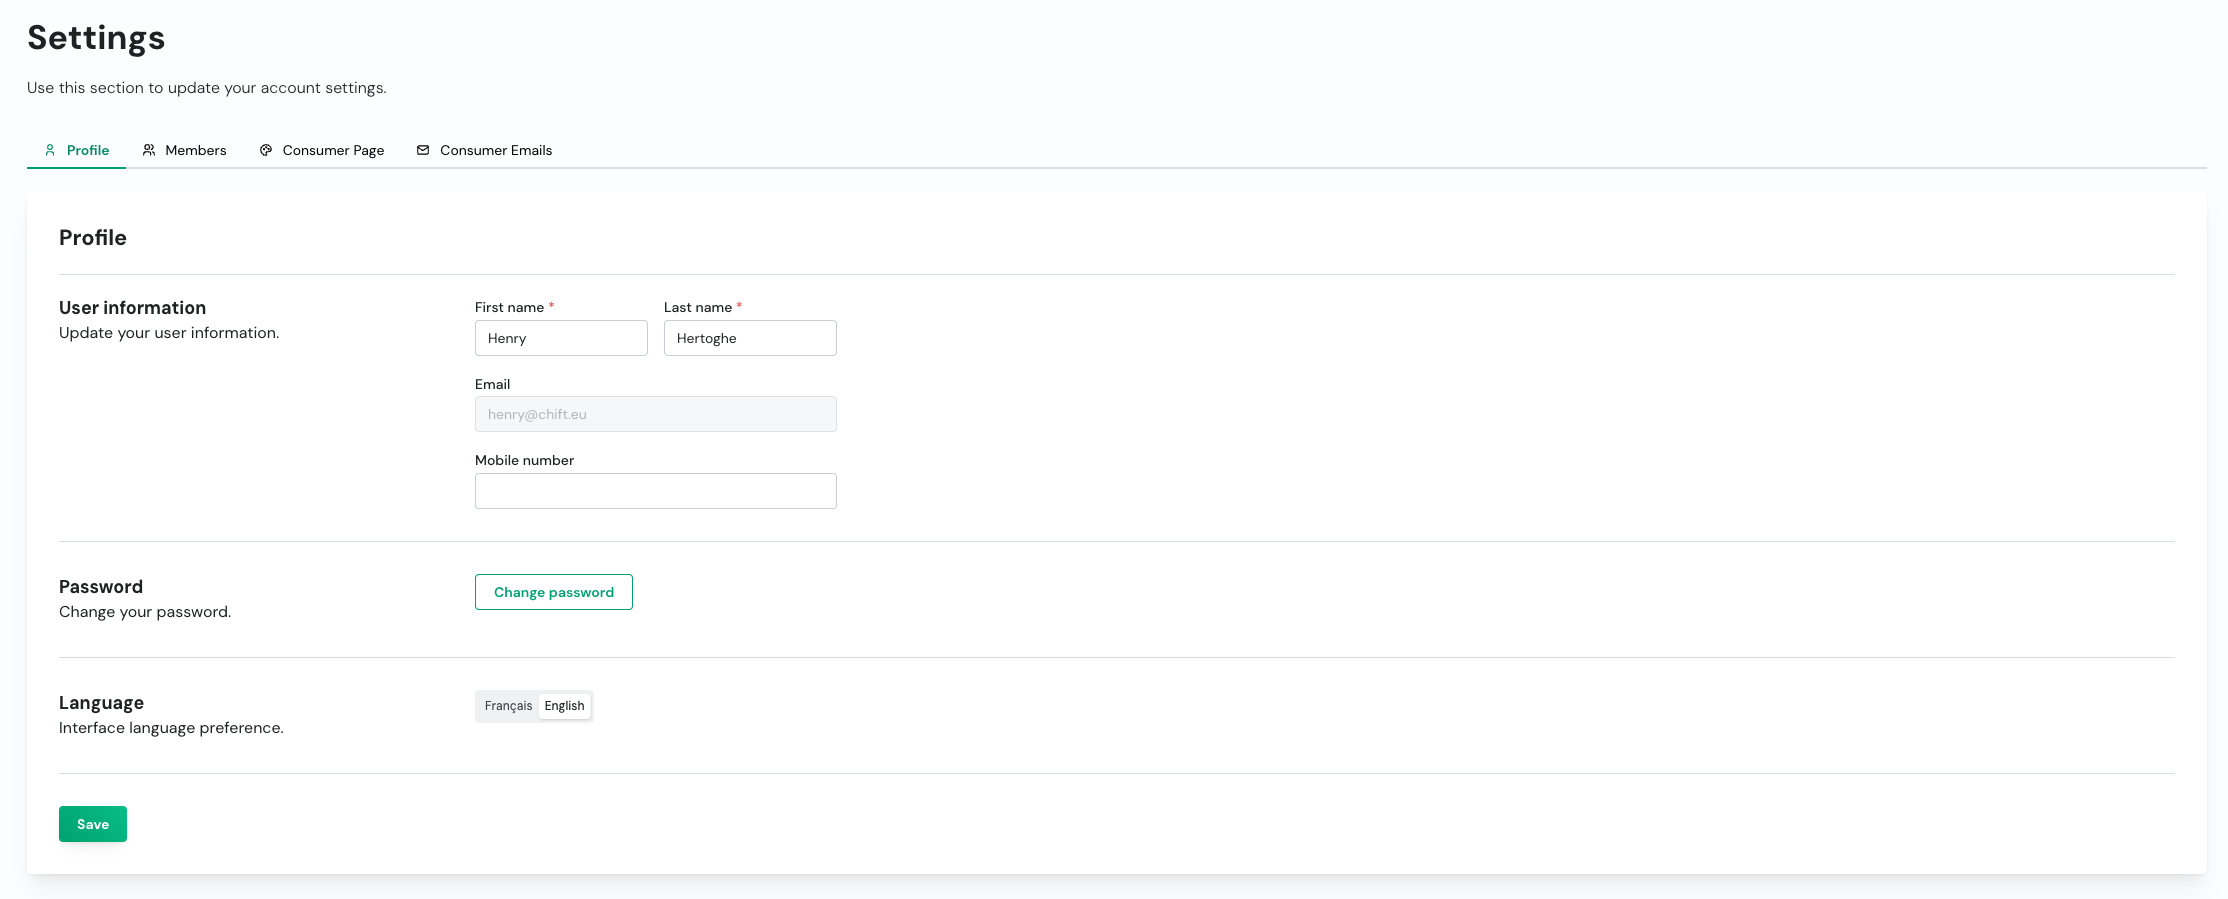
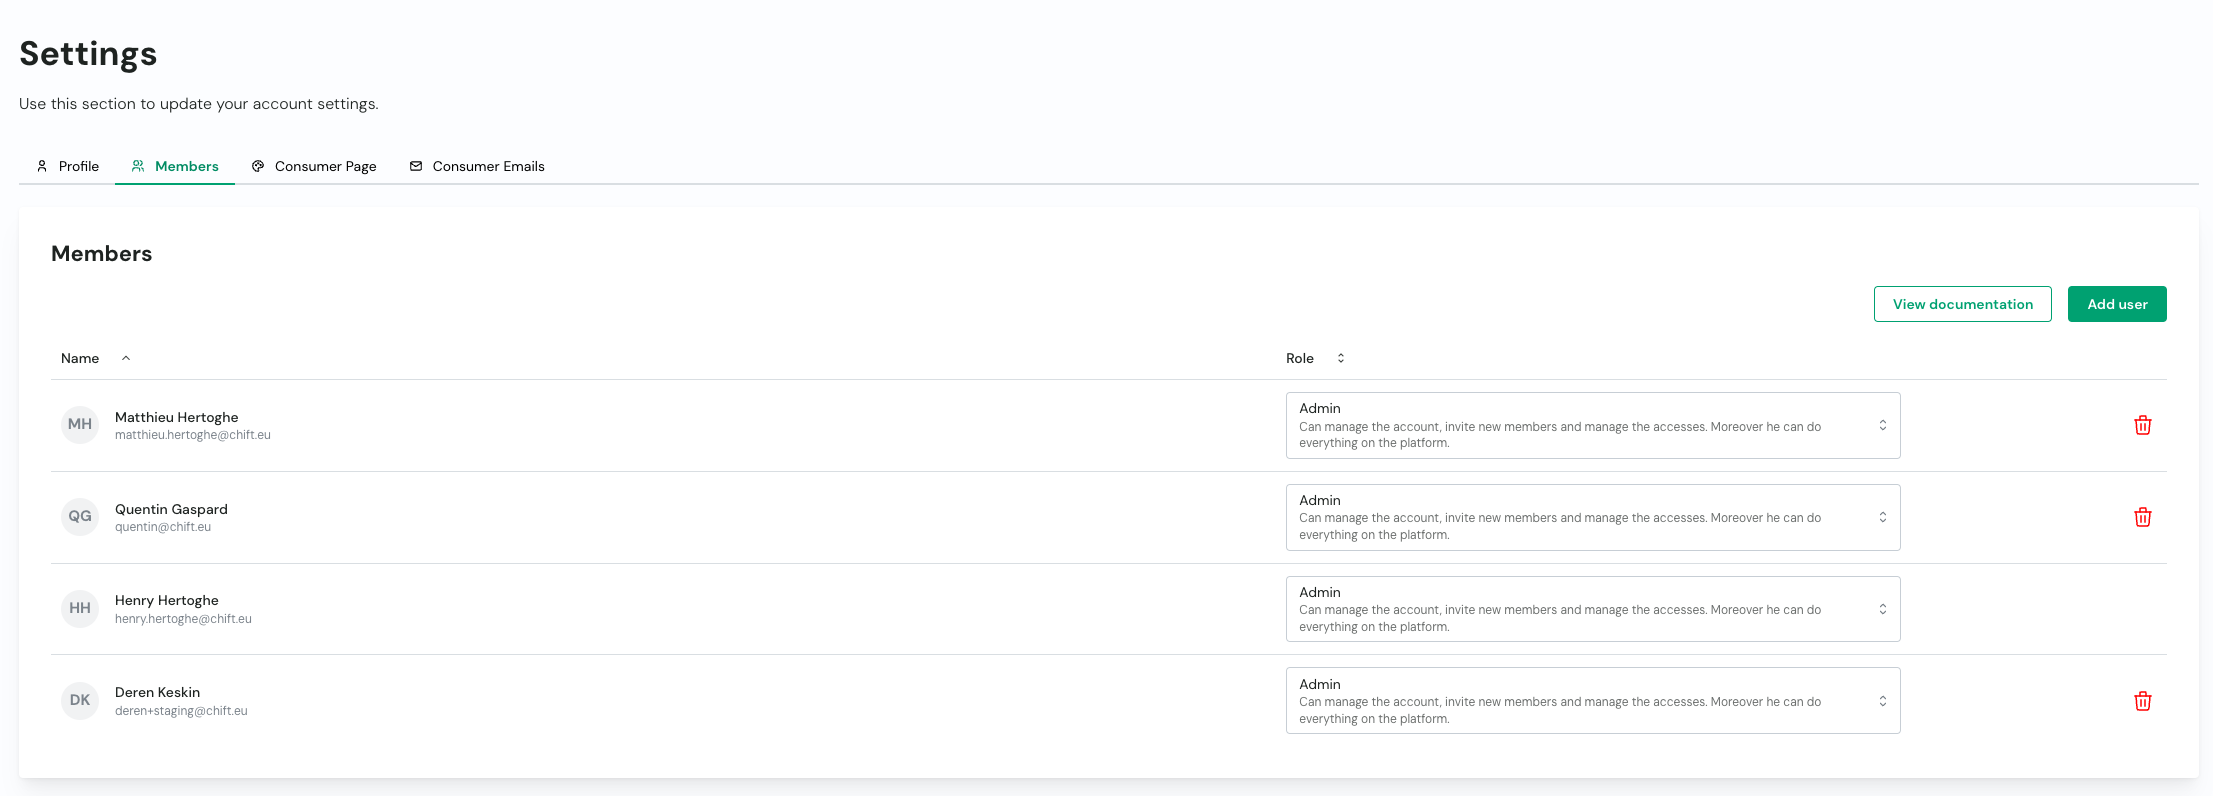
Add team members
You can invite team members to collaborate on your Chift account:- Go to the ‘Members’ section
- Click “Add user”
- Enter their email address and assign appropriate roles (see Roles)
- They will receive an invitation email to join your organization
Configure the public pages of your organization
In this section you can configure the branding of your organization on Chift’s public pages.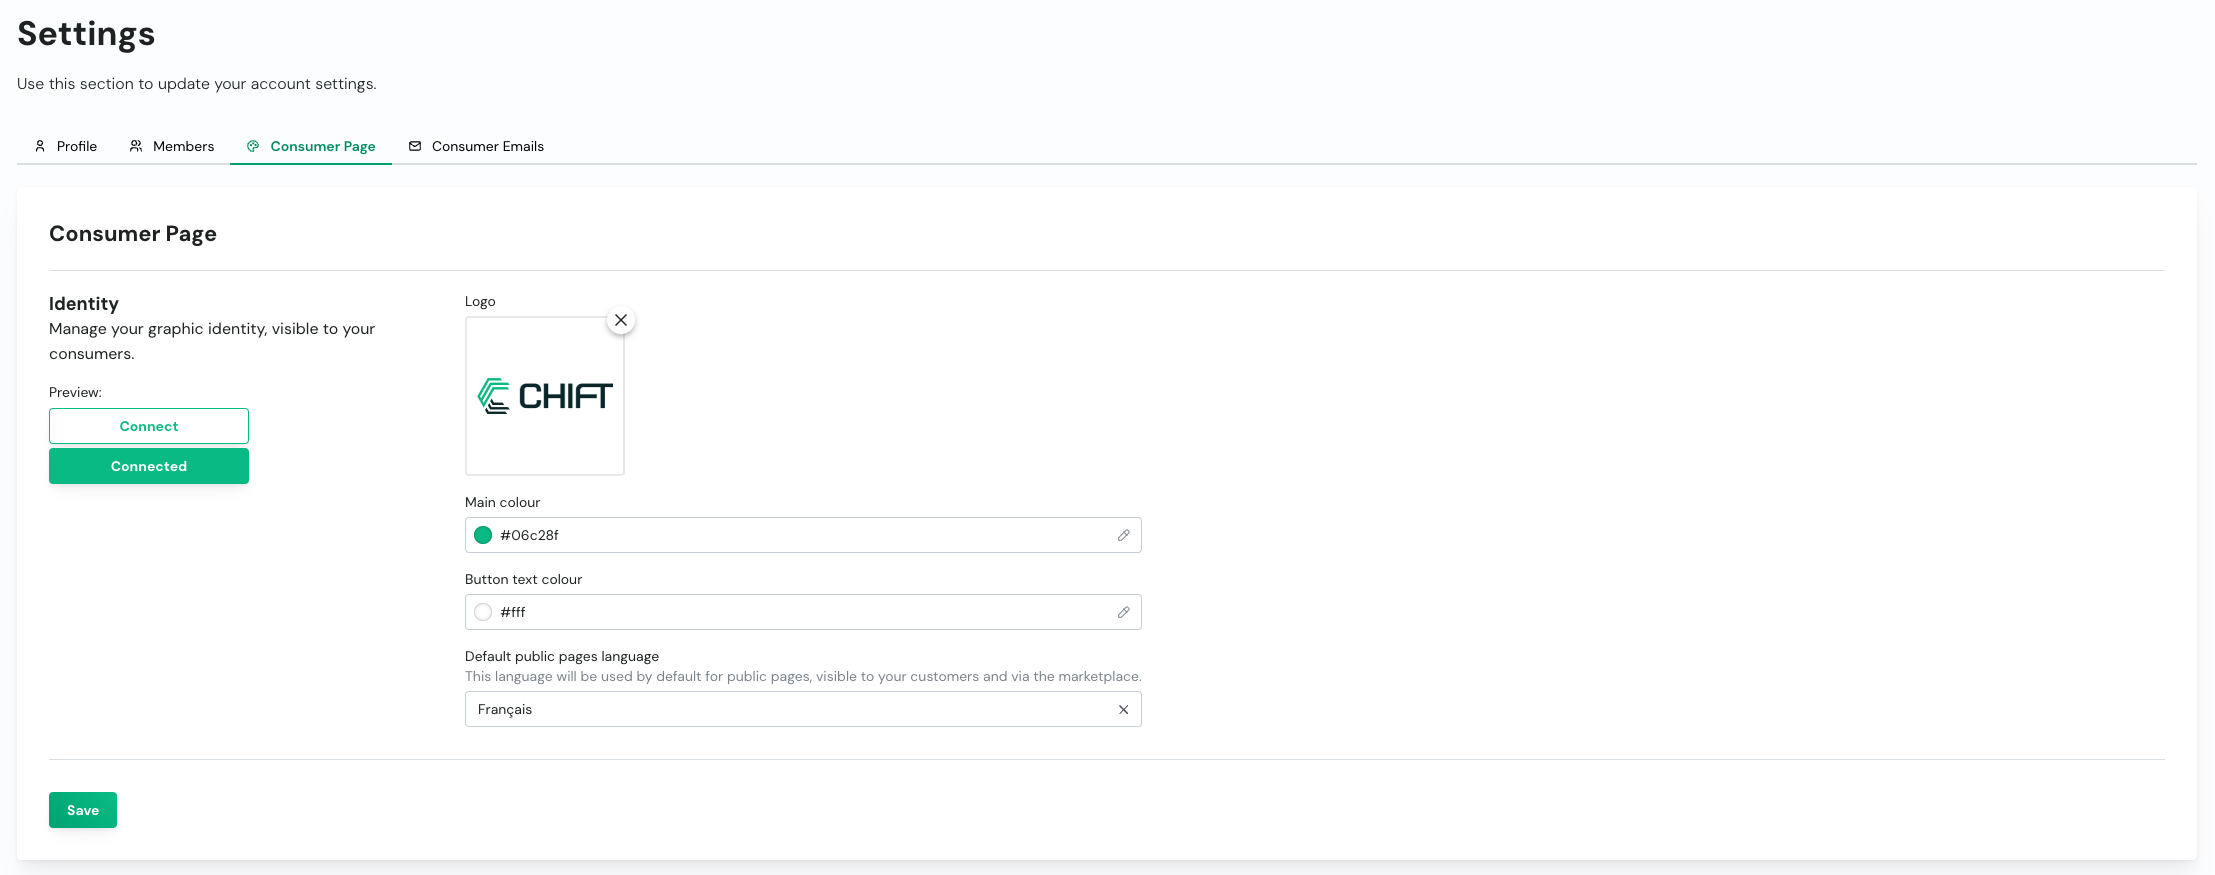
E.g. for the example above, the configuration will look like this for the activation of Hiboutik:
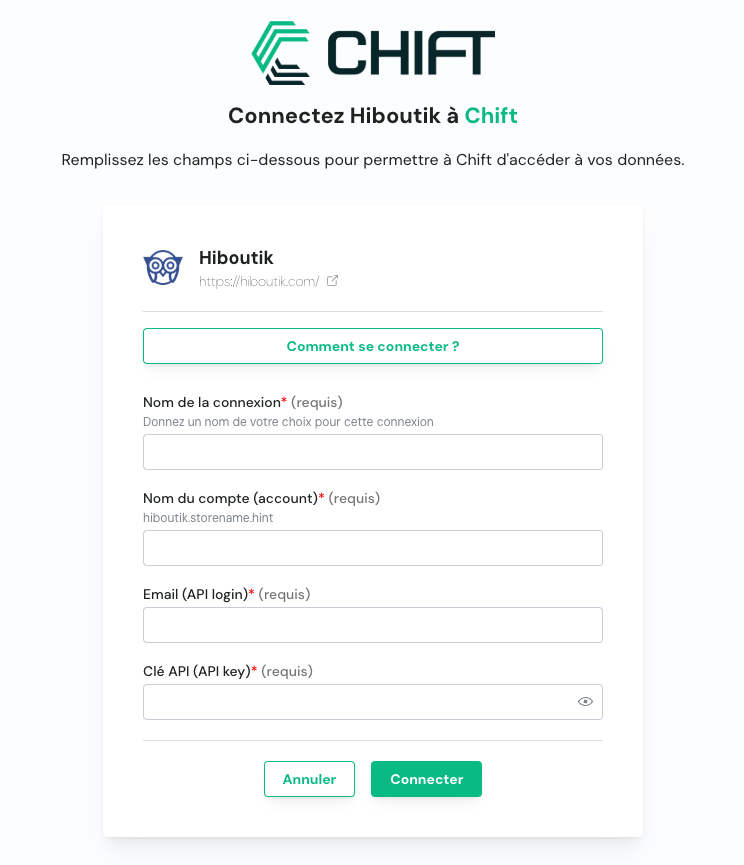
Connection name configuration
When creating a connection in Chift, you can assign a connection name. This name is purely a label, but it becomes essential as soon as a user manages multiple connections, or when you need to clearly associate a connection with a specific client or end user. The connection name can be:- Defined directly via the API when creating the connection, or
- Entered by the end user during the connection activation flow, as shown in the example below.


This setting can also be overridden per connector from the connector configuration page.
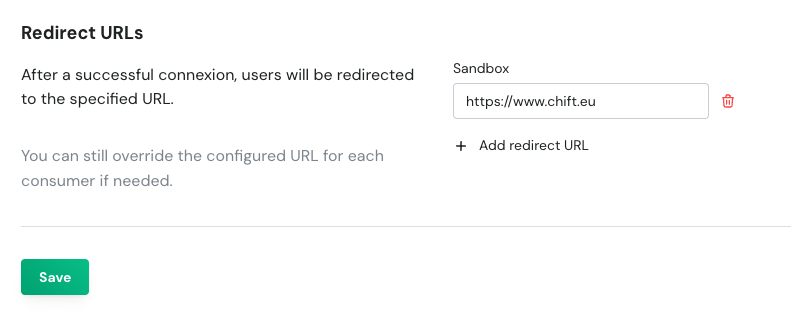
Default redirection URL
You can configure a default redirection URL for each environment.This URL will be used to redirect the customer to a specific page after they have completed the connection process.
Redirect URL parameters
You can choose to automatically append connection details to the redirect URL used after a successful connection. This makes it easier to track, identify, and handle user flows on your side.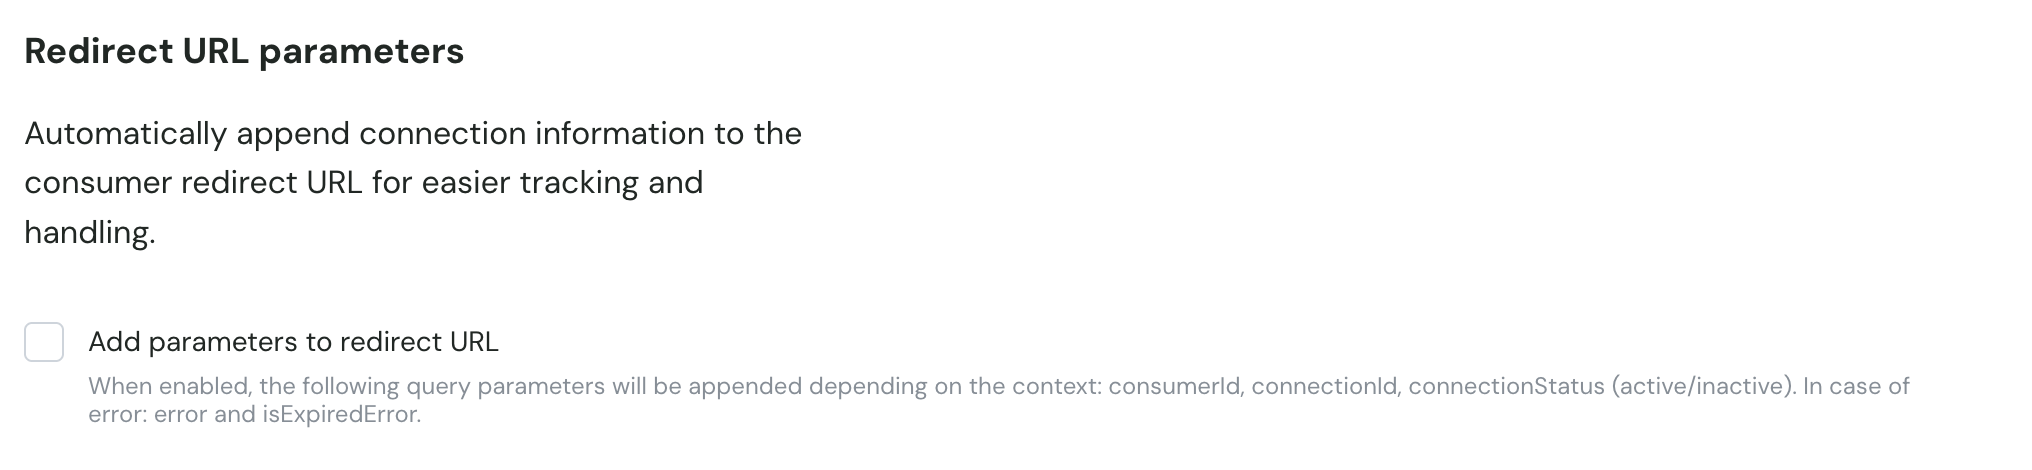
- consumerId – The identifier of the consumer.
- connectionId – The identifier of the newly created or updated connection.
- connectionStatus – Indicates whether the connection is
activeorinactive.
- error – A short error code describing the issue.
- isExpiredError – A boolean flag indicating if the error is due to an expired invitation or session.
Restrict connection creation via UI
You can enable a setting to restrict consumers from creating connections through the UI (e.g. marketplace).When activated, consumers can only create connections via the API.
- The consumer link page will display a message explaining that connections cannot be created there.
- The valid flow is:
- Create the consumer via API
- Create the connection via API (with
integrationIdandname) - Redirect the customer to the generated activation URL
Next steps
Once your account is configured, you can:- Activate connectors for your integrations
- Set up consumers for your applications
- Create API keys to access our APIs
- Explore our API documentation to start building
For any questions during the setup process, don’t hesitate to contact our support team at support@chift.eu