Default scope:
This integration aims to automate e-commerce site accounting to replace manual exports. This integration flow will allow sales entries to be imported into accounting.The integration doesn’t retrieve all invoices individually but creates aggregated entries to report revenue and VAT in accounting. The integration supports the management of:
- different payment methods
- different product categories
- different delivery countries
- different VAT rates
- gift vouchers
Note that this is the default scope, based on your requirements this can be modified.
Mappings
Mappings are the way to map the data from the ecommerce software to the accounting software.Note that these are the default mappings, based on your requirements these can be modified.
1
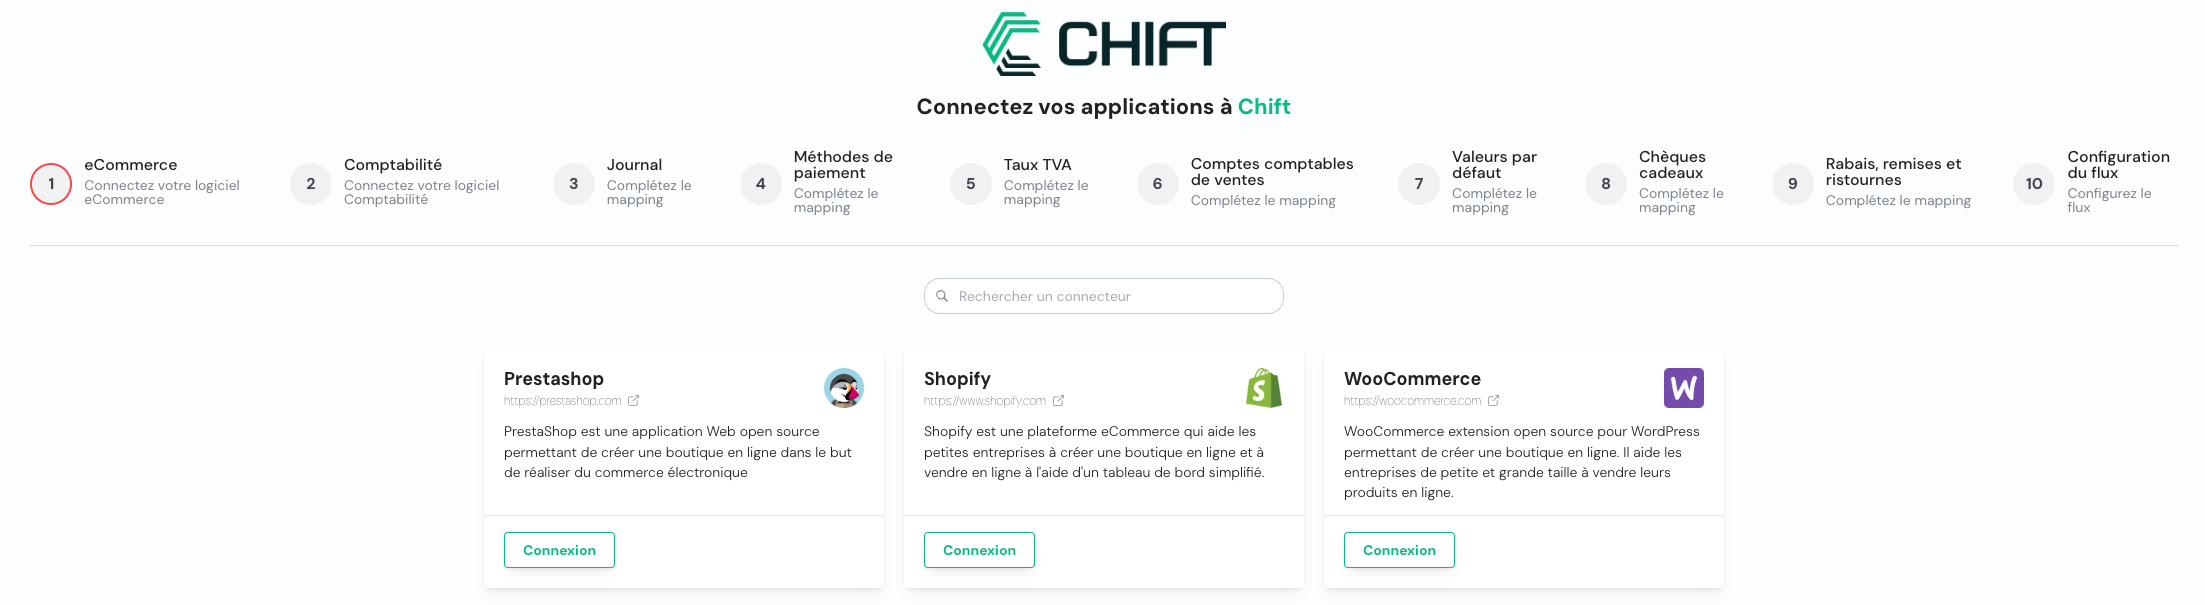
Connect eCommerce tool
This step allows user to connect its eCommerce tool through apikey, credentials or oauth2.
2
Connect accounting tool
This step allows user to connect its accounting tool through apikey, credentials or oauth2.
3
Journals
This step allows you to specify whether entries are made in a sales or purchase journal.
Reproduce this step by using the following API call(s) :
Reproduce this step by using the following API call(s) :
GET journals4
Payment Methods
This step allows you to choose the accounting account for each payment method (credit card, cash, etc.) to be used as debit in the generated accounting entries.
If no match is found for a payment method (for example: a new payment method is added and not configured in the synchronization settings), then account X is used as the default account.
Reproduce this step by using the following API call(s) :
(Filter on class 4 and 5 accounts)
If no match is found for a payment method (for example: a new payment method is added and not configured in the synchronization settings), then account X is used as the default account.
Reproduce this step by using the following API call(s) :
GET all payment methodsGET chart of accounts (Filter on class 4 and 5 accounts)
5
VAT Rates
Note that this is not for all clients like this. For example, for Inqom (software where this concept of VAT codes doesn’t exist), it’s not VAT codes that we select on the right but directly the VAT accounting account to use in the entries. Currently, only Pennylane works as shown here
Reproduce this step by using the following API call(s) :
GET all tax ratesGET chart of accounts(Filter on class 4 accounts)
6
Sales Accounting Accounts
This step allows you to define the accounting accounts to use for recording revenue in accounting.The amounts excluding VAT can be allocated in two different ways:
Reproduce this step by using the following API call(s) :
(Filter with “only_parents” = “True”)
(Filter on class 7 accounts)
- via product categories: the accounting account is determined based on the category linked to the sold product
- via the order’s delivery country: the accounting account is determined based on the order’s delivery country. If the country is not defined in the delivery address, then the billing address is considered
Reproduce this step by using the following API call(s) :
GET all products categories(Filter with “only_parents” = “True”)
GET chart of accounts(Filter on class 7 accounts)
7
Default Values
Choose accounting accounts to record specific cases. In this step, you can also indicate the default sales account mentioned in step 6 above.
Reproduce this step by using the following API call(s) :
(Filter with “only_parents” = “True”)
(Filter on class 4, 5, 6 and 7 accounts)
Reproduce this step by using the following API call(s) :
GET all products categories(Filter with “only_parents” = “True”)
GET chart of accounts(Filter on class 4, 5, 6 and 7 accounts)
8
Gift Vouchers
When activating synchronization, you can choose to account for the sale of gift vouchers. If this option is activated, the revenue (amount excluding VAT) from gift voucher sales will be recorded in the indicated account. If this option is not activated, gift voucher sales will not be included in the generated accounting entries. Note that this option is separate from the processing of gift vouchers as a payment method, which will always be taken into account for all orders. This refers to the sale of a gift voucher that can then be used as a payment method in a subsequent order.
Reproduce this step by using the following API call(s) :
(Filter on class 4, 5, 6 and 7 accounts)
Reproduce this step by using the following API call(s) :
GET chart of accounts(Filter on class 4, 5, 6 and 7 accounts)
9
Discounts and rebates
This step allows you to specify whether entries are made in an account for discounts, rebates and debates ; it is an optional step.
Reproduce this step by using the following API call(s) :
(Filter on class 6 and 7 accounts)
Reproduce this step by using the following API call(s) :
GET chart of accounts(Filter on class 6 and 7 accounts)
Configuration
- Synchronization Trigger Orders can be synchronized in 2 distinct ways:
- Once per day
- Once per month
- From what date do we retrieve orders?
It’s important to distinguish between Shopify and other e-commerce platforms:
- Shopify: a change made to an order (for example, adding a product) created before this date will be included in the synchronization only if the order elements are recorded at the date of each modification. This is detailed in the question “Do you want to record changes to an already synchronized order at the date of modification?”
- Other e-commerce: a change made to an order (for example, adding a product) created before this date will NOT be included in the synchronization. This is because e-commerce platform APIs don’t provide the creation date for each order element. It’s therefore impossible to determine what was modified if the order wasn’t previously synchronized.
However, refunds made on an order created before the synchronization start date will be synchronized at the refund date, provided it’s after the synchronization start date.
- Should we group orders and refunds?
- No, create an entry per order and refund → a specific entry will be created in accounting for each order and refund.
- Yes, create one entry per day → all orders from the same day will be grouped into a single accounting entry. Similarly, all refunds from the same day will be grouped into a single accounting entry.
- Yes, create one entry per month → all orders from the same month will be grouped into a single accounting entry. Similarly, all refunds from the same month will be grouped into a single accounting entry.
- When do you want to synchronize orders?
- as soon as the order is confirmed, all order elements are recorded at the order creation date.
- as soon as the order is confirmed, each order element is recorded at the date when the element was added to the order.
- as soon as the order is delivered, all order elements are recorded at the order creation date.
- as soon as the order is delivered, each order element is recorded at the date when the element was added to the order.
- as soon as the order is delivered, all order elements are recorded at the order delivery date.
- Shopify: All orders that aren’t drafts.
- WooCommerce: from payment.
- Prestashop: from payment.
For Shopify, the information about the date each element was added is 100% accurate. However, for other e-commerce platforms, we rely on the date of the last order modification.
- Which address do you want to use to define the order country? This step determines the order country. There are two options:
- delivery address
- billing address
- Do you want to refund cancelled orders that haven’t been refunded? Do you want to create a refund for cancelled orders that don’t yet have a refund in the e-commerce software? This option allows generating an accounting “refund” entry for cancelled orders even if there’s no refund in e-commerce. Here are the possible options:
- No (default value): refunds are only created for cancelled orders if they already have refunds in e-commerce
- Yes, but only for previously synchronized orders: refunds are created only if the order was created after the start of synchronization
- Yes, all orders: refunds are created for all cancelled orders, regardless of their creation date
- Do you have orders that should NOT be synchronized?
For example: If you want to create internal orders to track stock directly in your e-commerce store You can then associate a tag with these orders you want to exclude from synchronization. A concrete example of a tag could be “StockTracking” for orders used to track stock movements in your e-commerce store for internal purposes. If you want to create multiple tags, the answer to this question would be: “StockTracking, Stock Management, AnyTagYouWant”. Any order associated with one of these three tags will be ignored during synchronization execution. If this doesn’t apply, you can leave this option empty. For WooCommerce, it’s necessary to define a custom field. For this, in the custom fields section, you need to create an “order_tags” field and enter as values the different tags you want to associate with an order. These tags that you will have created in the order will then be used to filter or not filter an order during synchronization.