> ## Documentation Index
> Fetch the complete documentation index at: https://docs.chift.eu/llms.txt
> Use this file to discover all available pages before exploring further.
# Sage 50 FR
# PREREQUISITES
* The integration is compatible with version 5.5 and higher (last 5.9) of Sage 50.
* You need to install a program on the same server where Sage 50 is installed. To ensure the connector works on the server, please make sure before installation that:
* You have admin access to the server where Sage 50 is installed in order to proceed with the installation
* **Be aware** that the server/computer must be permanently accessible with internet access (24 hours a day). Otherwise, the data will not be synchronized
* You know your Sage 50 username and password
* The .NET Framework 4.8 are installed on the server
# **PREPARATION**
There are two things to do to enable the connection with Sage 50:
* Retrieve the data path to Sage 50 to fill out the connection form.
* Authorise access in Sage 50 to allow the connection to work.
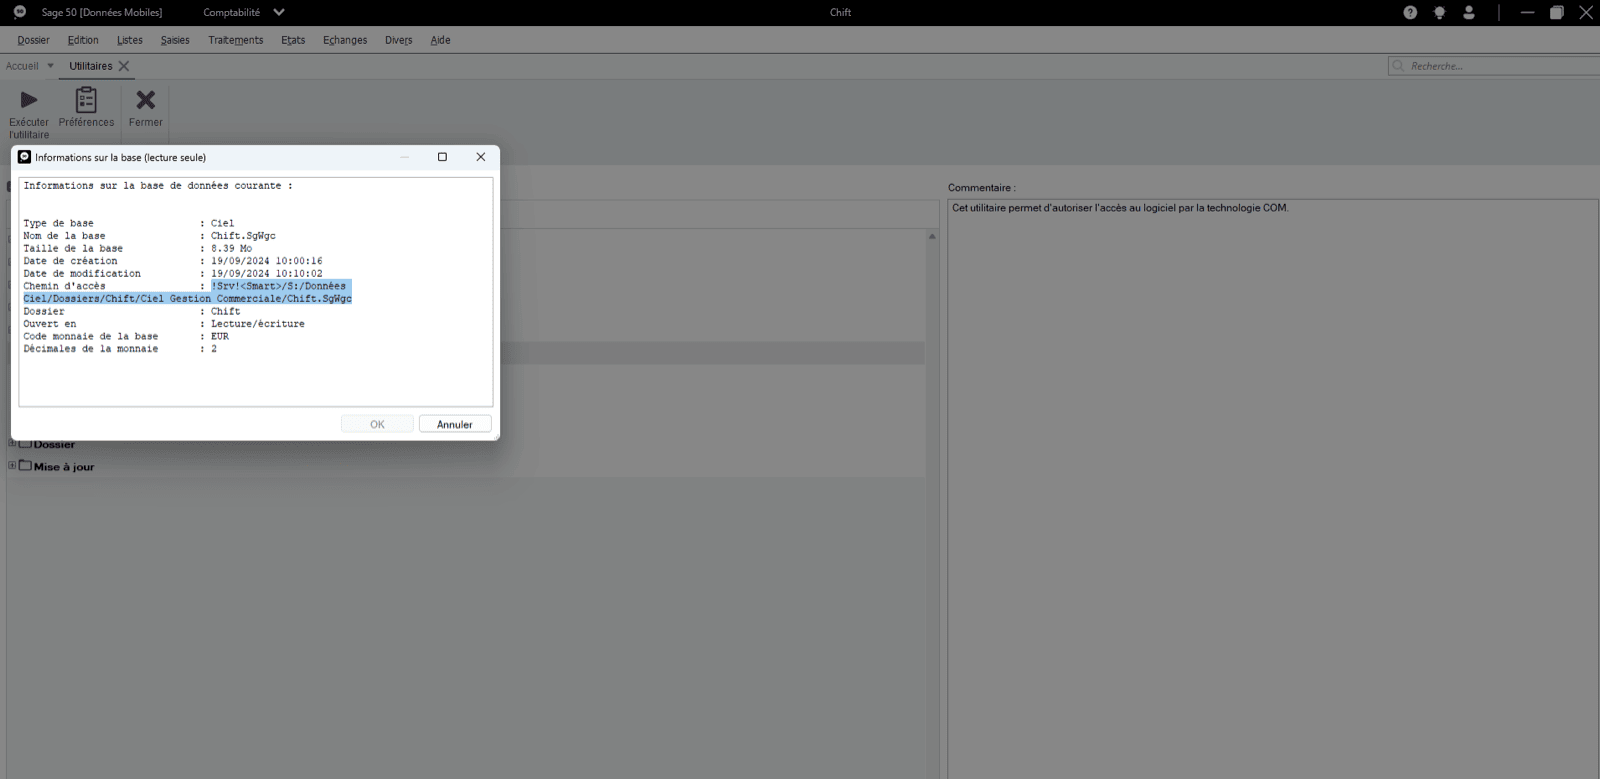
1. **Steps to retrieve the data path to Sage 50:**
1. From the Sage 50 menu → File → Options → Information
 2. Copy and save the data path to enter it in the connection form
 2. **Steps to authorise access in Sage 50**
1. From the Sage 50 menu → File → Options → Utilities
2. **Steps to authorise access in Sage 50**
1. From the Sage 50 menu → File → Options → Utilities
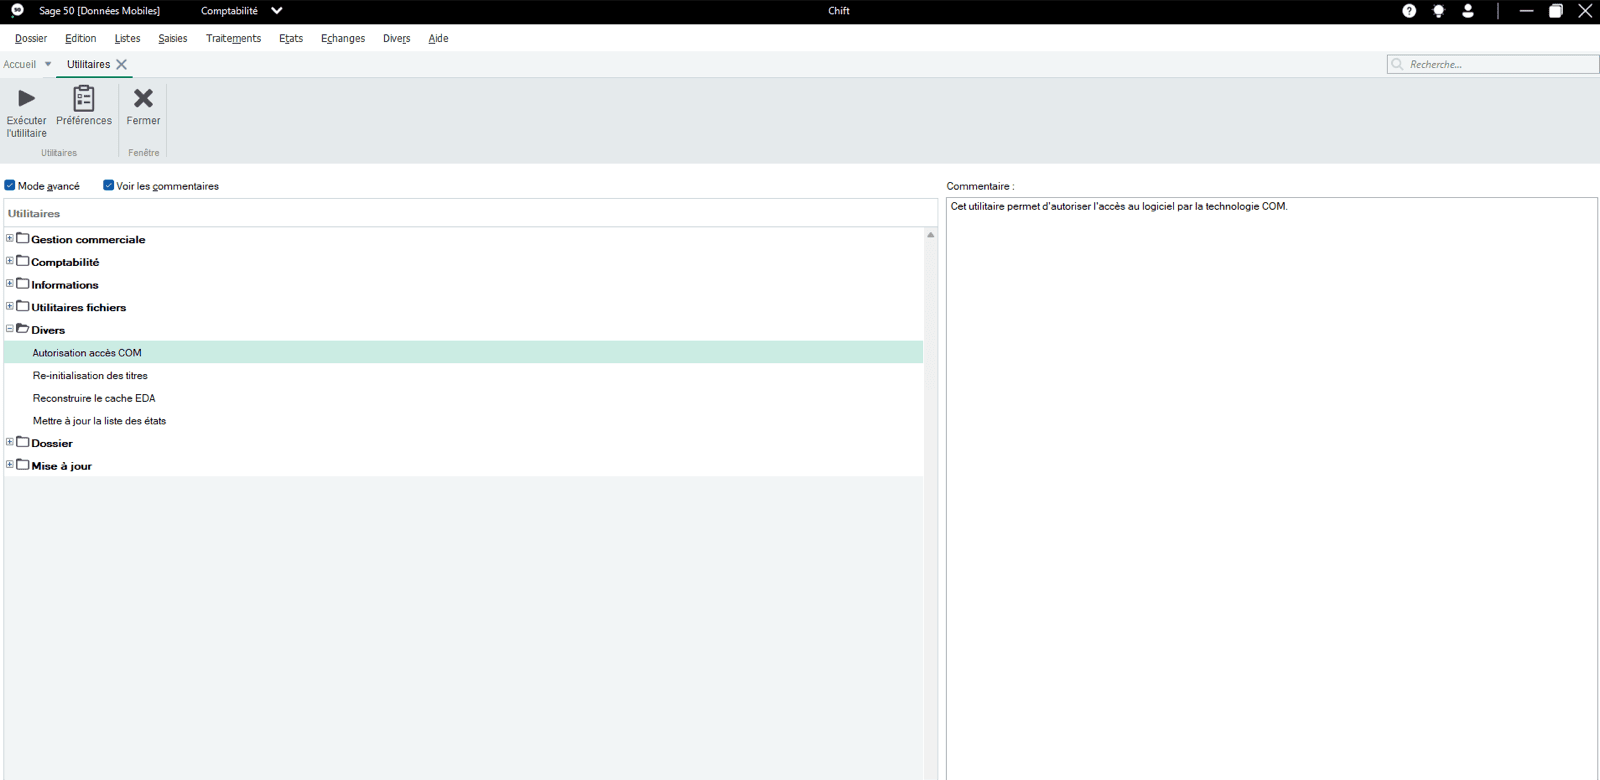
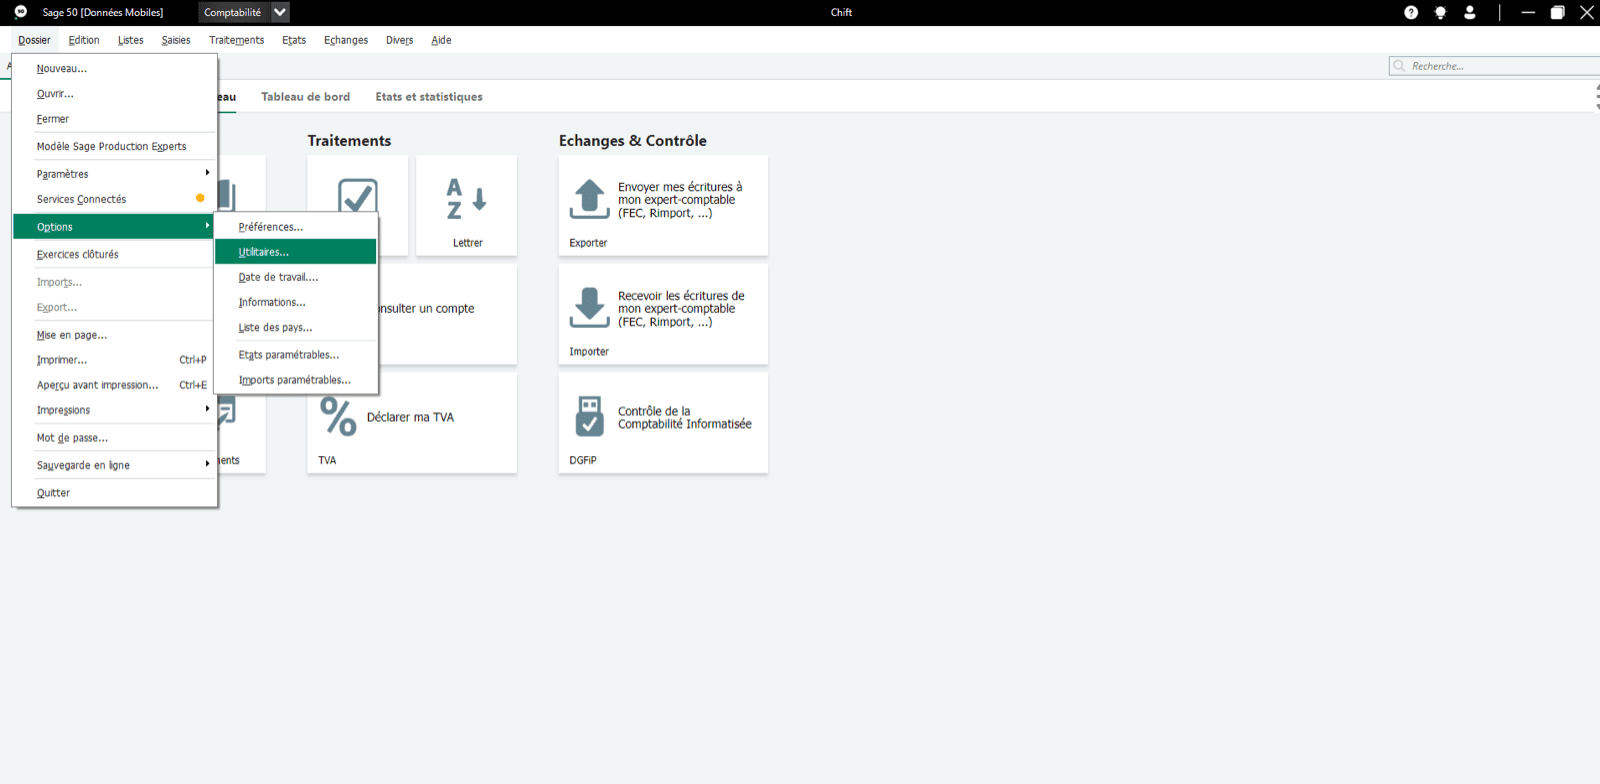 2. In Miscellaneous → COM Access Authorisation
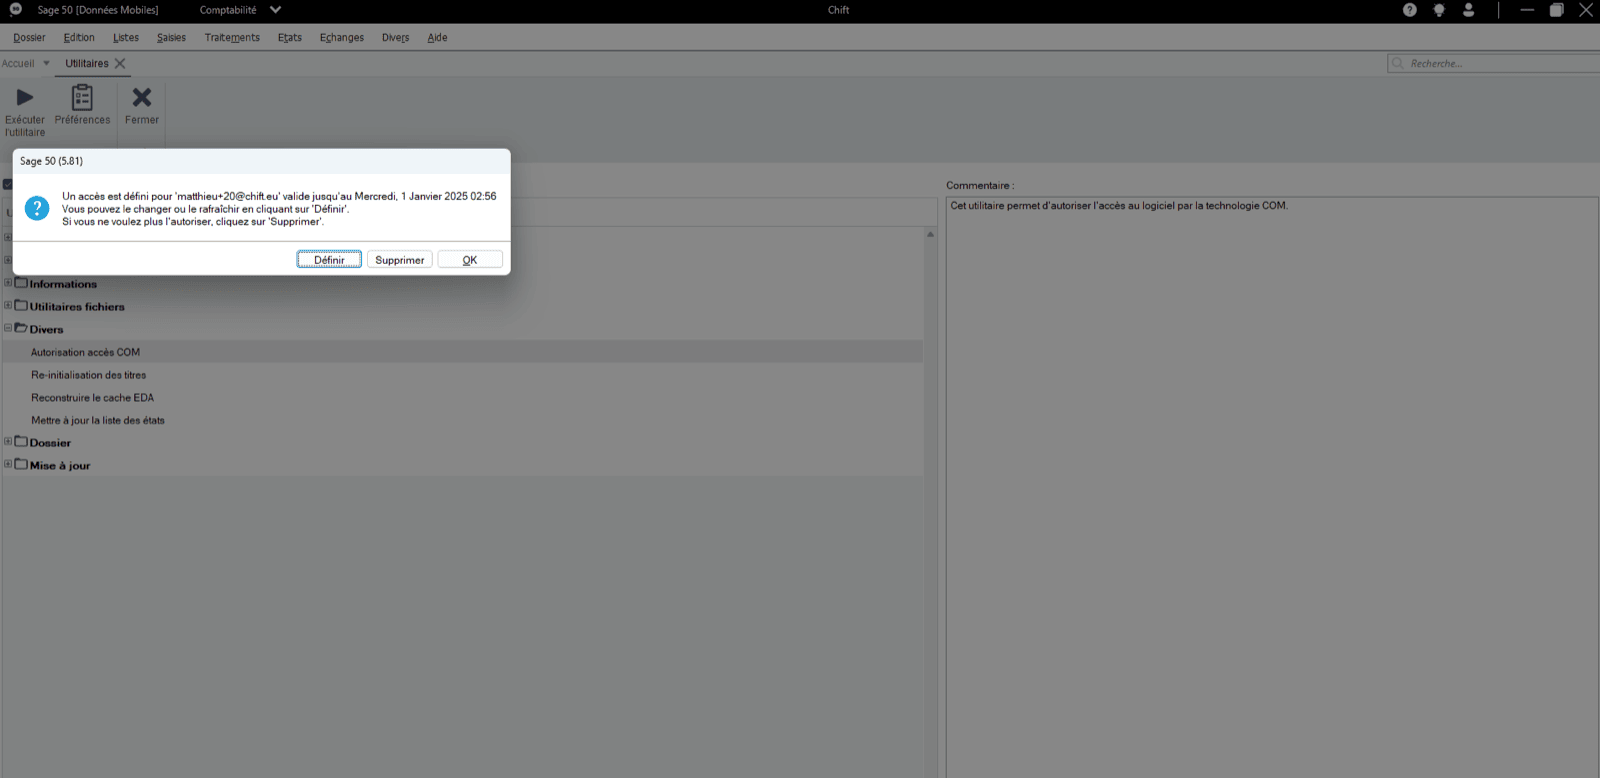
 3. Click "Set" to authorise access to Sage 50.
 # CONNECTION
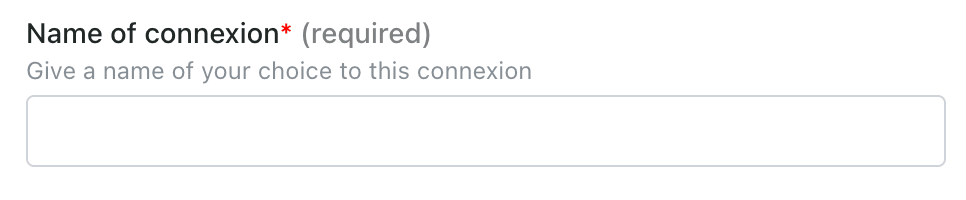
**Step 1:** Choose a name for your connection.
# CONNECTION
**Step 1:** Choose a name for your connection.
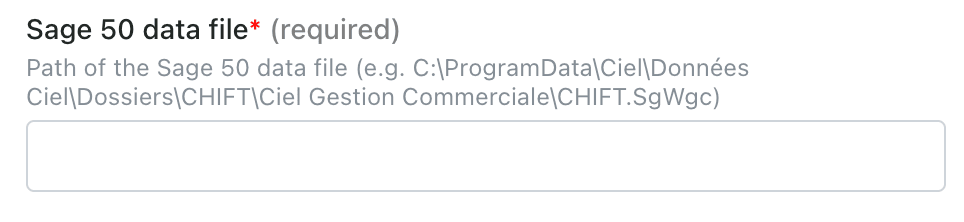
 **Step 2:** Paste the route to the Sage 50 data file which you previously collected from your Sage 50 instance.
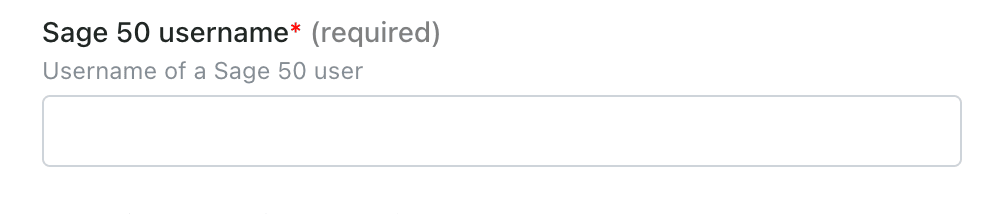
 **Step 3:** Enter the username of your Sage 50 user.
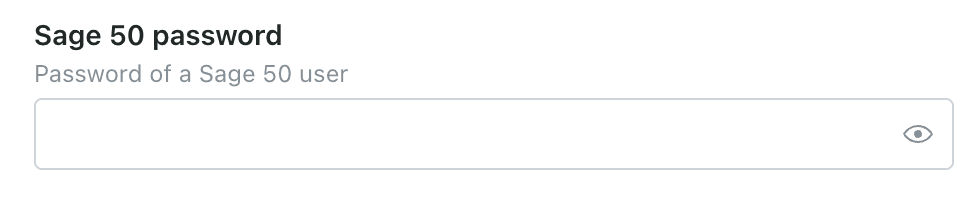
 **Step 4:** Enter the password of your Sage 50 user.
 **Step 5:** Click "Connect" to finalise the connection.
 # **DOWNLOAD OF THE LOCAL AGENT**
Sage 50 is installed on a server. To enable data sharing, it is necessary to download a program (local agent) that will allow data transmission with Sage 50.
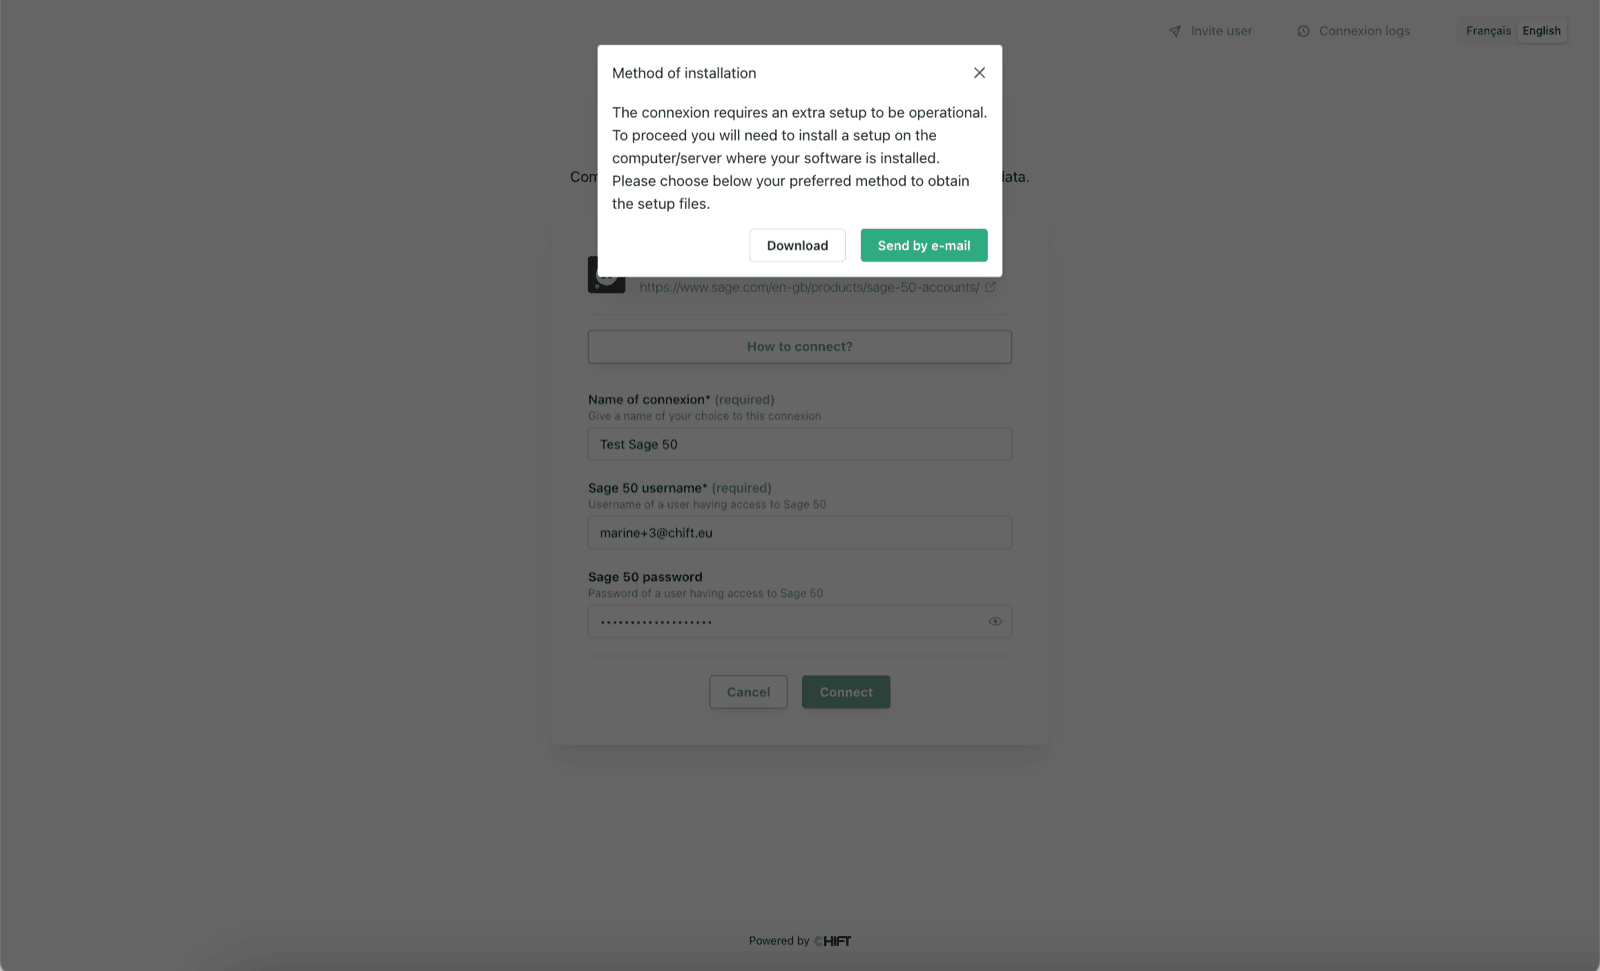
After the connection step, you will have two options to download and install the local agent on the same server as your Sage 50 instance:
* If Sage 50 is hosted on your computer, you can directly download the program by clicking on **Download**.
* If Sage 50 is hosted on another server, you have the option to send the program via email to the person or company hosting Sage 50 so they can download and install it.
# **DOWNLOAD OF THE LOCAL AGENT**
Sage 50 is installed on a server. To enable data sharing, it is necessary to download a program (local agent) that will allow data transmission with Sage 50.
After the connection step, you will have two options to download and install the local agent on the same server as your Sage 50 instance:
* If Sage 50 is hosted on your computer, you can directly download the program by clicking on **Download**.
* If Sage 50 is hosted on another server, you have the option to send the program via email to the person or company hosting Sage 50 so they can download and install it.
 # Specificities associated to the 6.3 version:
Latest update brings a **major** change in the way the local agent interacts with the COM, forcing us to abandon the Windows Service setup and replace it by a Task Scheduler setup.
As a consequence, the installer has been updated:
* Version: 6.3 ⇒ we align the agent version with the software version
* It is **mandatory** to configure the user used to run the task
Note that the windows session of the user you are going to select here needs to be connected to the server in order for the connection to work
# Specificities associated to the 6.3 version:
Latest update brings a **major** change in the way the local agent interacts with the COM, forcing us to abandon the Windows Service setup and replace it by a Task Scheduler setup.
As a consequence, the installer has been updated:
* Version: 6.3 ⇒ we align the agent version with the software version
* It is **mandatory** to configure the user used to run the task
Note that the windows session of the user you are going to select here needs to be connected to the server in order for the connection to work
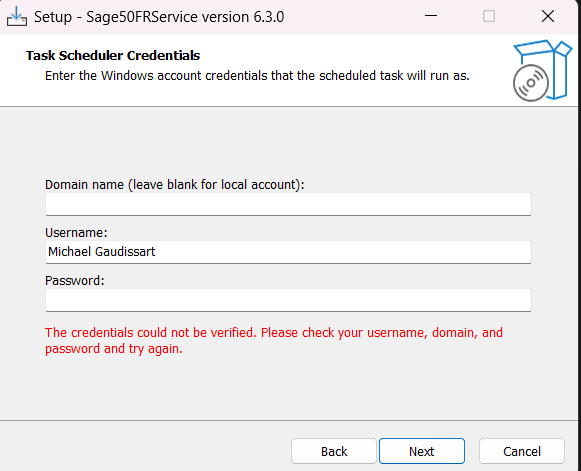 * The password is **only** used to validate the user’s credentials (that the user exists)
* The remaining installer steps remain the same
* The installer creates a new Task (Task Scheduler) under the Chift folder
The task is created in the store (session) of the user executing the installer. It can be different than the user executing the task (*run as*).
* The task is configured to start at log on of the user configured in the installer
* The password is **only** used to validate the user’s credentials (that the user exists)
* The remaining installer steps remain the same
* The installer creates a new Task (Task Scheduler) under the Chift folder
The task is created in the store (session) of the user executing the installer. It can be different than the user executing the task (*run as*).
* The task is configured to start at log on of the user configured in the installer
 * If the task fails, the Task Scheduler will try to restart it (5 attempts, every 3 minutes).
The agent can be uninstalled through Add or remove programs:
* Search for Sage50FRService and uninstall
* It deletes the task and the files
Although the uninstall logic tries to stop the task before deleting the content of the folder Sage50FRService, it happens that the files are still locked by the task at the time of the deletion, preventing them from being deleted.
The only changes in the agent itself are:
* Use the latest SAGE 50 FR version (6.3)
* Supports local and remote mode
Local folder expects a path:
***C:/Données Ciel/Dossiers/chift/Ciel Gestion Commerciale/Folder.SgWgc***
Remote folder expects a filename:
***MyFolder***
* Add a 5-seconds-sleep to start the COM
* If the task fails, the Task Scheduler will try to restart it (5 attempts, every 3 minutes).
The agent can be uninstalled through Add or remove programs:
* Search for Sage50FRService and uninstall
* It deletes the task and the files
Although the uninstall logic tries to stop the task before deleting the content of the folder Sage50FRService, it happens that the files are still locked by the task at the time of the deletion, preventing them from being deleted.
The only changes in the agent itself are:
* Use the latest SAGE 50 FR version (6.3)
* Supports local and remote mode
Local folder expects a path:
***C:/Données Ciel/Dossiers/chift/Ciel Gestion Commerciale/Folder.SgWgc***
Remote folder expects a filename:
***MyFolder***
* Add a 5-seconds-sleep to start the COM