> ## Documentation Index
> Fetch the complete documentation index at: https://docs.chift.eu/llms.txt
> Use this file to discover all available pages before exploring further.
# Cegid Loop
# PREPARATION
1. Generate an API key from your Cegid Loop account.
Here is how: [https://app.arcade.software/share/VWS4eqYN11QzPXSuRdRo](https://app.arcade.software/share/VWS4eqYN11QzPXSuRdRo)
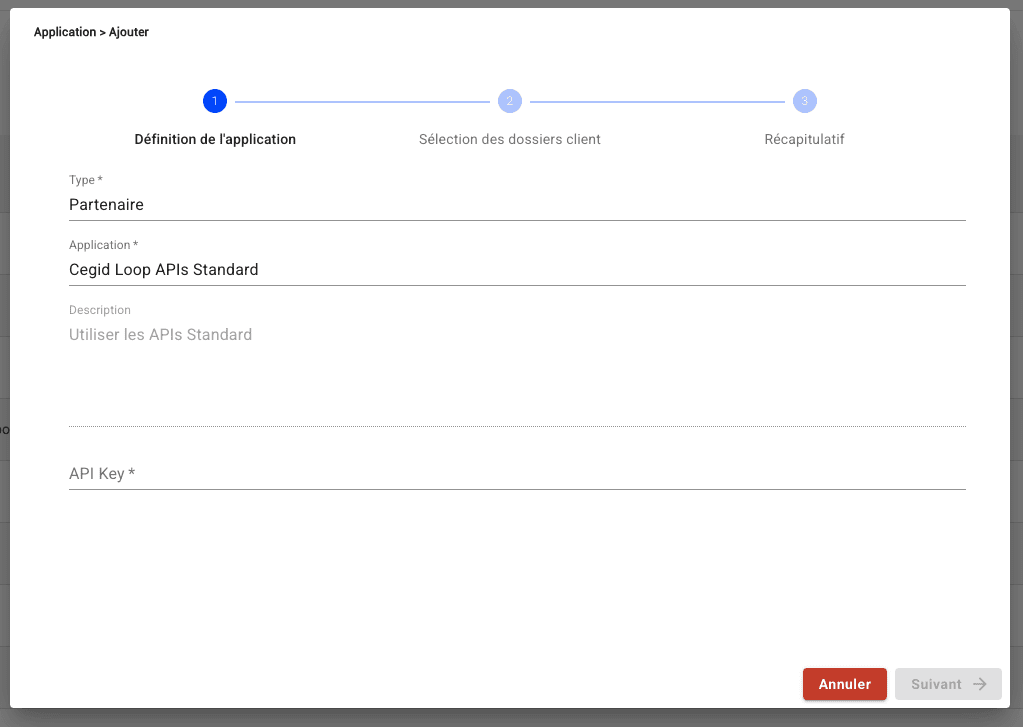
2. Connect your API Key and software on Loop Hub and select your accounting folder.
Here is how: [https://app.arcade.software/share/xDBcC6VmzS1Ls7wbOeuk](https://app.arcade.software/share/xDBcC6VmzS1Ls7wbOeuk)
If you don't find your software vendor in the list, use the default **"Cegid Loop APIs Standard"** option.
 # CONNECTION
**Step 1:** Choose a name for your connection.
# CONNECTION
**Step 1:** Choose a name for your connection.
 **Step 2:** Define whether to activate the accounting analytics.
 **Step 3:** Enter the API Key, which you previously generated from your account.
 **Step 4:** Enter the secret key, which you previously generated from your account.
 **Step 5:** Click "Connect" to finalise the connection.
 # CONFIGURATION
**Step 1:** Select the accounting folder to connect.
# CONFIGURATION
**Step 1:** Select the accounting folder to connect.
 **Step 2:** Click "Submit" to finalise the configuration.