> ## Documentation Index
> Fetch the complete documentation index at: https://docs.chift.eu/llms.txt
> Use this file to discover all available pages before exploring further.
# Sage 200 ES
Esta herramienta local utiliza el Cockpit de Chift para garantizar una conexión fluida y rápida.
### Requisitos previos
* Tenga acceso al servidor en administrador donde Sage 200 ES está instalado
* Su usuario administrador usado para ejecutar el servicio debe tener la configuración regional en español. Nuestro cockpit verificará esto y notificará si no es correcto.
* Tenga credenciales para la base de datos Sage200 ES. Si no las tiene, por favor contacte a su integrador antes de instalar el Conector
### Agregar una conexión/consumidor en la plataforma Chift
Agregar un consumidor
 Dentro de la configuración del consumidor, agrega una conexión
Encuentra el conector Sage 200 ES y haz clic en “Conectar”.
Dentro de la configuración del consumidor, agrega una conexión
Encuentra el conector Sage 200 ES y haz clic en “Conectar”.
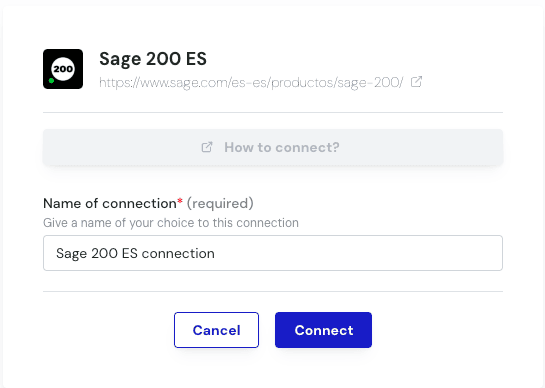
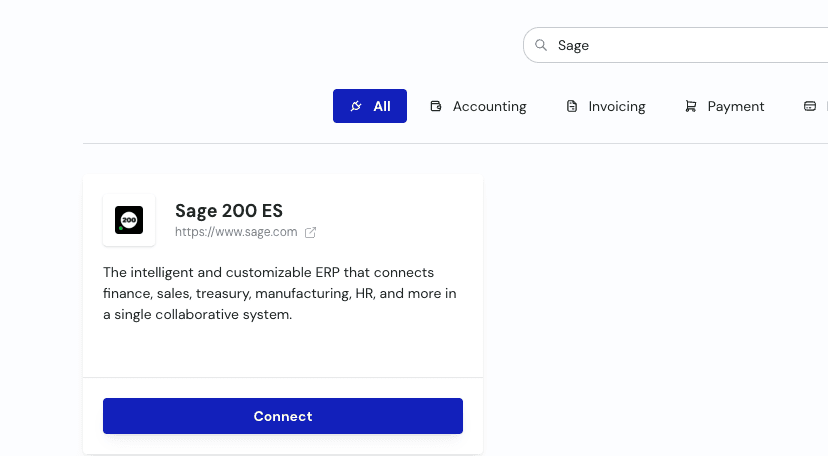 Asigna un nombre a la conexión y haz clic en “Conectar”.
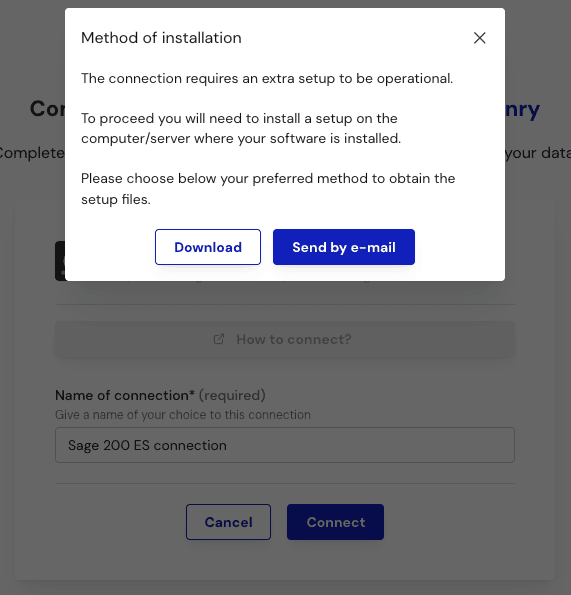
 Elija si desea descargar o recibir el instalador por correo. Esto será una “[setup.zip](http://setup.zip)” carpeta.
 ### Instalar el Cockpit
Pegue el archivo zip en el servidor. Extraiga el archivo zip, ábralo y ejecute el “SetupSage200ESService”.
### Instalar el Cockpit
Pegue el archivo zip en el servidor. Extraiga el archivo zip, ábralo y ejecute el “SetupSage200ESService”.
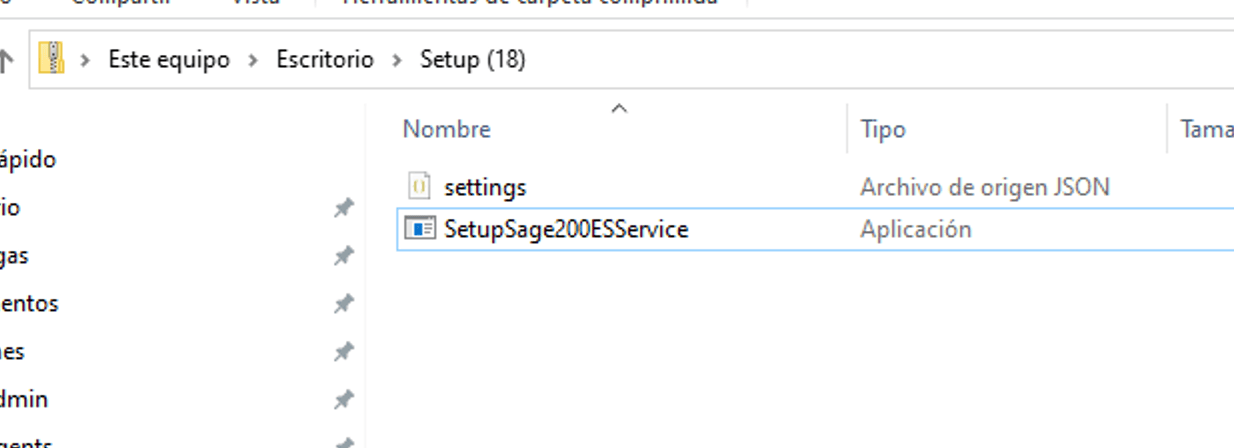 Esto iniciará el asistente de instalación, que le guiará a través del proceso de instalación.
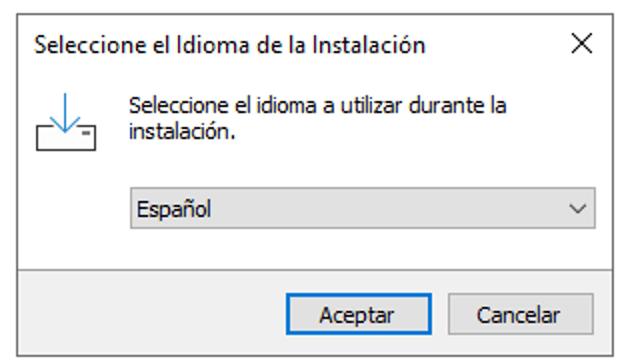
1. Elija su idioma
Esto iniciará el asistente de instalación, que le guiará a través del proceso de instalación.
1. Elija su idioma
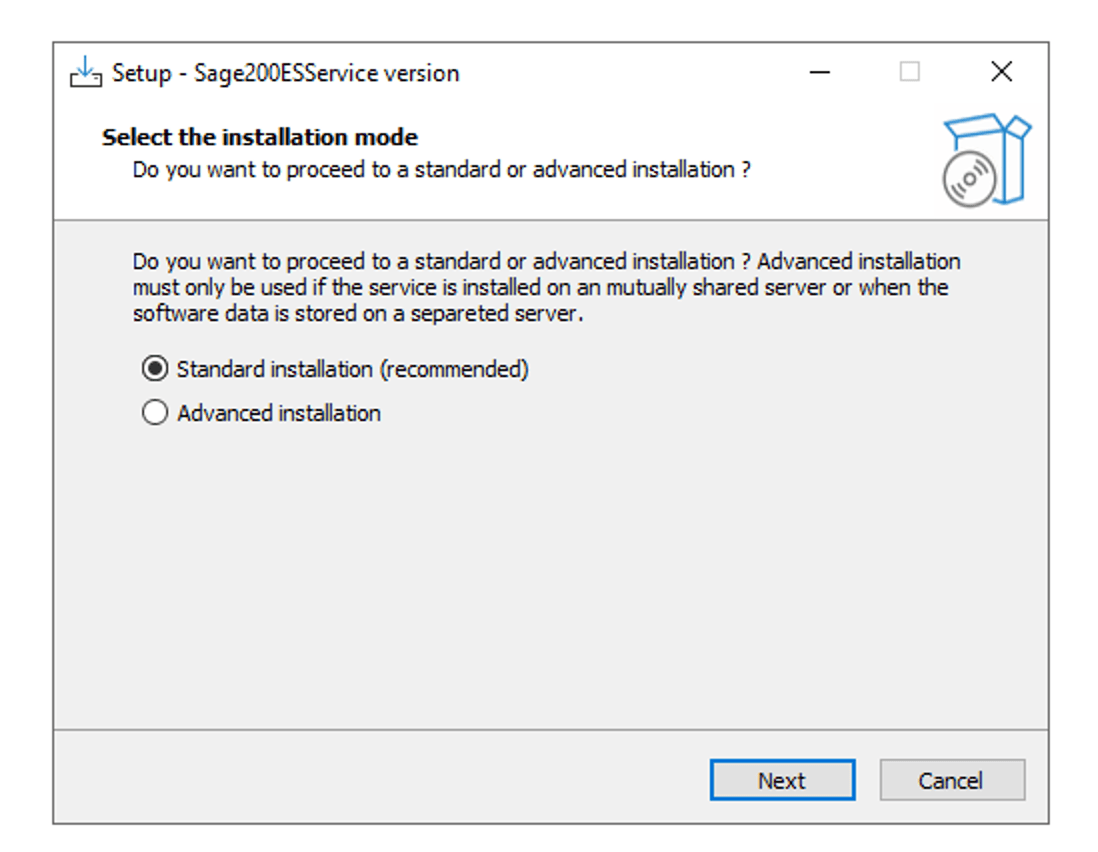
 1. Elija el tipo de instalación.
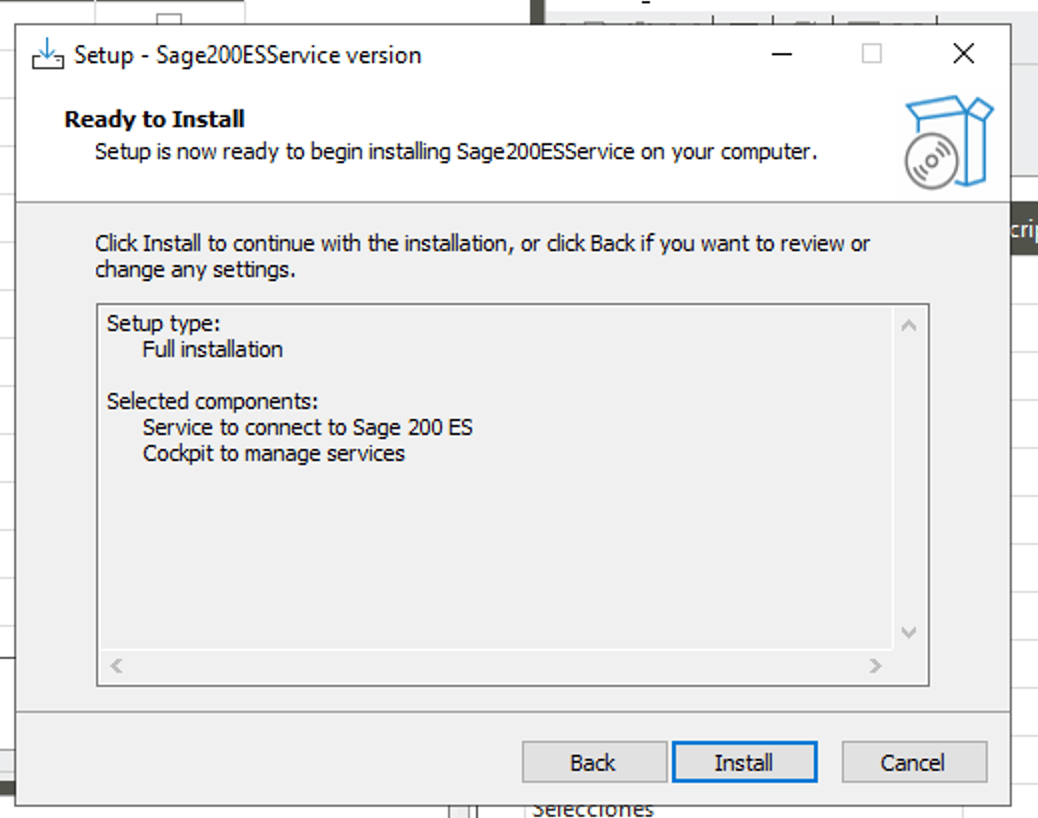
 1. Seleccione la instalación completa
 1. Instalar
 El cockpit de Chift se abrirá. Si no, abra el cockpit de Chift usted mismo.
Para más información sobre cómo usar el cockpit, puede ir a la página de documentación dedicada:
### Agregar una conexión al cockpit
Si el cockpit no está abierto todavía, comienza a abrir el cockpit.
1. Agregar una conexión usando el botón en la parte superior derecha del cockpit
El cockpit de Chift se abrirá. Si no, abra el cockpit de Chift usted mismo.
Para más información sobre cómo usar el cockpit, puede ir a la página de documentación dedicada:
### Agregar una conexión al cockpit
Si el cockpit no está abierto todavía, comienza a abrir el cockpit.
1. Agregar una conexión usando el botón en la parte superior derecha del cockpit
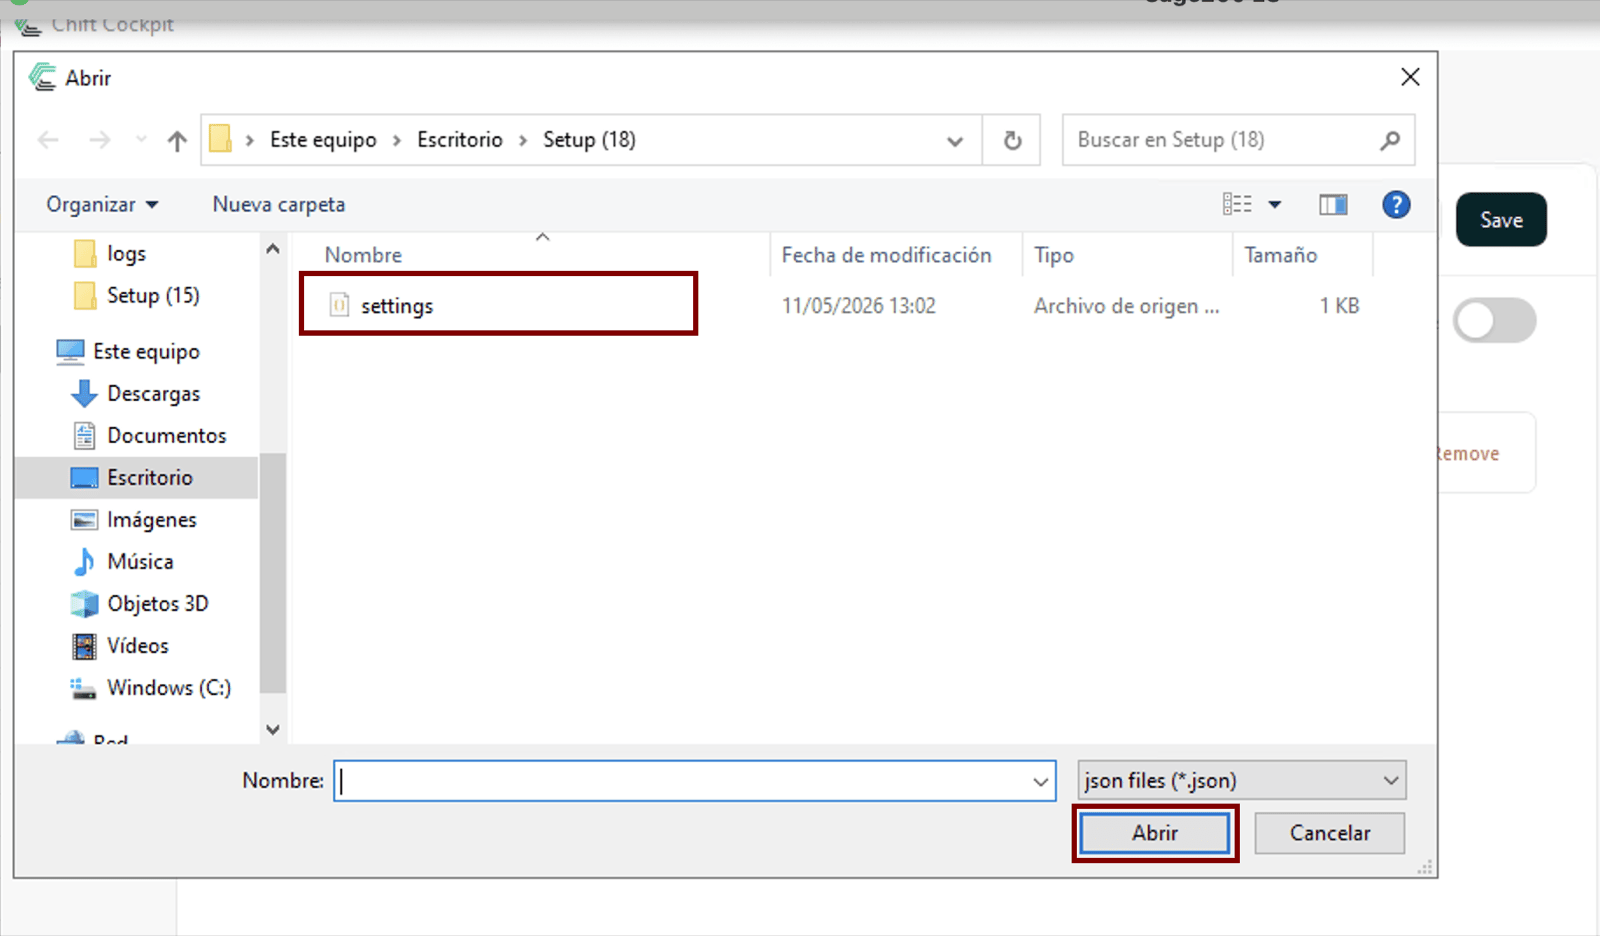
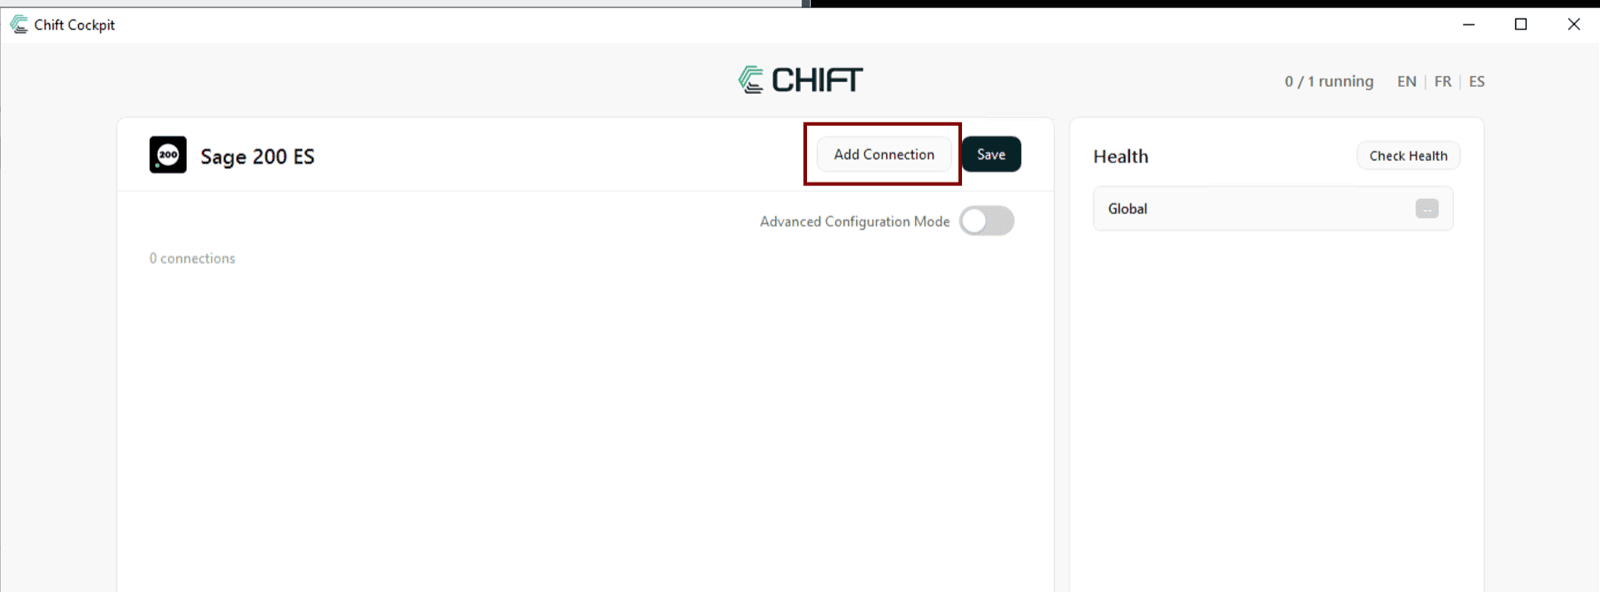 Selecciona el archivo de configuración dentro del archivo de instalación que descomprimiste.
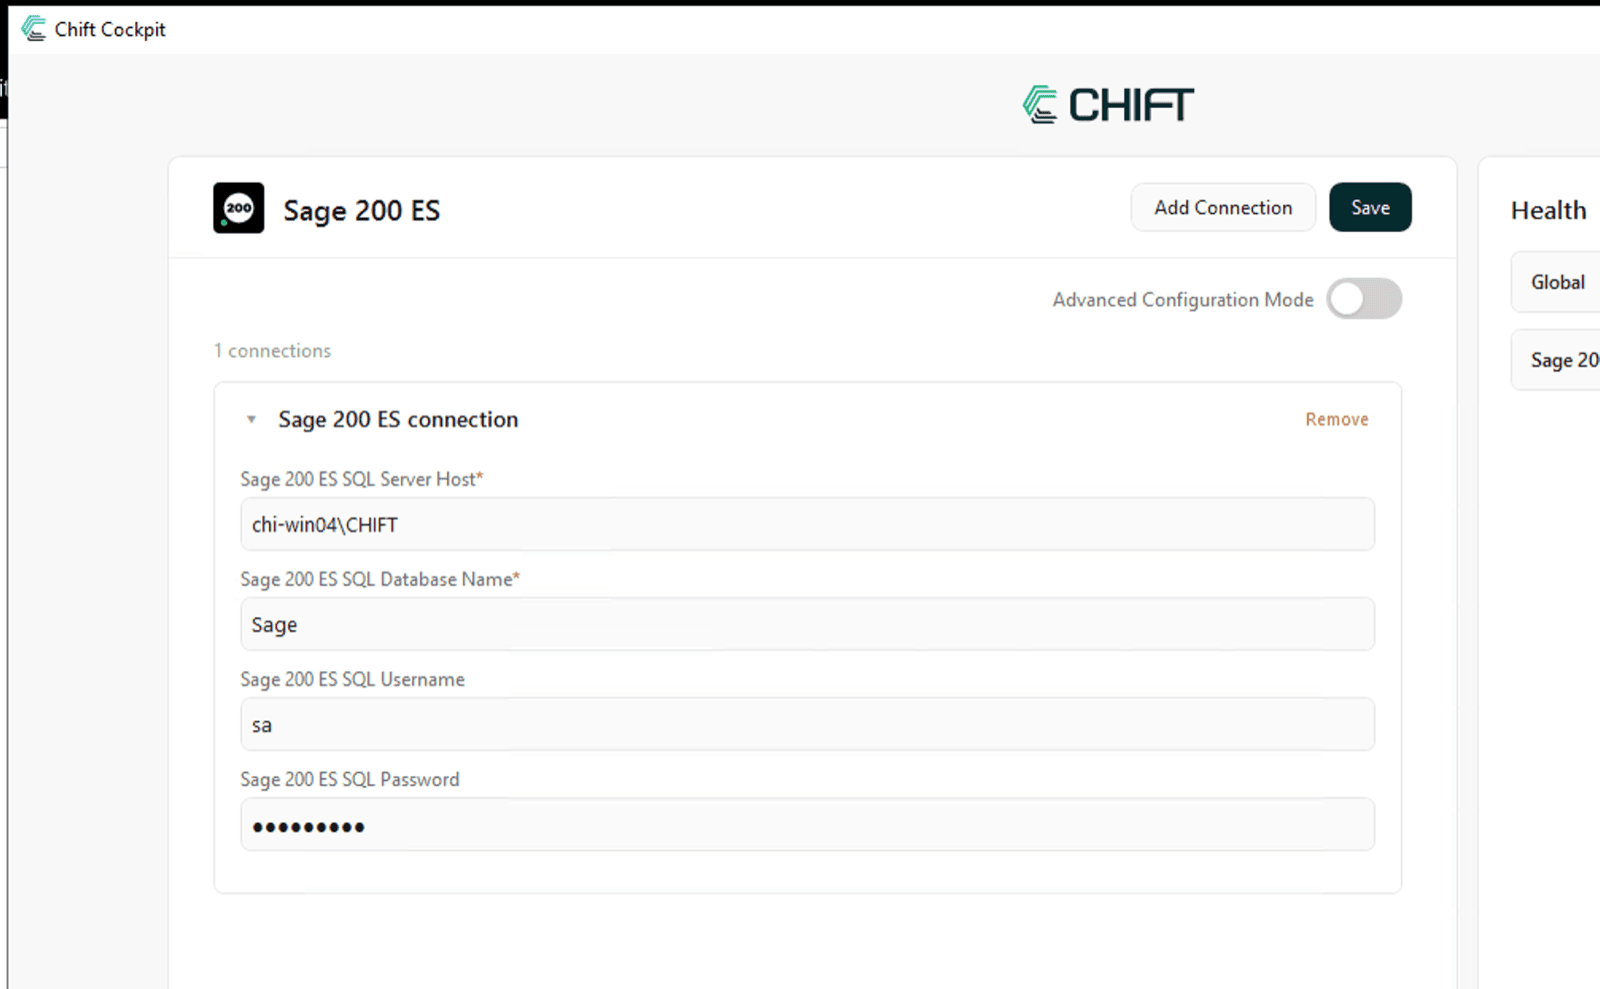
 1. Presione la flecha para alternar la configuración
 1. Rellene los campos obligatorios:
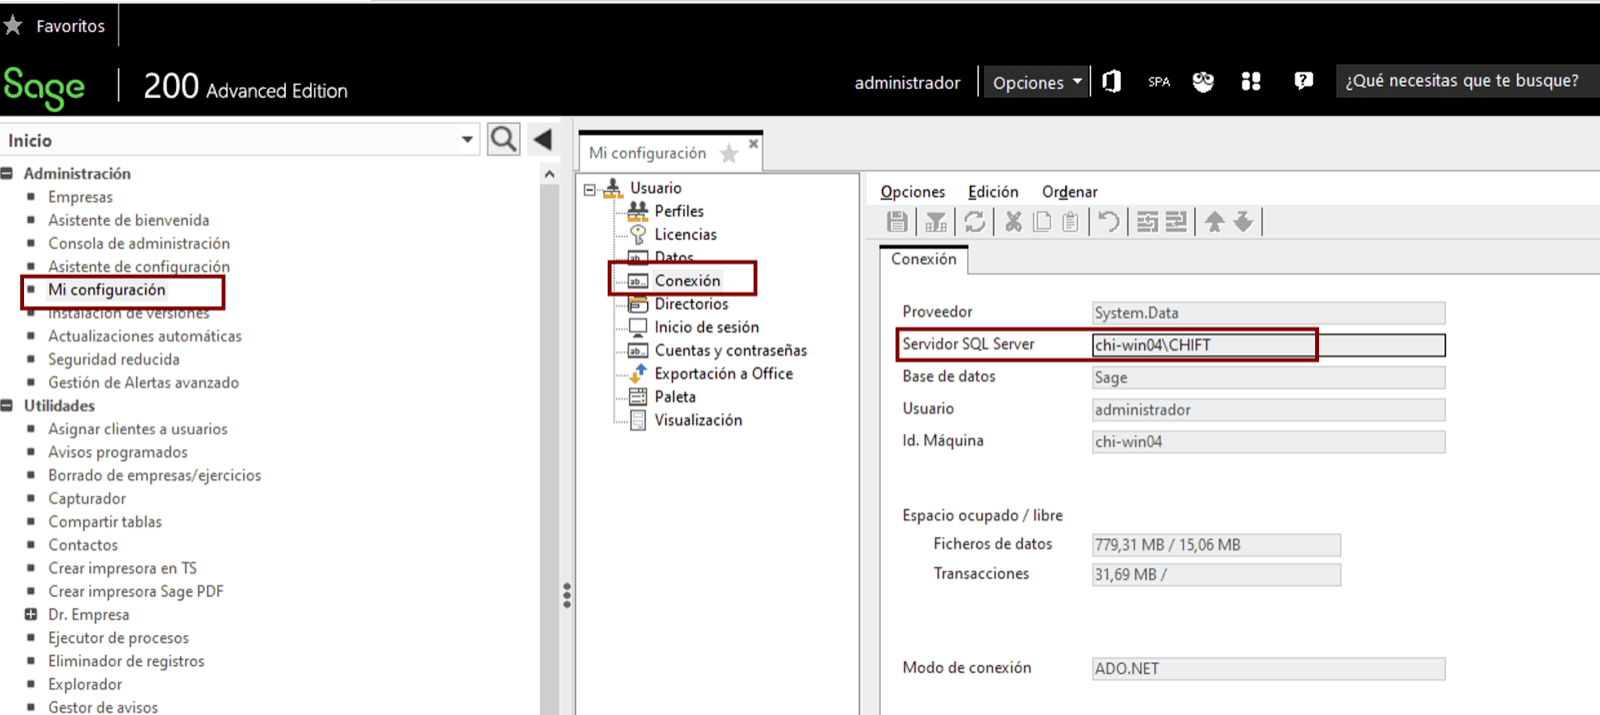
 El Host del servidor se puede encontrar dentro de Sage
 Puede usar la “Verificar salud” en la esquina superior derecha para que el Cockpit valide las credenciales.
Si está bien, presione “Guardar”.
Si la cabina detecta que la localización no es correcta, propondrá hacerlo. Si deseas hacerlo manualmente, puedes hacerlo siguiendo
[https://support.microsoft.com/en-us/access/change-the-windows-regional-settings-to-modify-the-appearance-of-some-data-types-in-access-databases](https://support.microsoft.com/en-us/access/change-the-windows-regional-settings-to-modify-the-appearance-of-some-data-types-in-access-databases)
Puede usar la “Verificar salud” en la esquina superior derecha para que el Cockpit valide las credenciales.
Si está bien, presione “Guardar”.
Si la cabina detecta que la localización no es correcta, propondrá hacerlo. Si deseas hacerlo manualmente, puedes hacerlo siguiendo
[https://support.microsoft.com/en-us/access/change-the-windows-regional-settings-to-modify-the-appearance-of-some-data-types-in-access-databases](https://support.microsoft.com/en-us/access/change-the-windows-regional-settings-to-modify-the-appearance-of-some-data-types-in-access-databases)